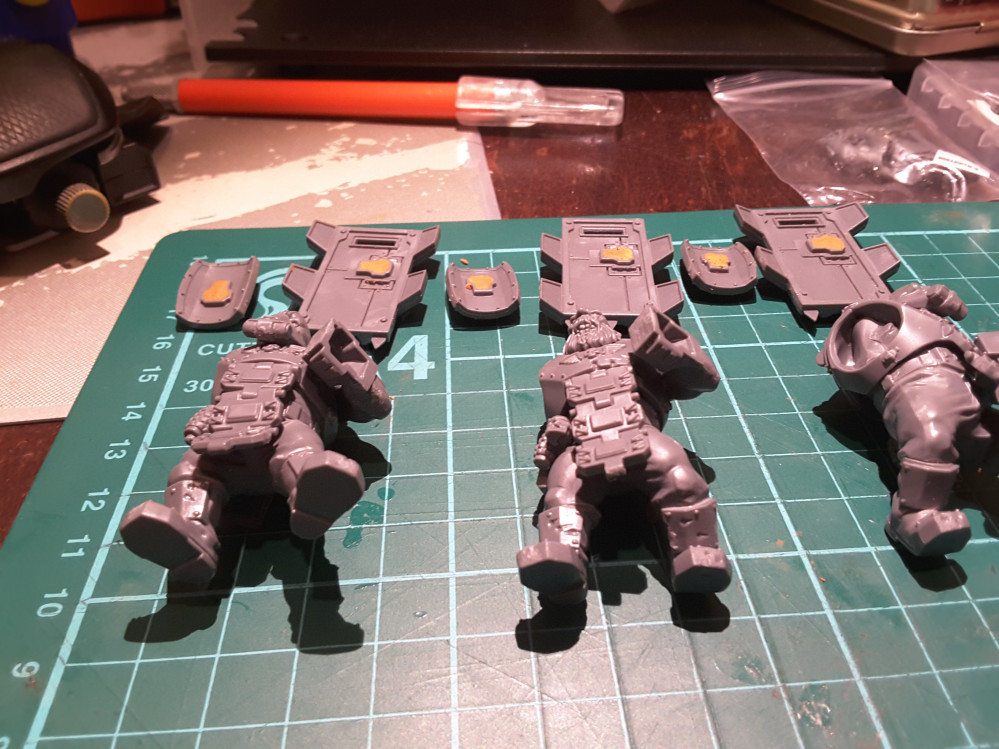
Magnetised Bullgryns for Kill Team
Time to Arm These Bullgyrns (Get it? Because it's their arms and they have weapons? You get it.)
I went about this in much the same way as I did the shield, with a bit more fiddle as the surfaces aren’t so nice and flat but the practice served me well.
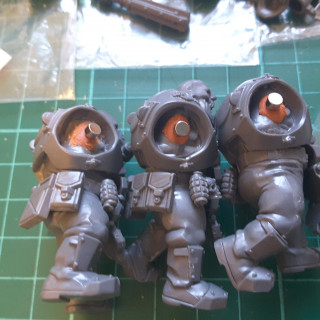
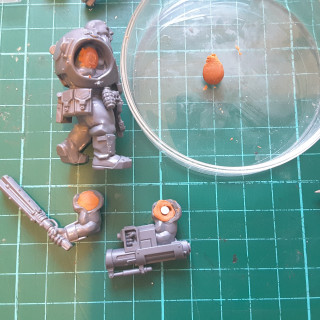
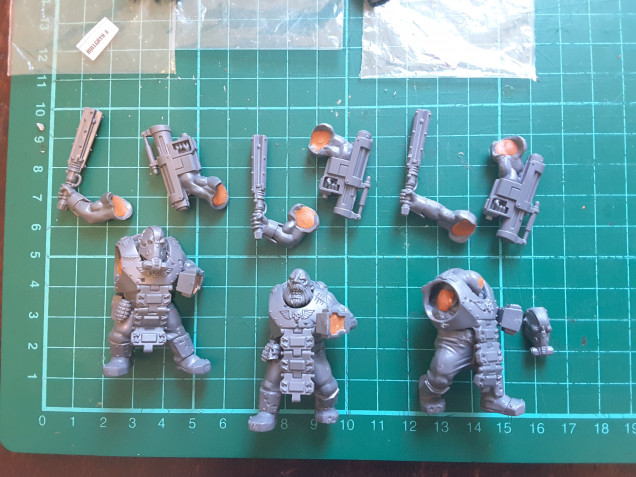
Again, I started by dry fitting the magnet, sticking a blob of milliput in the recess where the magnet would sit in the arm and pushing it down over the magnet. These didn’t really come away in the milliput like they did on the shield sides of the miniatures but it was simple enough to peel the magnet off (and making sure to keep it the right way around!) pop it back into the hole left by the impression.
I little bit more milliput over the top to seal it in and repeat six times.
And yes, I have magnetised the head on the one of the right because why not. Have magnets, will magnet.
Short and sweet this time as I have been over all of the principles in use here before. Now to just let them dry and make sure everything comes back together.
Perhaps I will try and come back and make another short in use video for the whole figures if I can find a way to get a good shot.
Bonus Round
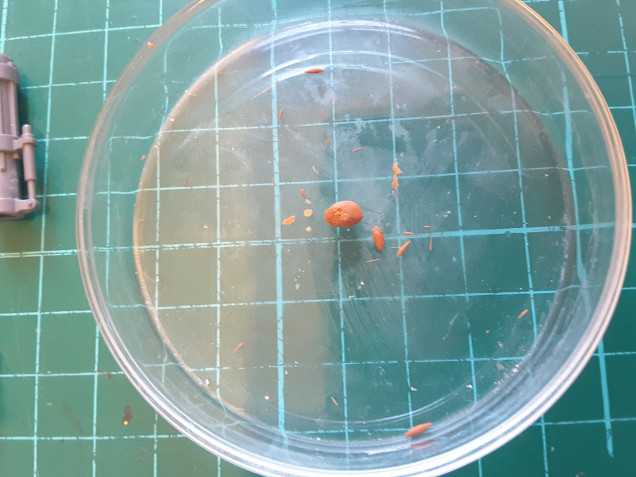
Another benefit of this project: I have gotten better at cutting small amounts of milliput.
At the start, I was throwing away more milliput that I was using but now I’m down to throwing less than half of what I pull off.
Remember kids, everything is a learning experience.




Leave a Reply