
OBS basics and video creation
Basic setup
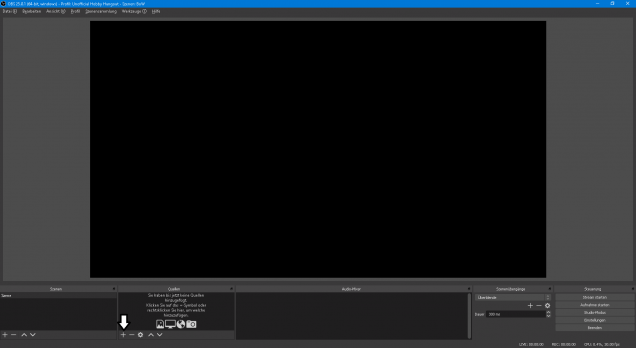
After you’ve installed and started OBS you’ll be greeted by a relatively blank screen. First thing we need to do is get some video onto the screen. Click on the plus on sources.
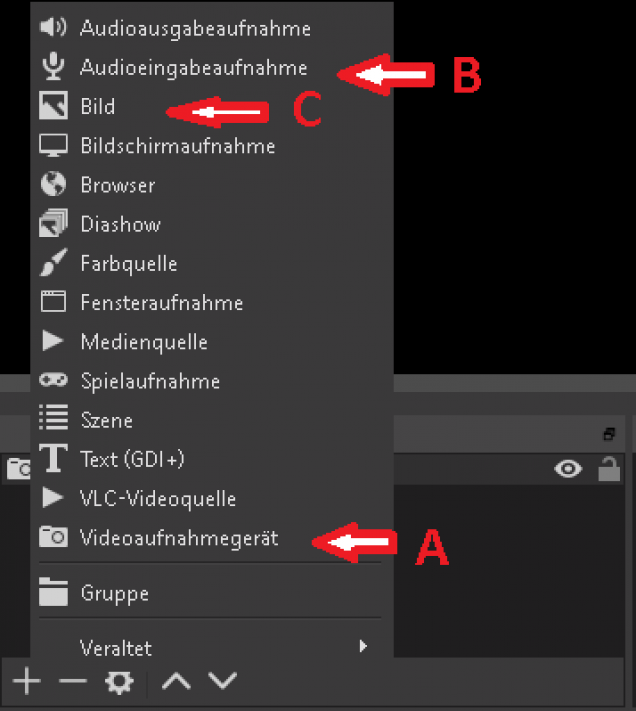
Here you select A) video recording with the little cam symbol.
Give you source a “speaking” name so that you’ll have an easier time finding it later.
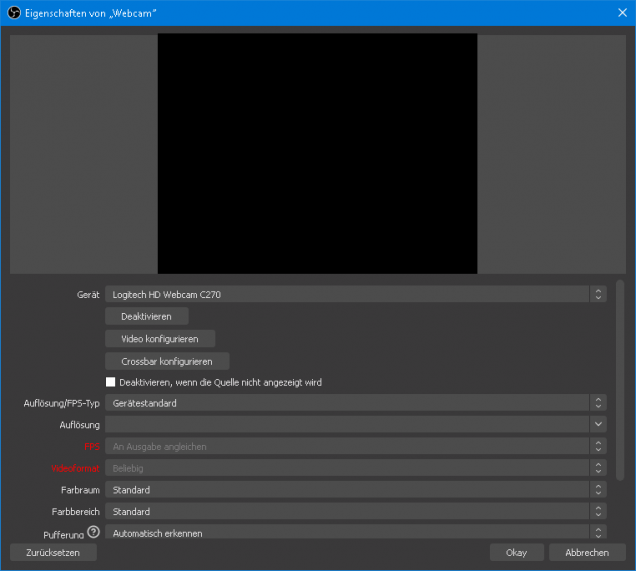
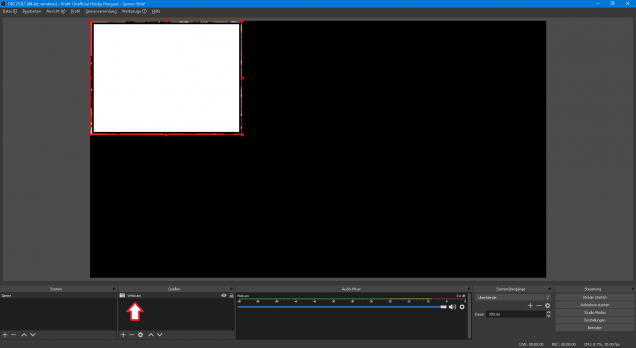
We leave all settings “as is” to begin with and we will see how the cam will appear on the main screen. If you use an extra microphone for better audio quality also add a source using B) and add your mic.
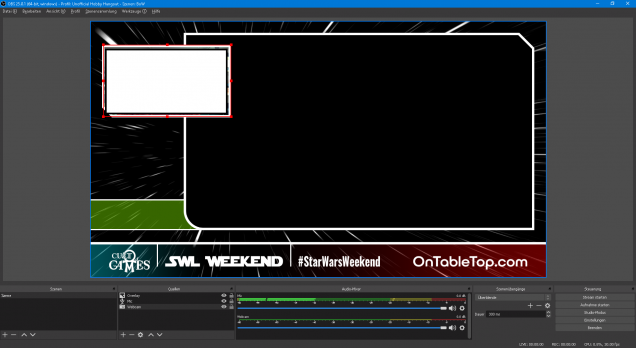
The red frame around the webcam can be picked with clicking and holding the mouse and then resized be pushing an pulling. Next you might want an overlay to make it all look shiny and cool. There are several sites out there providing free overlays. Just search them. Or snag them from some other site 😉 (No, don’t pirate, only use with permission!) If you’re handy with GIMP or photoshop you could make your own. It’s just a picture with a transparent background. So select the + on sources again and click C) for picture. The picture should be the same resolution as you’re streaming in. Default here is 1920 x 1080.
Last thing we now need is something to show. In my case the project from OTT. So open a new browser window (not a new tab because you’ll be showing the complete window! And you don’t want the world to see what sites you are browsing).
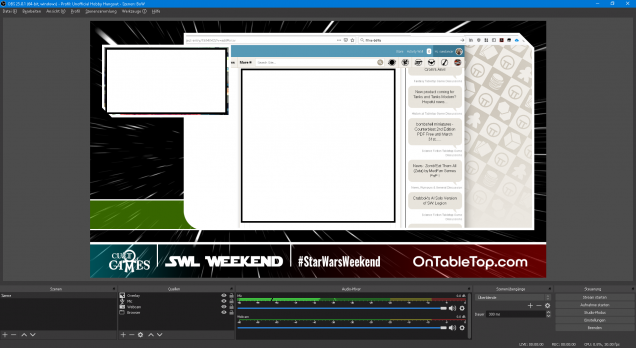
Now add a new source again but use “Window Capture” not “Browser” or you’ll use the build in browser which can lead to websites acting strange. Add your new browser window (as Window Capture, yes it’s confusing) and make sure it’s on the very bottom of the sources list.
Sources stack like layers of paper so the overlay needs to be on top of everything and everything else needs to be “sorted as needed” (see next picture)
Now you’re set up for recording. Well done! Next up: streaming.

















Leave a Reply