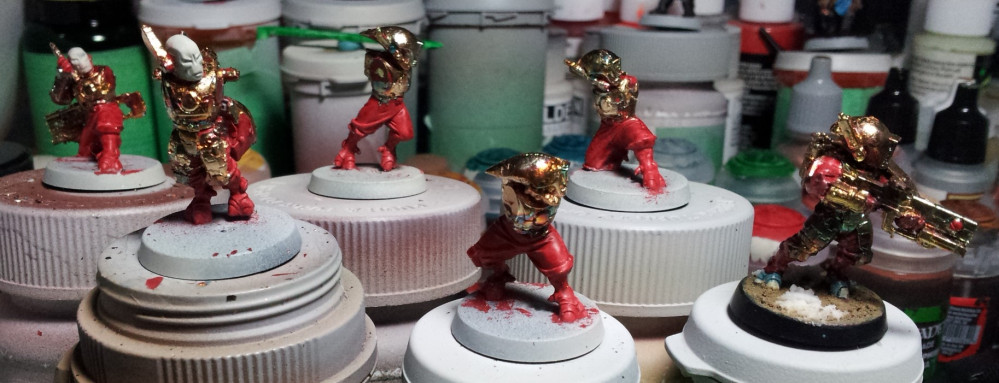
That Gold Leaf Project
Getting set up
We’ve got all the materials at hand, let’s look at prepping the workspace.
Working with the gold leaf can result in a small, fairly easily contained scatter of excess flakes or in an apocalyptic cloud of big golden flakes stuck to everything within a 3 foot radius. o_0
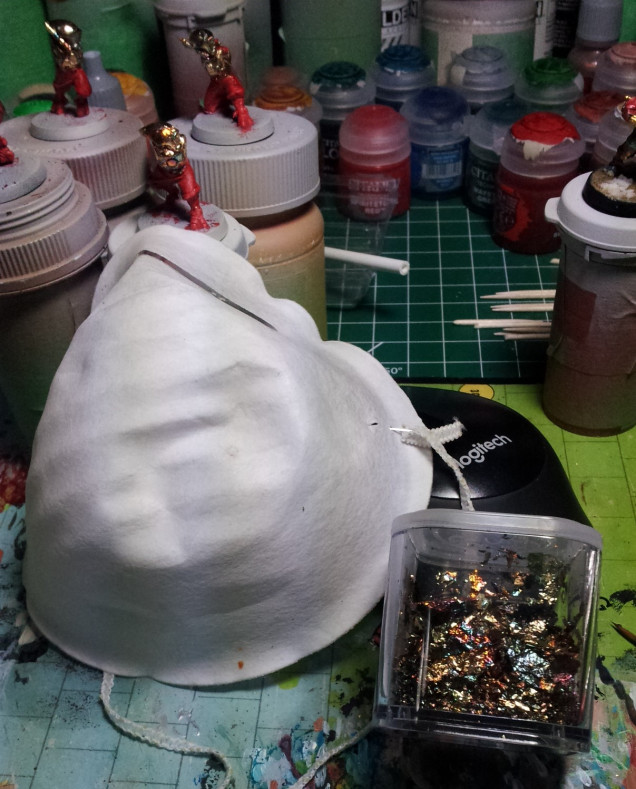
The dust mask is to protect the gold leaf from your breath. Even the slightest waft of air can send loose foil flying. I found this out when an errant sigh looking at my first attempt blew a cloud of loose leaf all across my desk.
You’ll also want a small working container for the foil, so that you are not trying to work from the main package. I use a dice container that snaps securely shut, which allows me to reach the foil inside easily and close the box securely when I’m not using it.
The small box is hard to spill and if I do knock it over then I have lost relatively little and the mess is fairly small.
I also lay down piece of printer paper of my workspace to catch the excess litter so that I can return it to the storage container.
The whole process we’re using, is to press the gold into the details and recesses where the size has been placed. Mainly, your fingers are the best tool for the basic work, but you’ll also want tools for getting into the places where your fingers don’t fit.
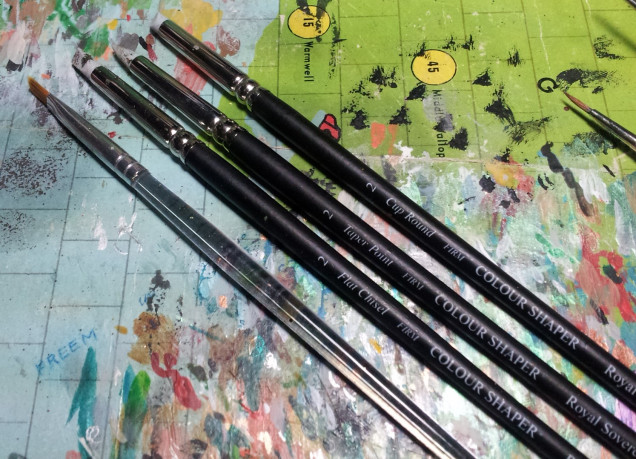
I used Colour Shapers for the task. They are meant for clay shaping, I think, and they have firm but yielding silicone tips. They are great for pressing and moving the gold into tiny crevices without tearing it or stripping it off the model.
A soft bristle brush is also useful for pressing the gold down into the size.
A brush with stiffer bristles is used for brushing the excess gold flakes off the mini and onto your paper sheet.
But we’ll talk more about the application techniques in the next update. 🙂


Leave a Reply