That Gold Leaf Project
Just what do you need for this?
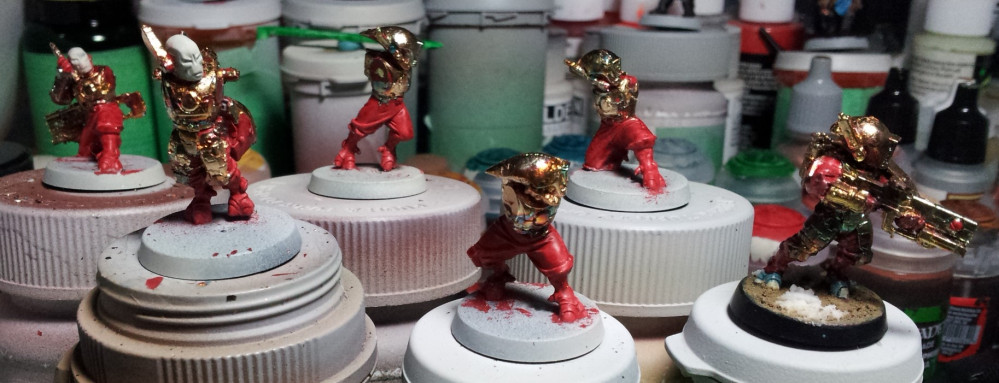
Putting gold leaf on the minis is a pretty straight-forward simple process, but it is in no way a fast one. The “glue” which is called size or gesso has to cure for a bit before it becomes properly tacky to receive the leaf. And keeping your work area tidy can be problematic if you don’t take proper care.
Alright, so let’s start talking what you need to do this. 🙂
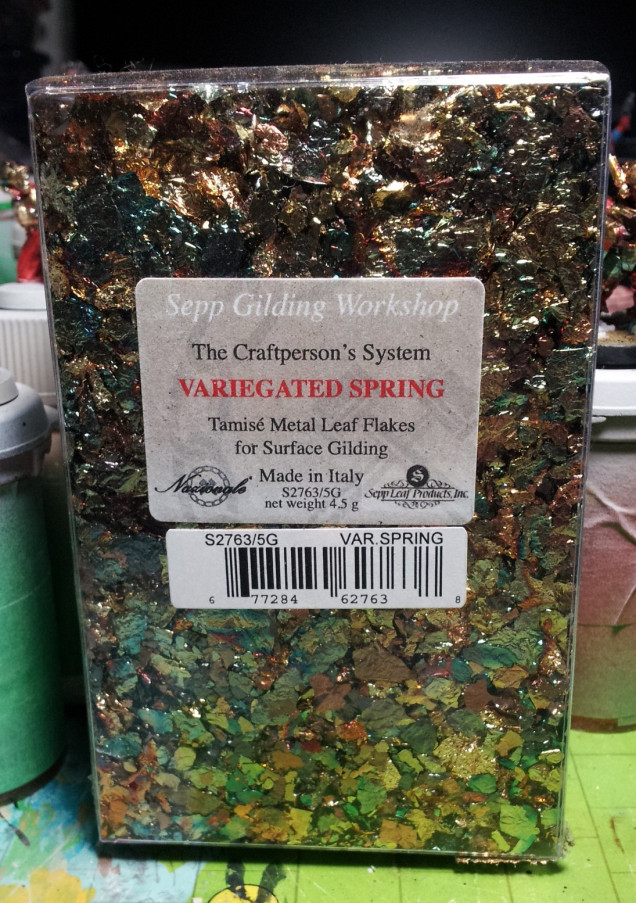
This gold leaf is basically very thin gold leaf scraps, think of it like big pieces of adult glitter. I chose the Variegated Spring color blend because I thought that exclusively gold would have little highlighting or visual interest. My thought was that the random color changes would help with the visual interest concern.
Gold is actually surprisingly translucent and needs a bright undercoat to help warm it up and increase it’s luster. A black undercoat increases its shine but dims its “goldenness” a lot like painting over black, likewise a white undercoat tends to wash out the “goldenness” and makes it look milky.
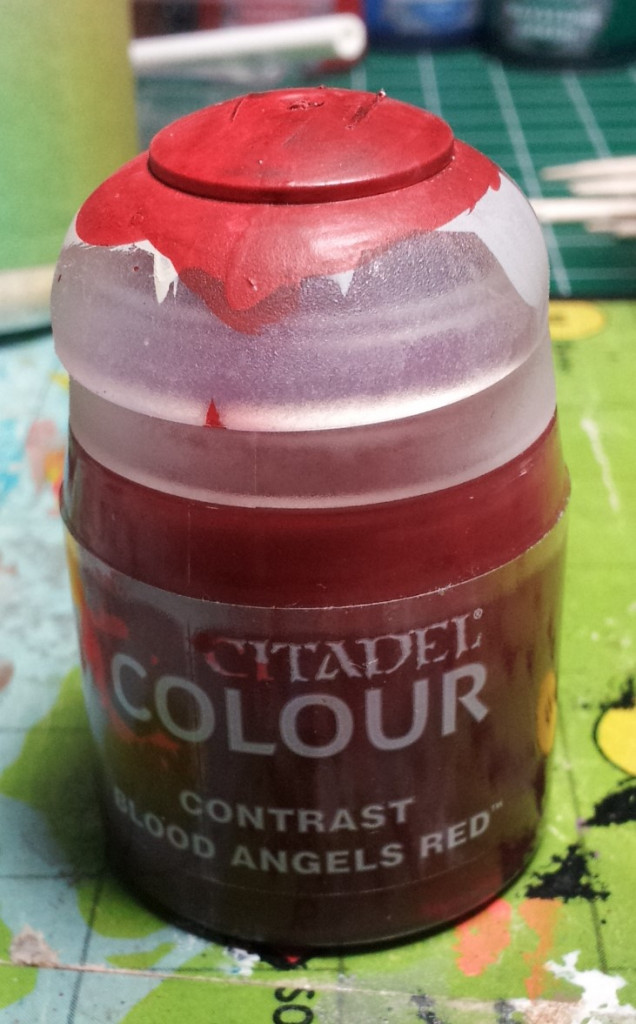
I learned that bright red is used as the primer/undercoat in other gilding processes. Red Contrast paint over Wraithbone primer allows me to get the right setup in the least amount of time.
So all that sounds fast so far, right?
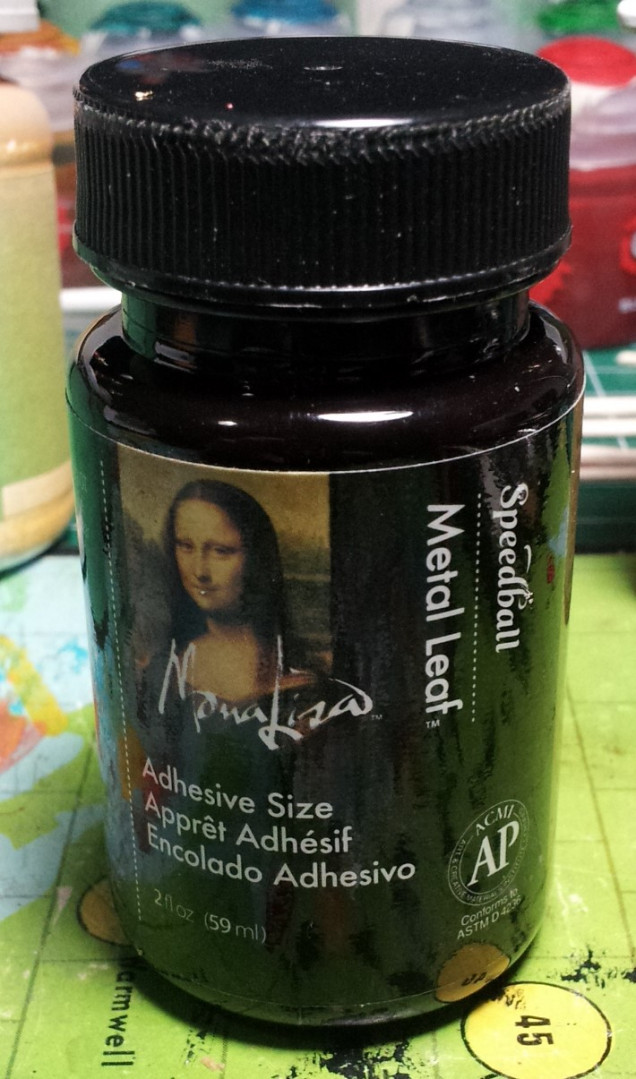
Well here it all slows down. The size is the special glue that the leaf will adhere to. It gets painted on with a brush just the same way you would do with paint.
I chose Speedball size because it is ready for application after just 30 minutes rather than the more “proper” size which must sit for 24 hours before applying leaf.
The window for applying the leaf is probably about 30 minutes, before it starts to lose its tackiness to hold the gold properly.
So that’s a quick description of the big players on the component side. Next time on That Gold Leaf Project we’ll talk about workplace setup and mini prep.


Leave a Reply