The Millennium Falcon
Finishing the legs and ramp
A friend of mine pointed out that the original Millenium Falcon model made for the films was made from wood with bits of old tiger tank kits glued to it, so I’m feeling a little better about having decided to make the legs out of wood.
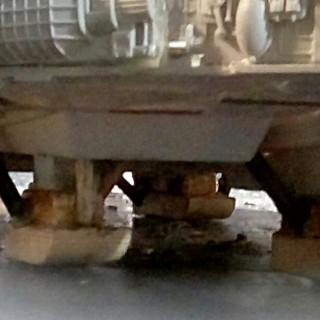
The sled bottoms of the legs are made by using wood glue to fix 2 cut prices of wood together, and reinforcing this with veneeer pins – anything thicker might cause the wood to split. Care has to be taken to make sure no pins are where the wood will need drilling.
Screws of the right length are selected, and I’m using the biggest washers that will fit in the space to make sure the screw head cannot pull through the laminate. I use the actual points of the screws to mark where the wooden legs need drilling. That way things should line up exactly. I use the hot glue gun again to fix the legs in place, and a screwdriver to tighten the screws in place – it’s best not to use a powered screwdriver for this as it is easy to over tighten the screws and split the wood.
After checking I am.happy with the height of the legs and the clearance left for the ramp, I decided to add struts to make the legs less “blocky”. These also help to reinforce the legs and ensure they don’t move – the back legs have 2screws each so are pretty much set in place, but the front legs have only one screw each and they could rotate on this like a spindle if the glue ever fails.
For these struts I used pencils cut to size with a razor saw. Pencils have 2 but advantages over dowling for jobs like this.
1- they are a lot cheaper. A big bag of cheap drawing pencils from your local pound shop will be fine, but dowel is very expensive and can only be bought in long lengths.
2-if you use hexagonal pencils you get a nice flat edge that makes gluing then to things much easier.
Their disadvantage is that you get powdered graphite powder when you cut them, which can cause a mess if you don’t clear it is as you go.
I’m happy with how the struts add to the silhouette of the legs, and will look good once painted.
Finally today I finish the ramp. I had initially planned something more complicated, and had wanted to be able to have figures placed on the ramp. But I realised that to have the angle of the ramp shallow enough to allow this I would have to vastly extend the length of the ramp so it stuck out beyond the edge of the ship, and that just wouldn’t look like the falcon’s ramp.
I take the price of the lower hull it out and saved previously, and reinforce it with 3 layers of grey card. This will strengthen everything, and also mean I have a much larger surface area to glue to the ship.
Once the ramp is glued to the ship and angled to meet the floor, I use pencils again to form the hydraulic supports on each side of the ramp. A few pieces of card finish things off to add a bit of texture that can be picked out later with a bit of drybrushing.


![TerrainFest 2024 Begins! Build Terrain With OnTableTop & Win A £300 Prize! [Extended!]](https://images.beastsofwar.com/2024/10/TerrainFEST-2024-Social-Media-Post-Square-225-127.jpg)


Leave a Reply