
The Millennium Falcon
Getting the roof ship shape
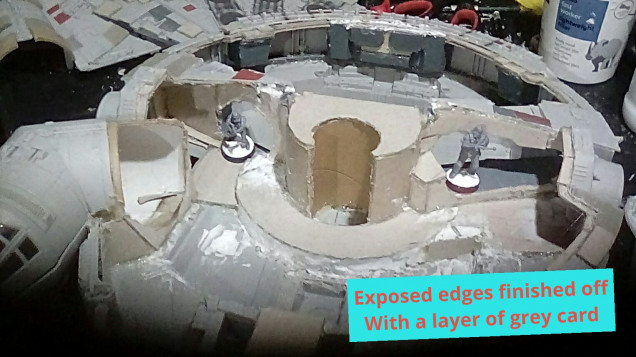
Then first task today was sealing any rough edges from yesterday with grey card. There a few areas of bare filler showing, but they should be covered by the corridor floor panels later.
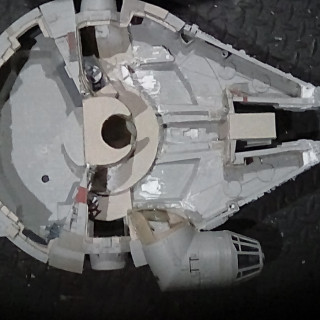
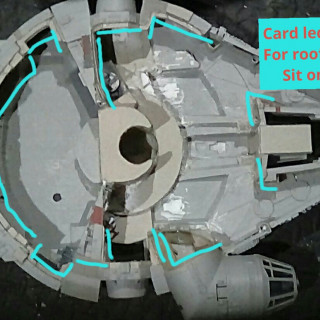
After that it was important to start on the roof of the falcon. I need this fitting nicely so I can see how high the walls dividing the internal space into rooms can be. I created a card ledge about half a centimetre wide around the hull of the ship, so the roof can sit on this without any bit gaps showing. The Dremel cutting disc is about 1mm wide so some gaps can’t be avoided, but the ledge should help stop light showing through these too badly.
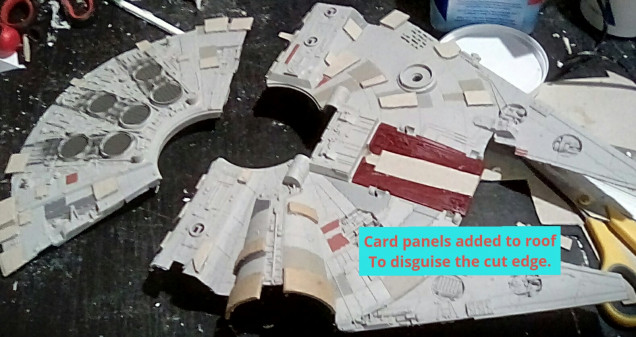
I added some card panels to the edges of the roof, to disguise where I cut it out. I needed to add some.other panels in random places so the whole roof looks the same, and this should add some extra texture and variation in panel height once painted. I figure every time the Falcon takes blaster damage Chewie would just weld on another panel to repair the hole, so the panels could be overlapping in places.
I also started the process of filling in the large hole left when I removed the unwanted nerf gun. I build up a lattice of grey card, and this should be quite strong once the hot glue sets solid overnight. Then I will be able to start rebuilding the front section of the roof without fear of it collapsing under it’s own weight.
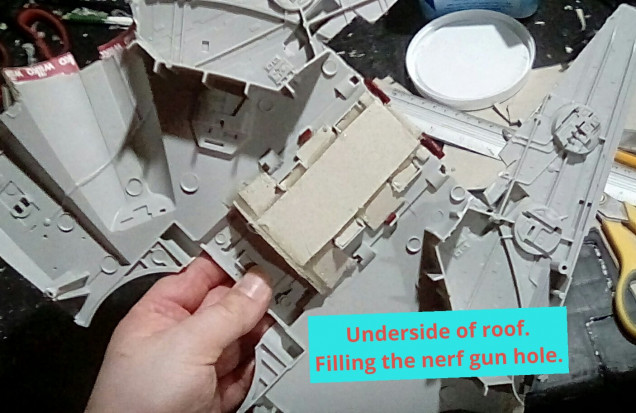 Filling the large hole where the nerf gun used to be should also give some much needed strength to the front roof area.
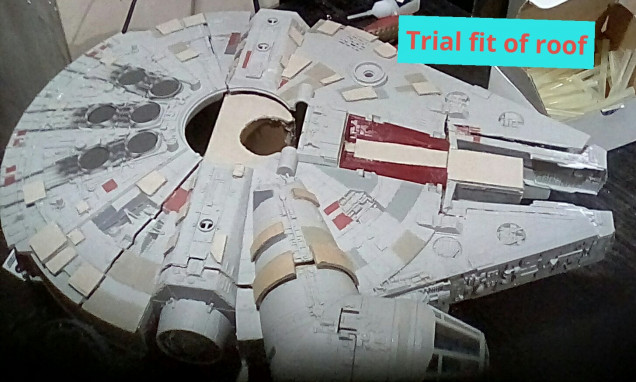
Finally, I have a quick trial fit of the roof to make sure if still fits nicely on the hull after I added the card ledge for it to sit on.


![TerrainFest 2024 Begins! Build Terrain With OnTableTop & Win A £300 Prize! [Extended!]](https://images.beastsofwar.com/2024/10/TerrainFEST-2024-Social-Media-Post-Square-225-127.jpg)




Leave a Reply