


![TerrainFest 2024! Build Terrain With OnTableTop & Win A £300 Prize [Extended!]](https://images.beastsofwar.com/2024/10/TerrainFEST-2024-Social-Media-Post-Square-225-127.jpg)


Cyberpunk by Evilstu


Inventory and Initial Build
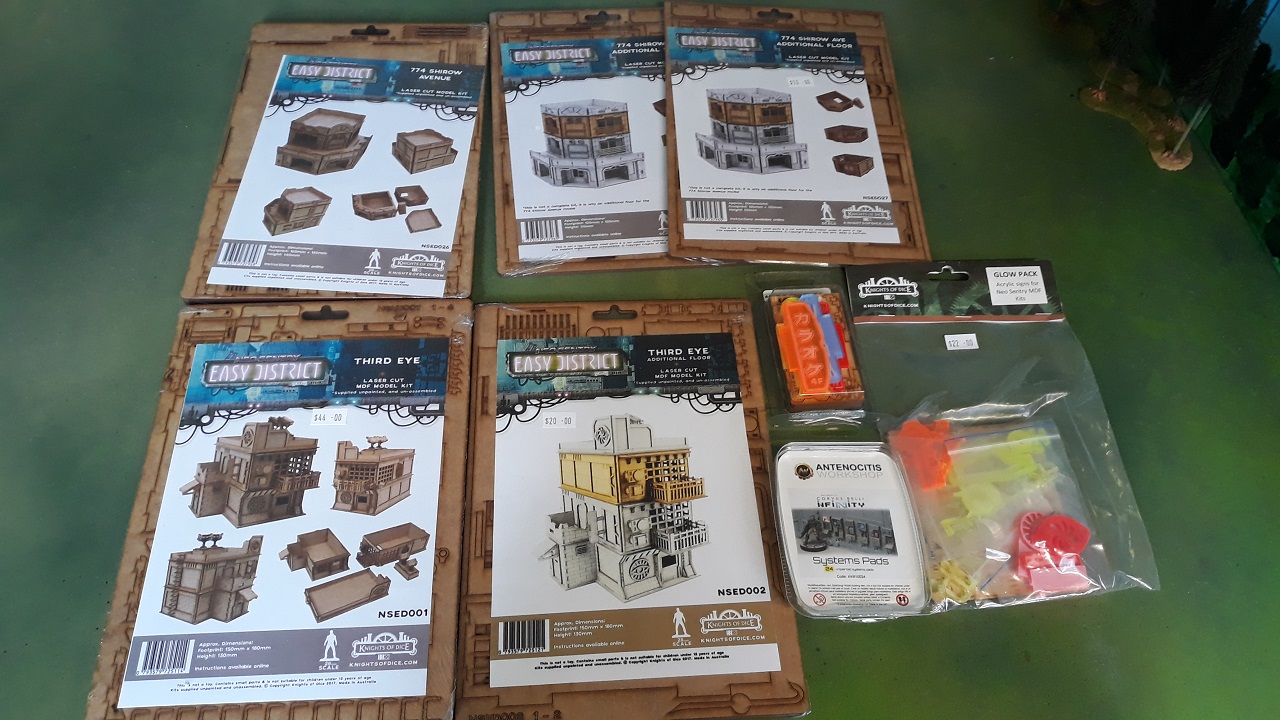
A quick rummage through some boxes and I found my bag of MDF that I had picked a couple of years ago with the idea of commencing some cyberpunk, but then apparently got distracted by a shiny thing…
Two buildings and a few extra floors, some neon signs and some resin keypads from Antioch that I had apparently picked up for a bit of detail addition. Keen to get an idea of scale, and to gain some familiarity with the Knights of Dice kits, I opened up the ‘774 Shirow Avenue’ base set to have a look.
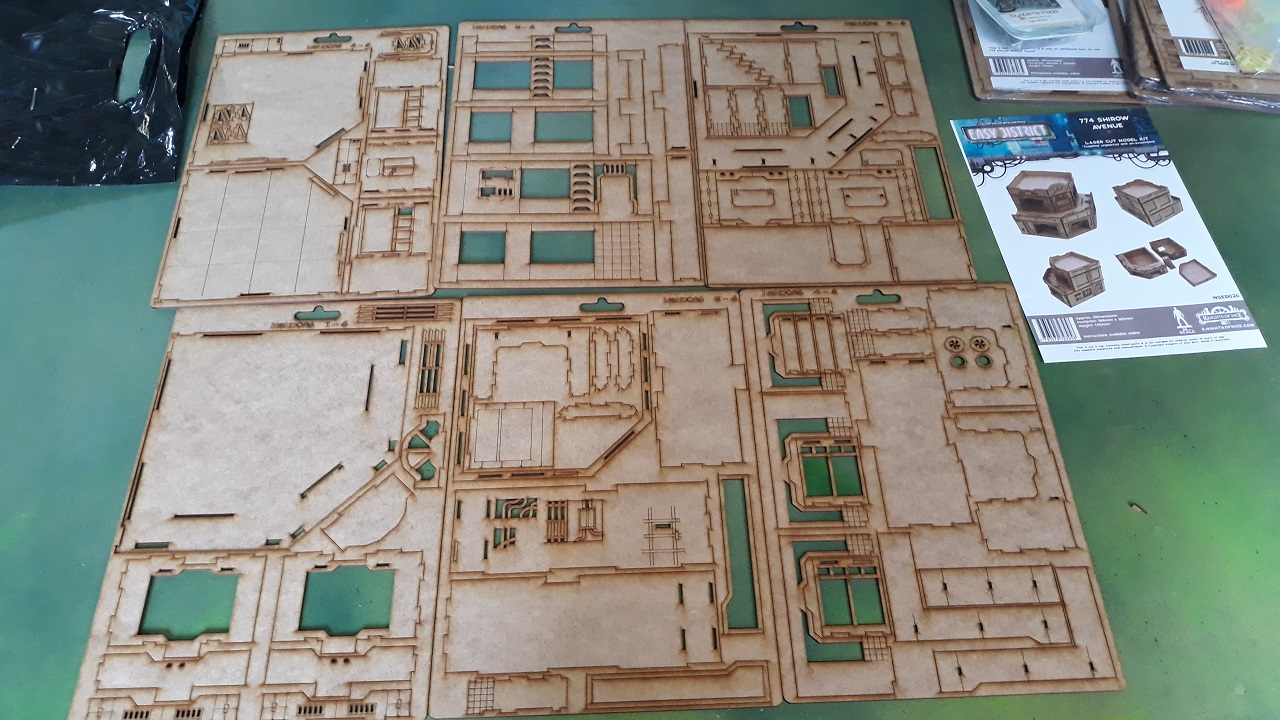
From the size of the packaging I was assuming 3 or 4 sprues of MDF, but this one held six. the MDF used felt thinner than the one used by 4ground (I don’t have calipers and didn’t want to fish out a 4ground kit for comparison) but that was my impression anyhow. No instructions included, they are all downloadable from their website (so you can check out how the build goes prior to purchasing if so inclined I guess). Having reviewed the instructions and had a closer look at the sprues, I noticed none of the parts were numbered (although the sprues were), and the instructions didn’t have any labelling or parts callout. I had about 12 seconds of stress and then pretty quickly worked out you don’t actually need parts callouts or numbering – every piece is easily identifiable from the instruction, and if there are multiple identical parts used then it doesn’t matter which one of these you pick up. As with all MDF, dry-fit first to make sure you have the thing the right way round, but beyond that no issues.
Next thing I noticed – no spare space on any of the sprues. They had crammed in as much as possible detail-wise.
Parts all came away from the sprue just fine, with one exception where the laser hadn’t burned through completely at one point. Application of a box cutter resolved this without any drama. Parts all fitted with surgical precision, build was really easy once I was up and running. went with brushing on PVA to the relevant areas. Kit was built up with facade layers over an internal wall, so it was reasonably easy to hide most of the damage with the glue by applying it to surfaces that would be hidden form view once affixed.
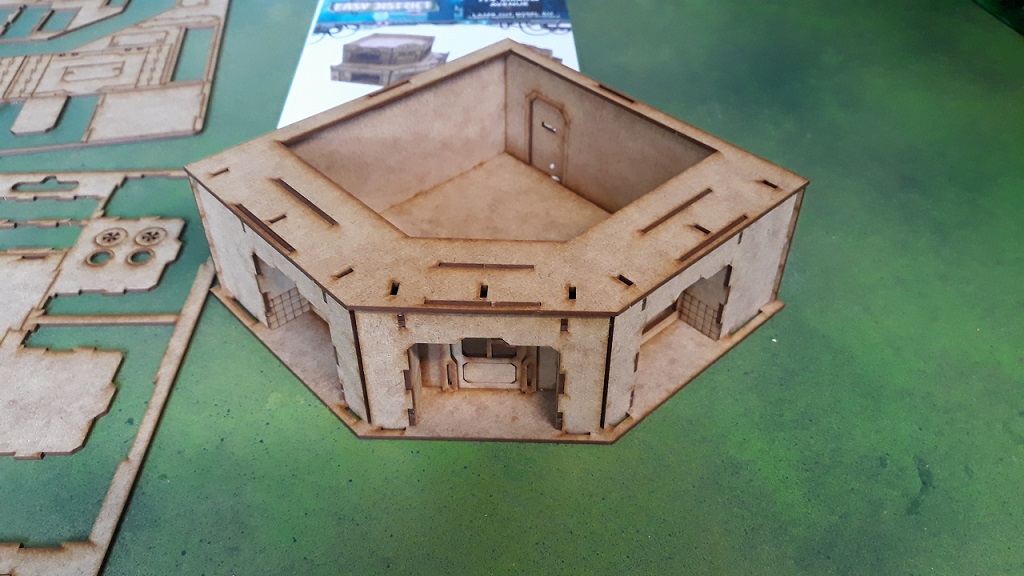 Ground Floor Structure
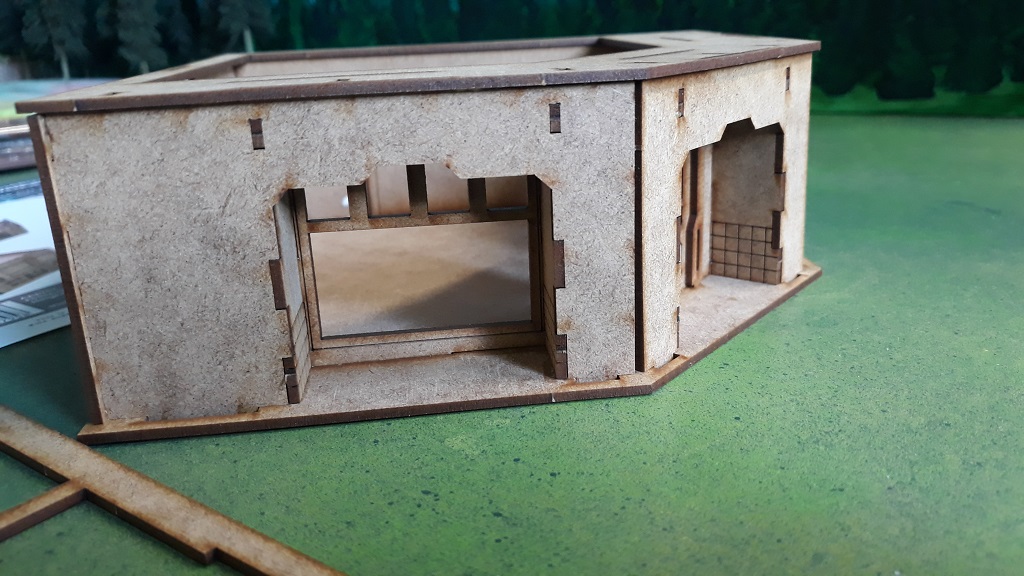 Side shot. You can see the tile detail burned into the surface of the entrance to the right of the shot indicating that this section will not be covered over.
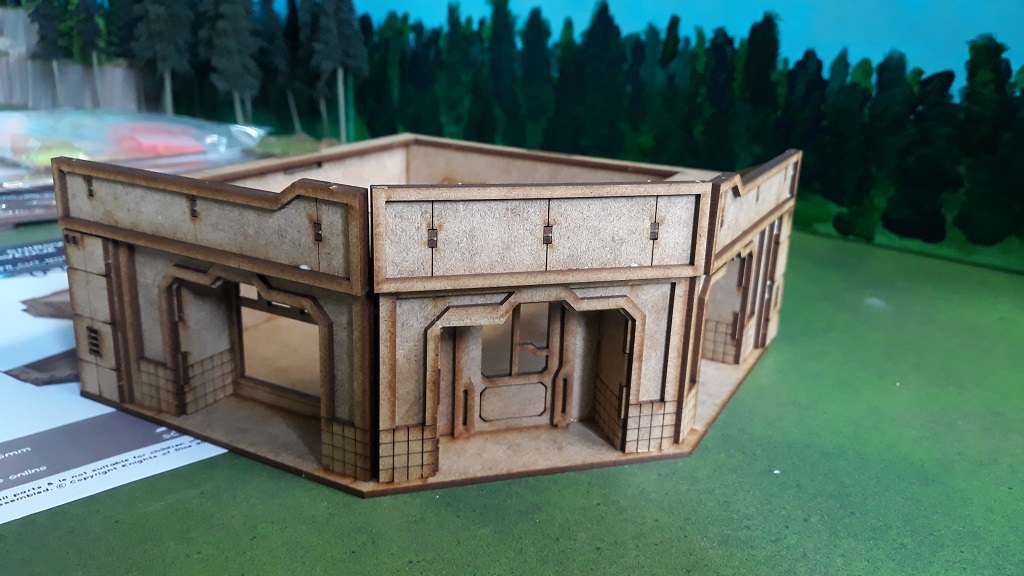 Ground floor with the various layers of facade all applied.
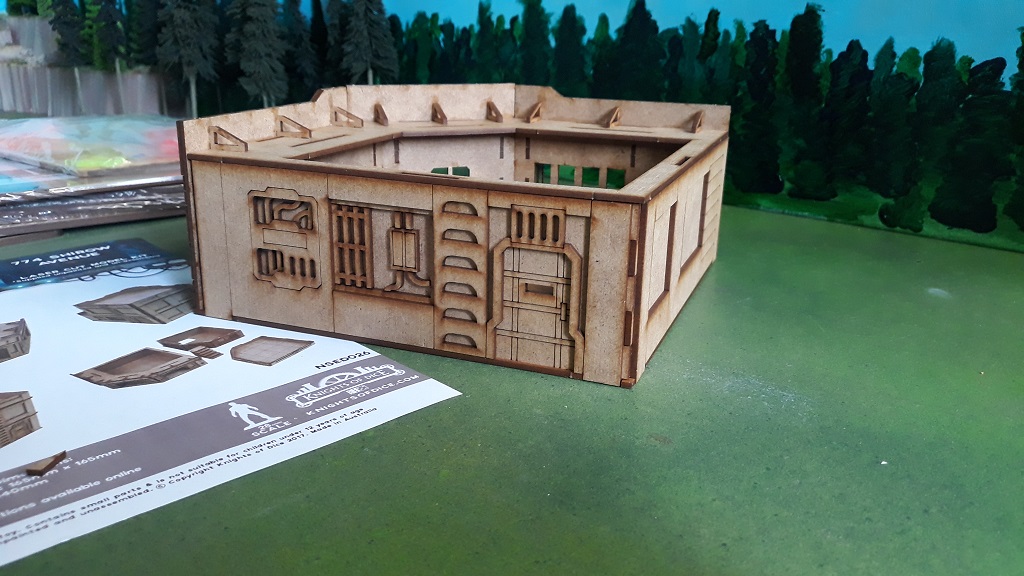 Ground Floor. Lloyd shot... Note the standard-issue in-built ladder to the left of door for rooftop sniping goodness.
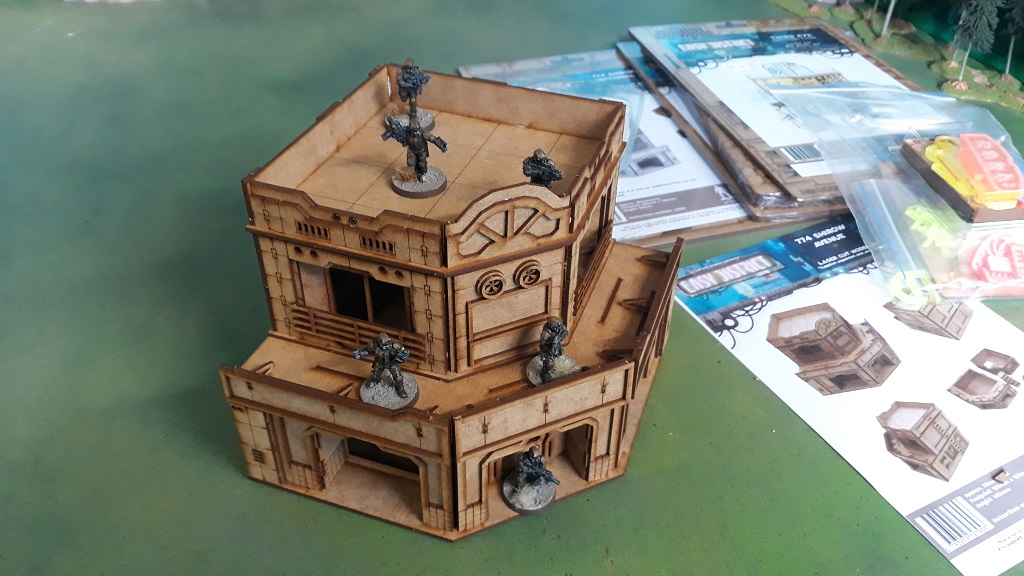 Completed build, which was quickly occupied by Afterlife minis for scale comparison purposes...
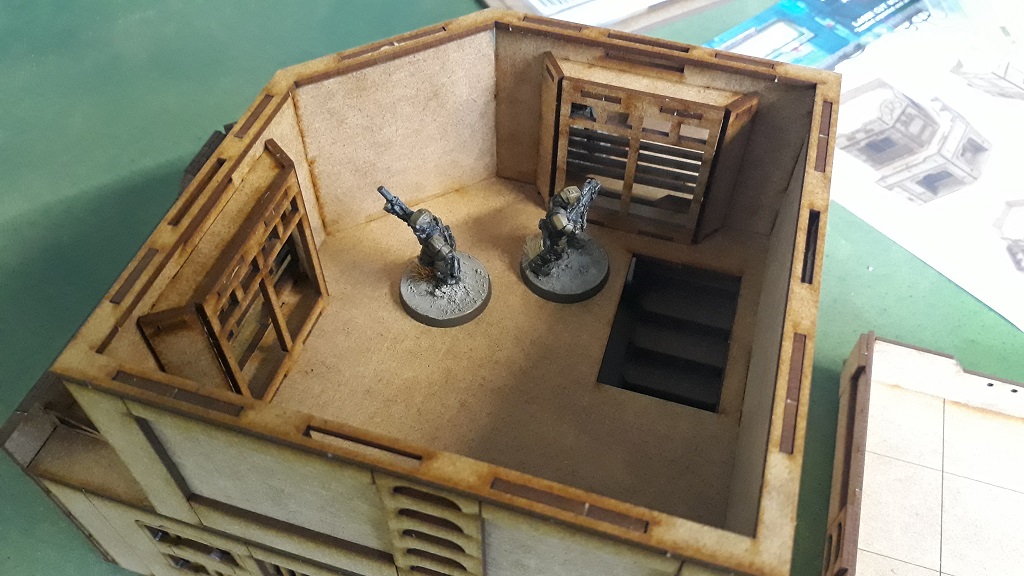 Interior shot - all the floors and roofs seem to be removable but are sturdy once placed in. Still weighing up the pros and cons of interior detailing...
Really happy with the end result. Took exactly one XLBS to build, will probably be able to smash out the two extra floors much faster now that I have my eye in and know how the kits have been designed. I’m planning to do as much of the painting on this project with an airbrush and weathering pigments (not simultaneously, don’t panic 😉 ) as I can.
Scale-wise this is ideal for what I’m after. I’m already eyeing off a few of their other kits…


Leave a Reply