SoapDoDger's Aristeia!
Finished bases
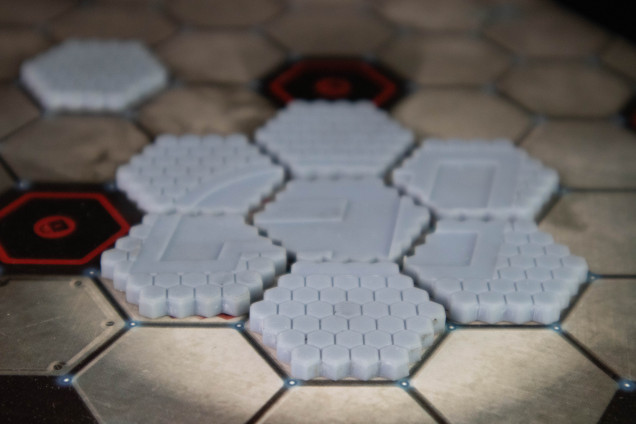
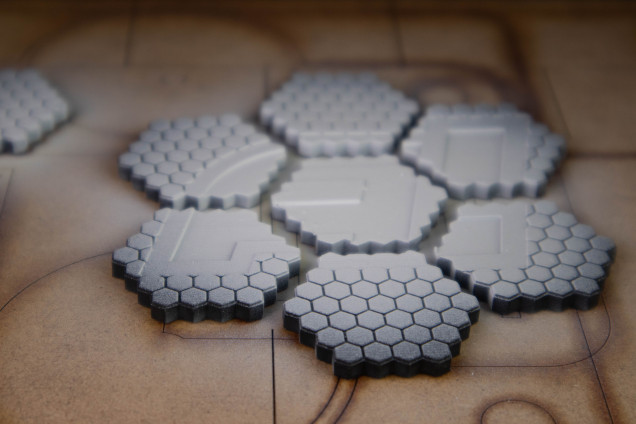
I completed the 3D prints in the early hours of the morning. I cured them under a UV light and sanded them down. This went ok but I could have been a little less rough with the prints when they first came out. Also a couple of issues with the tips off the bottom as I printed at an angle. I could have also made these a little more print friendly when designing them.
I inserted the magnets on the bottom and also sanded these flat and removed the magnetic powder. this was quite minimal though. I used 2mm x 6mm magnets. Seems like really good pull on them and keeps them in place.
After that came the priming I wanted to treat these just like a mini so done a 3 colour zenith. Black, grey and white in the centre.
A fortune moment happened when I realised I could stick the bases onto a spray board with magnets. This made things a lot faster.
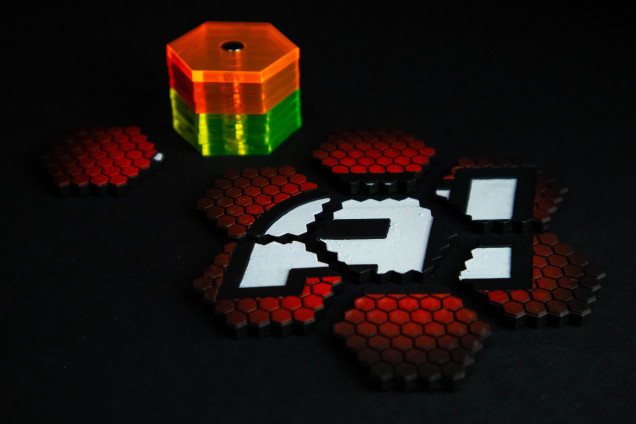
After this I went in with red ink black ink then black and white paint. I did test out a grey instead of black to closer match the base but didn’t like the results.
I also then went and cut the acrylic and glued the magnets in place with 2 part epoxy so but to haze the acrylic. this worked better than expected as I can stack all of the acrylic team markers together when not in use or during draughting.
After this I gave everything a coat of gloss varnish then matt. I liked the gloss look but only on the raised surfaces but my patience had it’s limit.
All that’s left is to put everything together.


Dude, this is awesome!