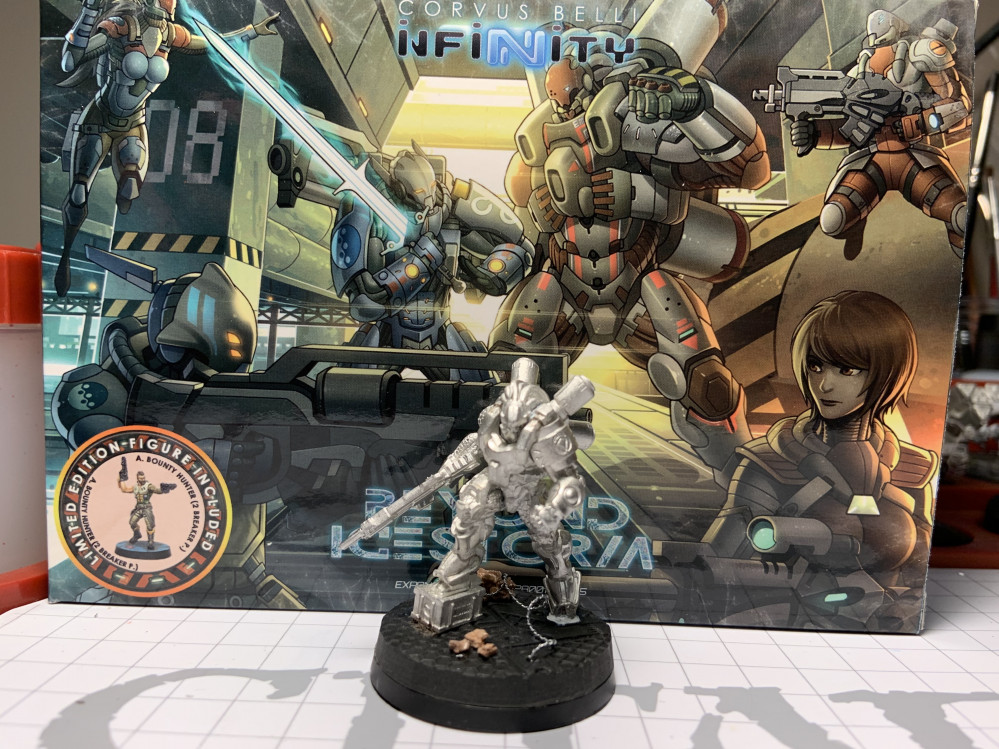
Infinity Beyond Icestorm - Assembly
All about that base...topper Part 2
Next I’m going to roll the clay with the ‘Mesh’ roller in the opposite direction as I’ve done with the ‘flat’ one. This will help make the result more or less circular.
In the past I would have popped this in the oven at this phase. However, since I’ve picked up the Round Cutters, I can now trim most of the excess away. This has 2 advantages:
- Since we are working with oven-bake clay, the excess is still usable (unlike epoxy putties) since I haven’t baked it yet. In the end this saves waste and $$ 🙂
- Using the cutter allows me to line up exactly which portion of the rolled design I want to use
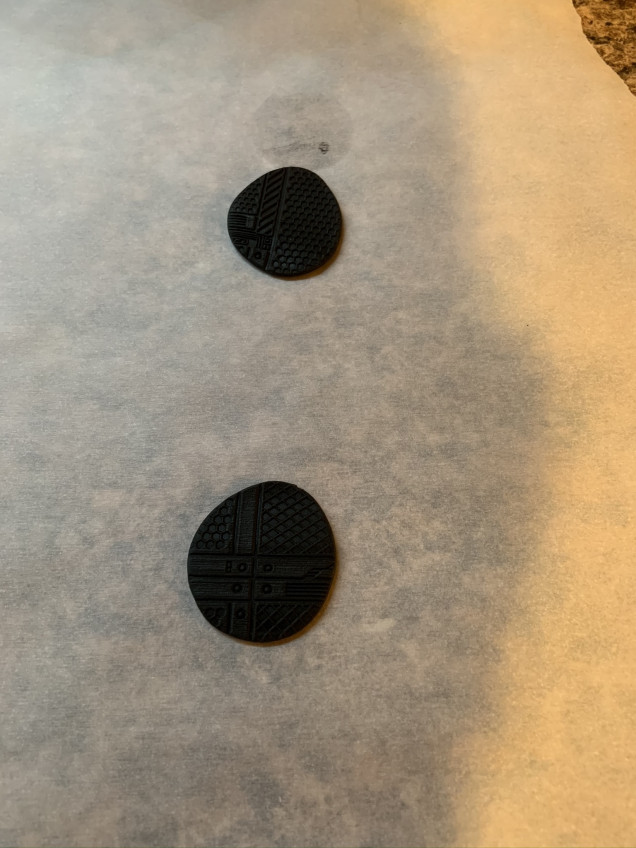
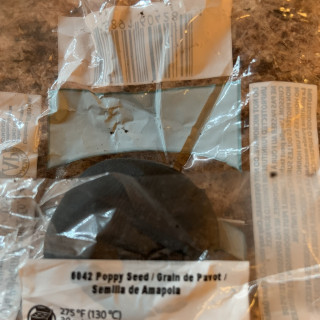
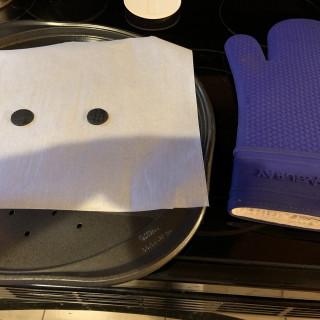
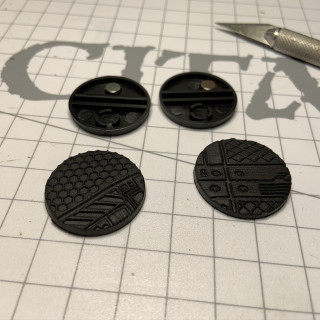
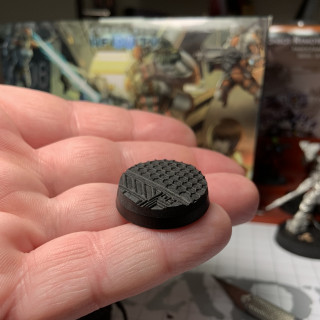
Here are the resulting two base toppers…ready for the oven. As you can see, the recommendation is 300 degrees F for 30 min per 6mm. Typically with base sizes of this thickness I’ve found that 15 minutes is plenty (faster than epoxy putty drying no?).
While these are baking, I’ve gone ahead and started the rest of the prepping of these two bases:
- I’ve trimmed away excess plastic flash
- I’m going to be adding 5mm x 2mm magnets to aid in transport and storage
- As you can see in the photos, I’ve found that the molded areas designed to accept these aren’t the best location for them…there is a small amount of flash that is difficult to remove to get them to set flush. Instead I glue them with CA to a flat area away from any flash
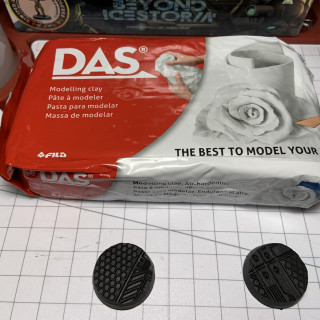
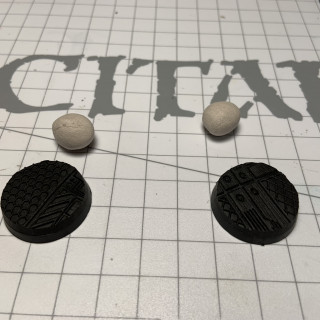
- I’m also going to be adding DAS air-dry clay as a filler to the remaining area under the base for three reasons:
- The extra clay will add a small amount of weight (as will the topper) to the base, adding stability and that satisfying ‘heft’ of the miniature
- It will provide a better substrate for the inevitable pinning of the feet
- It makes a nice clean surface in the end that I can sign/date…to drift down memory lane, or see how my skills have improved with time 🙂
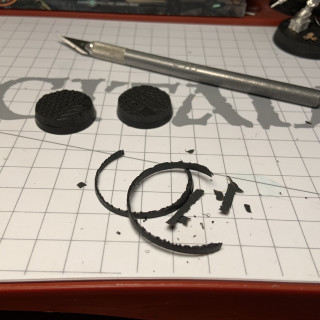
By now my toppers are finished baking. They need very little time to cool (couple of minutes)…after which I attach them to the bases with superglue. You can see at this point that they do overhang the beveled edge of the base a little. This is easy to correct by running around the rim with a hobby knife. The cured clay is very easy to carve. As you can see, there is very little waste in the end…something I felt like I always had an abundance of when working with greenstuff.
The last step for now is to fill the bottoms with the air-dry clay. I simply formed two small amounts of the clay and worked it into the crevices with my fingers. This material also has no tack…but it does leave behind a ‘dusty’ kind of residue on your fingers that comes off easily (this clay is essentially like ground paper with a binder). For this exercise, I used one of GSW’s silicone shapers to neatly scrap away the excess clay from the magnets.
At this point I’m going to pause for the night. It will take about 24 hours for the air-dry clay to harden. At that point it can be easily sanded flush to make a smooth finish, and then sealed with PVA or painted etc.
That concludes the base topper portion…altogether I spent about 1 hour working on these two, including the baking time 🙂
Next I’ll be finishing the sanding of these, followed by the assembly of the two models for them.


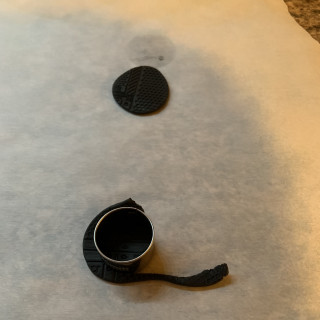
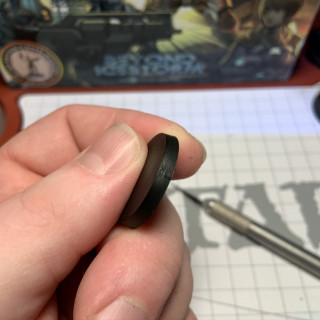
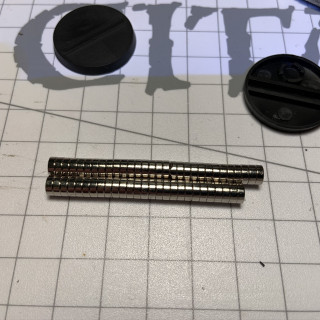
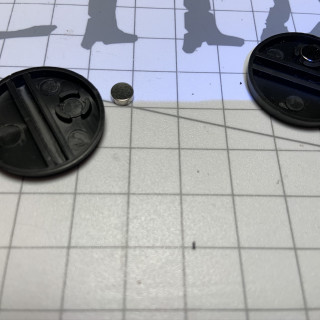
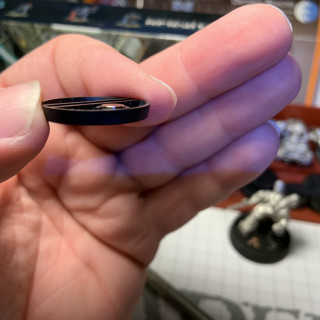
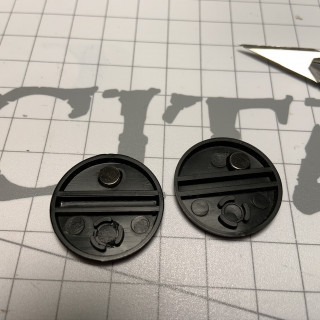
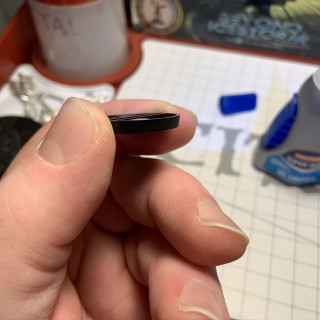
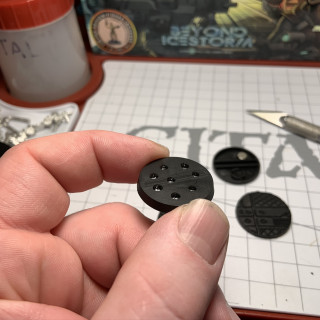
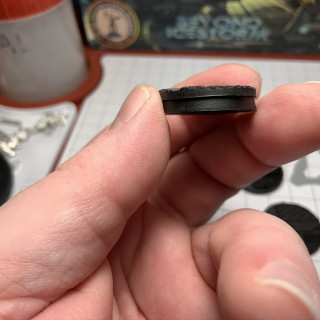
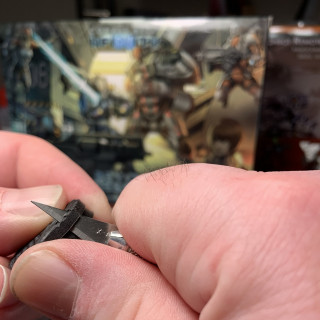
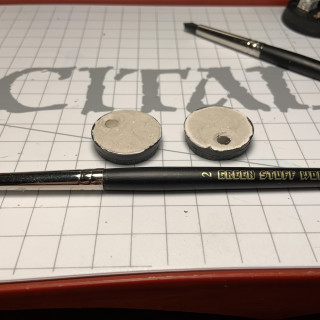


I used 5mm x 2mm round magnet for my Infinity miniatures base and found a 3/16 drill bit can remove the 1mm or so of plastic to make the magnet fit flush without having to build it up to level the bottom or drilling through the base.