Warhammer Fantasy Revisited
Speedmetal
I know, false advertising in the title…
So this is my quick and dirty/super lazy way of doing metallics on minis which have a lot of metal armour.
Step 1 is to prime the assembled minis with Army Painter Plate Mail spray. Most of my minis are picked up second hand and this still provides good coverage over underlying paint schemes even when I haven’t been able to strip the mini back fully. I’m pretty sure you all know how to work a rattle can so I won’t harp on about the basics here…
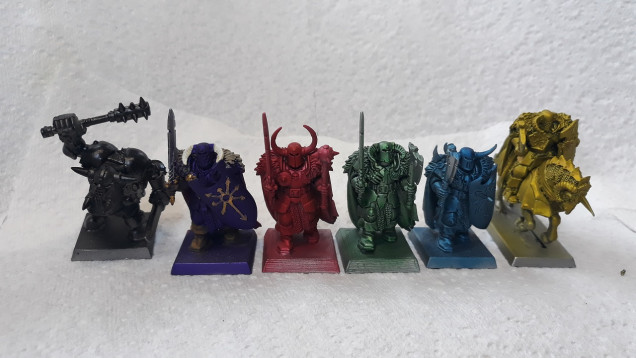
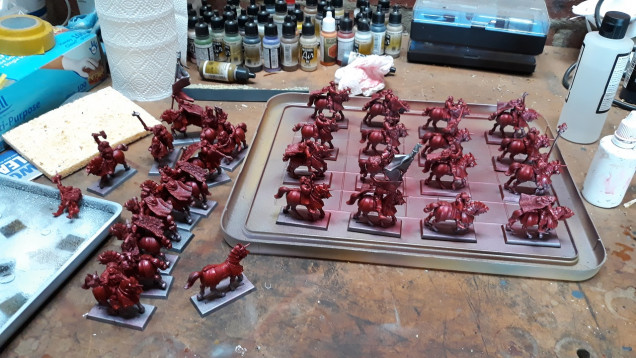
Step 2 is to pick your ink of choice and load into an airbrush. As the ink won’t bond particularly well to the metallic paint on the mini I try to avoid thinning down the ink too much (if at all). My airbrush is a super-cheap one and it clogs a little with some straight inks but even I can get away with about a 10:1 dilution with airbrush thinner. I set my PSI at about 20 and away we go. It usually takes 2 or 3 coats to build up enough ink on the mini to give a nice tone so be prepared to let a coat dry and come back later. Also make sure your airbrush is completely dry before you kick off – any water in the system form a previous cleaning will just bead on the metallic primer and mean you have to wait for it to dry before you can continue.
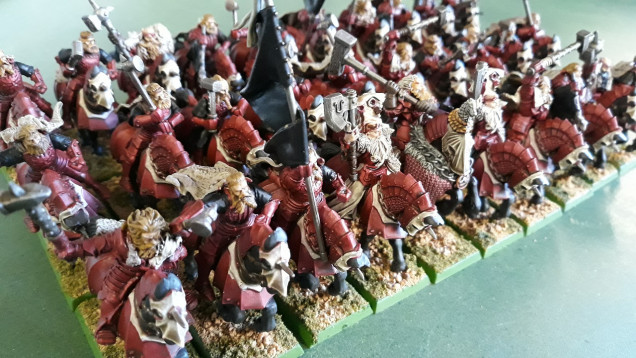
If you were feeling particularly fancy once you have a couple of coats on you could edge highlight the armour pieces and then either give another light coat with the airbrush or just brush on an ink wash to tint the edges back towards the original colour to bring in a bit of depth. I’ve done this for character minis but as I tend to hit multiple units at a go nowadays don’t know that I’d personally bother doing this en masse except maybe in really visible areas where you’d notice (maybe just helmets and pauldrons? Or the tops of shields?). As I tend to use AP varnish at the end I find that this knocks out any subtleties with blending done up to that point so I either don’t bother or go for less than subtle blending which then gets tinted and toned back to look a little more believable.
Step 3 is optional but one i’d highly recommend (I’m going to do this for all of mine moving forward) – hit the minis with a varnish to protect them from chipping or paint rubbing off as you continue to work on them. It’s frustratingly easy to damage the ink coverage when working on minis given how poorly the adherence between the metallic primer and the ink coats is, and it’s annoying to try and retouch accurately with a brush (you can make it less obvious but it’s still visible if you go looking).
A word on ink choices. I’ve only tried a couple of brands through the airbrush – Vallejo Game Colour and Army Painter Inks. The Vallejo seem to have much more pigment/richer colours but this vibrancy does make the colours seem a little more ‘comic book’ that the AP counterparts, which have a ‘grittier’ end look at the cost of requiring an additional coat (or 2) for a similar depth of colour. Both work well but It’s a bit like comparing a vibrant eye catching poster paint to an oil paint that requires a bit more prep – go for the one that will give you the result you are after. I imagine other inks would work as well and there are plenty to choose from, I just haven’t used this approach with any other brands as yet.


Came for the metal, stayed for the tutorial, 11/10 would come again.