DARKSTAR CAMPAIGN UPDATE: DUCHESS ANNABEL’S WAR IS OVER
Rasmus v. Damon (Japanese v. Royal Navy)
It’s time for more Darkstar, with a somewhat belated battle report for @rasmus and @damon .
As fans of the project may be aware, we’ve been puttering around with the tail end of the “Duchess Annabel’s War” campaign for a while. This has been a long-running struggle with a complex backstory, which honestly should have ended by now, but I’ve been using it as a “sandbox campaign” to bring in new Darkstar players until we build up steam for a fresh campaign with hand-picked factions.
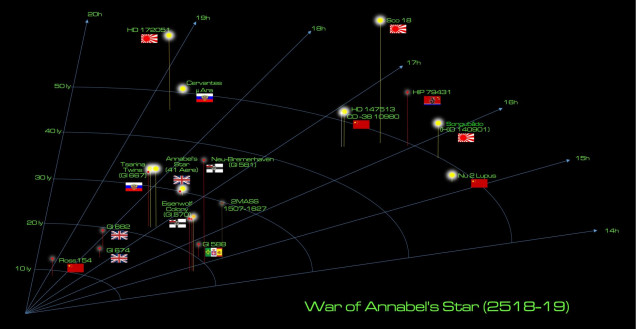
For now, “Duchess Annabel’s War” started about two “game years” ago in 2517. The fuse lit when the Panasian Union (Chinese) and the Holy Russian Empire desperately needed new allies for the ongoing war against the frontier colonial rebels of the Khitan-Tunguska Free State (commonly called the Black Dragons – a separate but related war that’s been going on for almost eight years). As Black Dragon raiders scored more and more successes in the Libra-Sagittarius colonies, the sector destabilized and Imperial Prussian and Japanese commanders smelled blood in the water. They saw a chance to take a slice out of the faltering Panasian and Russian colonies in the area. As if the Russians and Panasian didn’t have enough woes, the New Roman Alliance (France, Spain, Italy) was soon growing aggressive as well.
Traditionally, the British really couldn’t care less about the ongoing horrors of the “Black Dragon War” – even as more traditional powers began to involve themselves. The British have only one major colony in this area, the “Annabel’s Star” colony at 41 Arae. Once bestowed as a royal wedding gift, “Duchess Annabel’s Star” has grown into a major trade bottleneck from the outer Libra-Sagittarius colonies toward Sol, which powerful British companies have leveraged for tax and tariff revenue for almost 40 years.
But the prospect of Prussian, New Roman, and Japanese aggression in the area, whether it comes with Black Dragon rebels or not, is a threat the British shipping moguls cannot abide. This is a direct threat to British shipping monopolies, and thus the bank accounts of very powerful people who control certain figures in the Privy Council and Parliament. Ergo, by 2517 the Royal Navy has found itself allied with the Holy Russian Empire and the Panasian Union against the Prussians, New Romans, Japanese, and even Black Dragons.
The British were doing very well for a while, then very badly. Things seemed to be turning around by mid-September 2519, when the newly-commissioned “Agamemnon” Cruiser Squadron met a Black Dragon carrier raiding force and despite a savage aerospace strike, the British rallied and snatched victory from the jaws of defeat at the New Bremerhaven colony (Gleise 581 – see previous entry in this project). So startling was the upset that the British actually established a small presence in this former Prussian star system, which they hoped to trade back to Berlin at the peace table in exchange for favorable terms and a treaty guaranteeing British shipping rights through the sector.
But while the Black Dragon rebels are licking their wounds and the Prussians are willing to sign a deal, the Japanese are still anxious to get their licks in. The Japanese “Kama” cruiser strike squadron just dropped out of its Darkstar wave, having completed a 30-lightyear jump from Songubado Colony (HD140901). The Japanese have been in their Darkstar Wave for over a month, they may not have even heard the war is trying to wind down. Not that it matters now, both sides are decelerating to combat speed and powering up guns and shields.
Another battle is on!
September 21, 2519 – New Bremerhaven (Gleise 581 - M3V Red Dwarf - 20 LY from Sol)
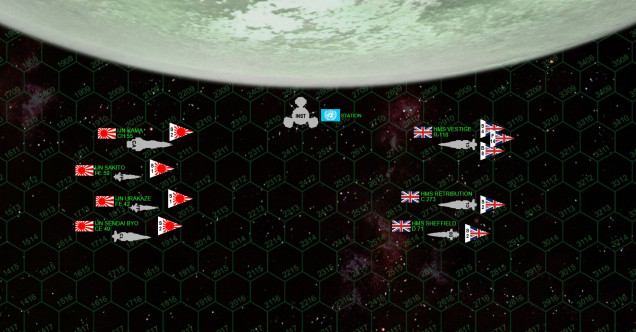 Here’s a quick matchup of the two forces. The Japanese force seems heavier, and well … it is. The Kama is a Katana-Class heavy cruiser, practically a pocket battleship that forgoes speed, aerospace craft, or even torpedo launchers for a powerful battery of hull-frying EPCs. Sleek, fast, modern, and beautiful, the Taiho (Greater Phoenix) class light cruiser Sendai Byo is something of a hypertech glass cannon, but her weapons are absurdly accurate and she can outrun most destroyers half her weight. The two Akashi-class strike frigates Urakaze and Sakito are Japanese naval aggression incarnate, to the point where almost every single weapon is mounted forward. The British, meanwhile, present a much smaller, more nimble and flexible force. The Trafalgar-class heavy cruiser HMS Agamemnon is still in dry dock, in her place in the Valiant-class light fleet carrier HMS Vestige, carrying elite squadrons of Supermarine Starfire aerospace fighters and Hawker Star Typhoon bombers. Basically, Damon wanted to try out carriers, and this carrier’s strike group has been upgraded to ELITE to balance the points against Rasmus’ heavy Japanese strike force.
 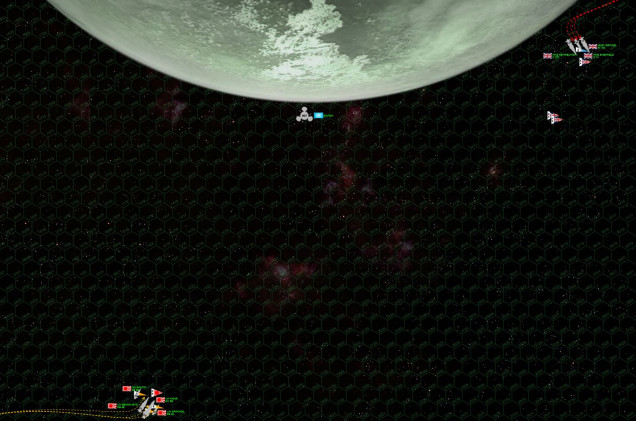 Now if you’re hoping for up-close gunnery duels, capital ship dogfights, boarding actions, and eye-to-eye broadsides, sorry, this week we do NOT have your game. The British have a carrier wing, it will take then two turns just to launch everything and then everything will be delivered in a smashing spread of aerospace torpedoes and missiles. The Japanese, meanwhile, also want to keep their distance, with insanely accurate guns that can hit at long range, usually out-reaching as well as out-punching the British guns (what few there are). Both sides also have to watch out for enemy ordinance, the Japanese Ki-45 Toryu (Dragon Slayer) and the British aerospace strike launched off HMS Vestige. So both fleets are going to want to stick together for maximum interlocking point-defense support.
 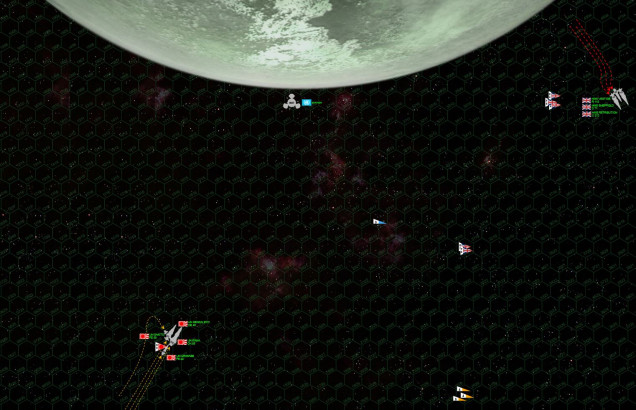 British aerospace launch is now more or less complete, while the Japanese have slung out a full spread of their Ki-45s. But at the distance these task forces are maintaining (34 hexes = 6120km, roughly the distance between London and Chicago), no one’s really in reach to hit anyone else, yet. The trick with aerospace or torpedo spreads is to hit the enemy all at once, since their point-defense guns can only shoot down your warheads so fast. So no one’s in a rush, while the bigger guns in both fleets ping away at each other at standoff (transatlantic) range.
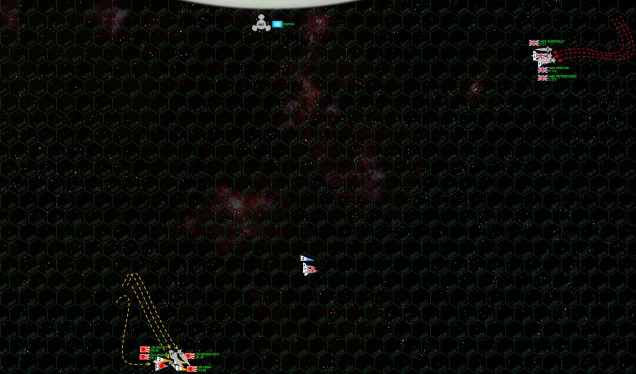 Still closing … Still maintaining formations. Stay on target … STAY ON TARGET … These cruisers, destroyers, and frigates have been slapping at each other for some time. Both the British and the Japanese have heavy torpedo and aerospace strikes they hope will knock down at least one enemy warship and thus give their side an edge in the rest of the battle. This is also a RAID, where victory points are tallied based on ships destroyed, crippled, or driven off, rather than an ASSAULT, where victory is based on ships left standing. Ergo, voluntary retreat is an option, and both Damon and Rasmus know that if one of these cruisers goes down, the other side can accelerate off the table and claim a win. Now Japanese torpedo spreads have gone in, but so far the British point defense systems have taken care of them. With their biggest ship (the heavy cruiser Kama) carrying NO torpedoes in favor of heavy guns, the Japanese task force is SLIGHTLY light in terms of NUMBERS of torpedoes. But Damon knows what a single Ki-45 “Dragon Slayer” can do. He can’t afford to let one of those bastards hit.
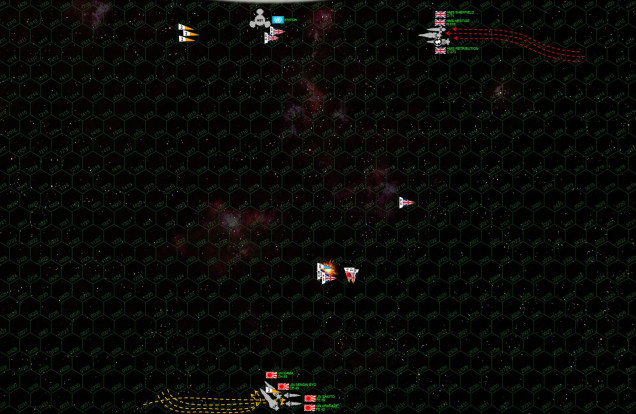 Finally, more meaningful fire is exchanged. As British fighters and bombers draw near the Japanese task force, staying carefully out of range of point defense until the all aerospace and torpedoes can be amassed for a single “alpha strike,” Japanese scouts rush in to engage. Six scouts are shot down, three by elite British bomber crews, and the rest by the elite British fighters, but the Scouts also bring down two British bombers. This is actually pretty significant, since each bomber carries two aerospace torpedoes. Also, as elites, these bombers are worth three points apiece. So six Japanese scouts at 1 point compared to two British 3-point bombers, so far the score is tied but also … the British torpedo strike is already slightly diluted.
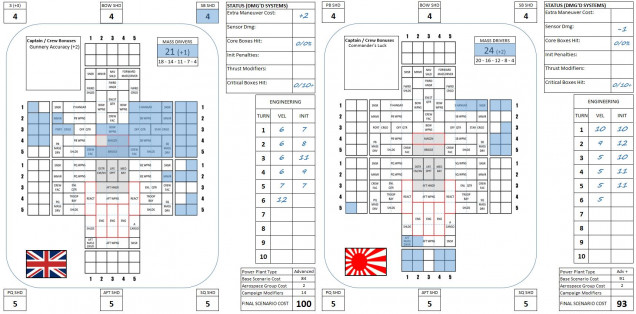
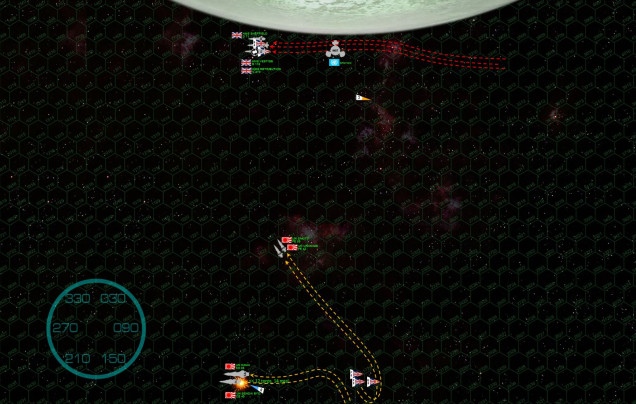 On Turn 5, both sides are finally in position for what they hope will be a game winning strike. For the Japanese, this is a gunnery broadside, still at long range … but with the Sendai Byo’s pin-point targeting and the now at Kama’s horrific firepower, it will be enough. The British Relentless-class light cruiser HMS Retribution has also been heavily mauled through the previous turns, and her port bow armor is badly charred. Damon executed a roll so the Retribution would present a starboard bow to the Japanese, but now the starboard bow shields just went down. Fighting the moon’s gravity and with maneuvering thruster damage, the Retribution didn’t have the power to roll back over again, and with an unshielded starboard bow offered up as a target, the Japanese just can’t resist. Kama and Sendai Byo jackknife turn and power up to hit this vulnerable area, but doing so turns their sterns temptingly to the incoming British aerospace strike. NOW BOTH PLAYERS have played an extremely cautious, measured, and reserved game. Now comes the time when both sides throw down. As it happens, the British aerospace strike is just very unlucky, and the Sendai Byo, although badly damaged, survives. The same cannot be said for the HMS Retribution, which is hammered by the Kama’s huge EPCs, one bolt going straight against the bridge.
 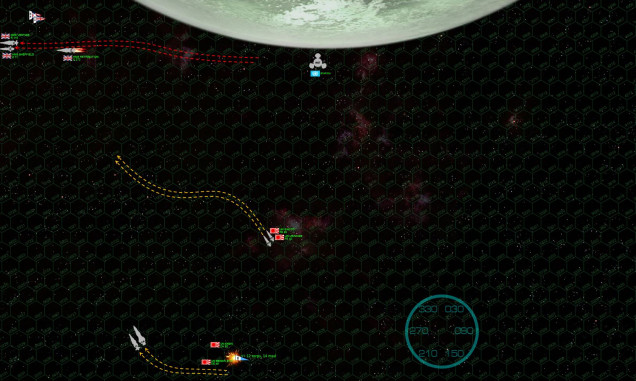 The frigate Sakita has also been heavily damaged, but the end result is that the British just never got lucky like they did last week, and no Japanese ship is crippled. The Retribution is crippled (98 point ship) which gives the Japanese a win. Damon wisely breaks off, choosing not to hand the Japanese any more victory points in a futile attempt to turn the tide or mitigate the defeat (in an ASSAULT game this logic would be reversed). So the remaining British shops power off the table. The Retribution will be taken under tow and eventually brought back into service. Damon made the right call in breaking off (he no longer had time to land his aerospace craft and rearm for a second strike), since a 98-point ship out of a 272-point game is a 36% margin, JUST SHY of the 40% required for a MAJOR rather than a MINOR Japanese victory.
  The Retribution and Sendai after the battle. The Sendai really shouldn’t have come off as well as she did. Just sometimes Lady Luck is on one side or the other. Last week she earnestly courted Damon. This week the bitch spurned him, HARD. The Retribution was more or less doomed on Turn 5, but if the Sendai had gone down as well the game still would have been more or less a draw, which means British fighters might have been able to pick off a Japanese frigate while the Kama tried to knock down the destroyer HMS Sheffield. As it turned out, we had two cautious, wary, and experience players biding their time, biding their time, biding their time for just the right moment … and when that moment came, it came sideways. :D


![TerrainFest 2024 Begins! Build Terrain With OnTableTop & Win A £300 Prize! [Extended!]](https://images.beastsofwar.com/2024/10/TerrainFEST-2024-Social-Media-Post-Square-225-127.jpg)






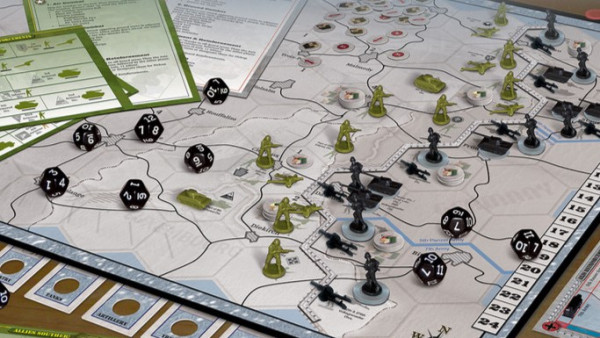




A great game an thank you again for hosting @oriskany and @damon for a well fraught if unlucky game
We gotta get 1-2 more players together for an actual campaign. 😀
Definitely a swing and a miss with this one. The alpha strike was a total failure, it just didn’t deliver. Maybe should have gone after the frigates instead and at least scored a few more points before bugging out. Oh well, at least everything can be repaired and enough points in the bag for a couple of juicy upgrades…
It was an epic game @damon and @rasmus . A very cautious chessmatch. A slow burn. Took a while to get going, but was then decided in thunderclap speed. 😀