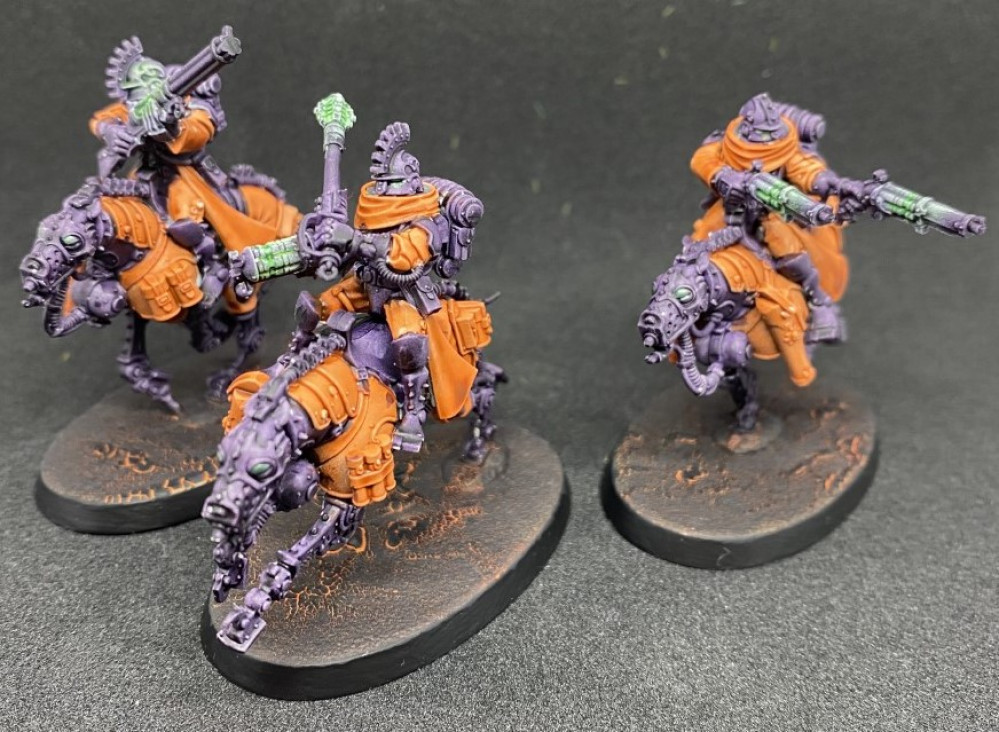
Adeptus Mechanicus at the Warhammer 40k Hobby Weekend
Ironstrider Ballistarius
With this kit I noticed a few mis-numbered parts in the instructions. I also noticed that the servitors legs are supposed to match up with the main models legs but there are two possible combinations. First time round I put the wrong legs on the servitor. Luckily I spotted it before the glue had dried so I was able to correct it easily.
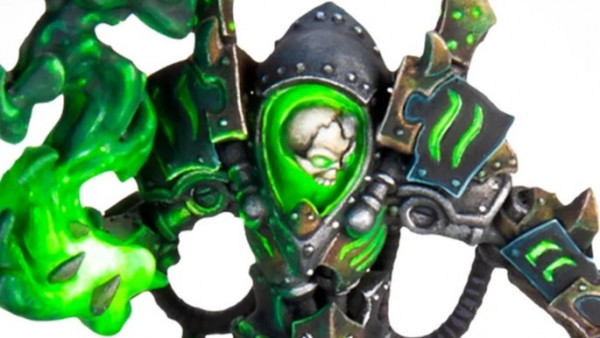
Green object source lighting
These is my quick and easy way to achieve object source lighting. First paint the rest of the model, including any weathering you might choose to do. Then paint the areas that is the light source ceramite white. Then drybrush ceramite white around the area of the light source, ensuring your brush strokes always move from the light source directly away. Drybrush heavily close to the light source and get progressively lighter as you get further from the light source. The idea here is that the areas drybrushed are where the light would be falling. You can see in the picture above that I have drybrushed the top of the leg when the light is being emitted by the engine cylinder.
The light source is then coloured using a wash, in this case biel-tan green. The areas that were drybrushed are glazed, in this case waywatcher green.
TIP: watch out for mis-numbered parts and be careful with leg positioning on the servitor.












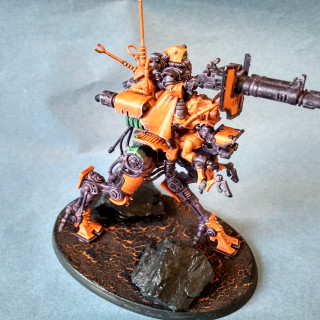


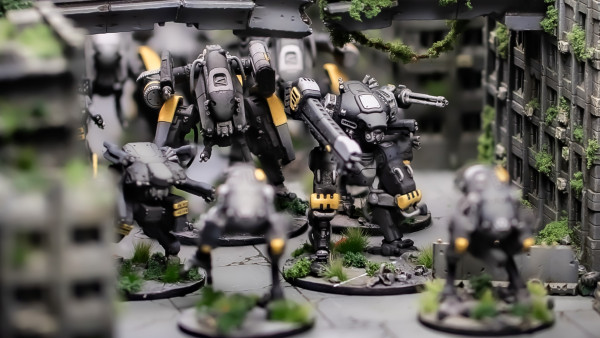












Great work all around. If I have to pick a favourite, it would probably be this walker. Striking colour scheme, but it works.
Thanks. It’s a great model if a bit fiddly to build.