
40k Hobby Weekend Tau of the Shattered Sword
The Build
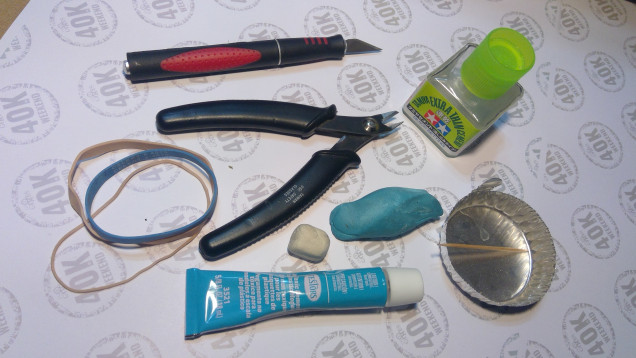
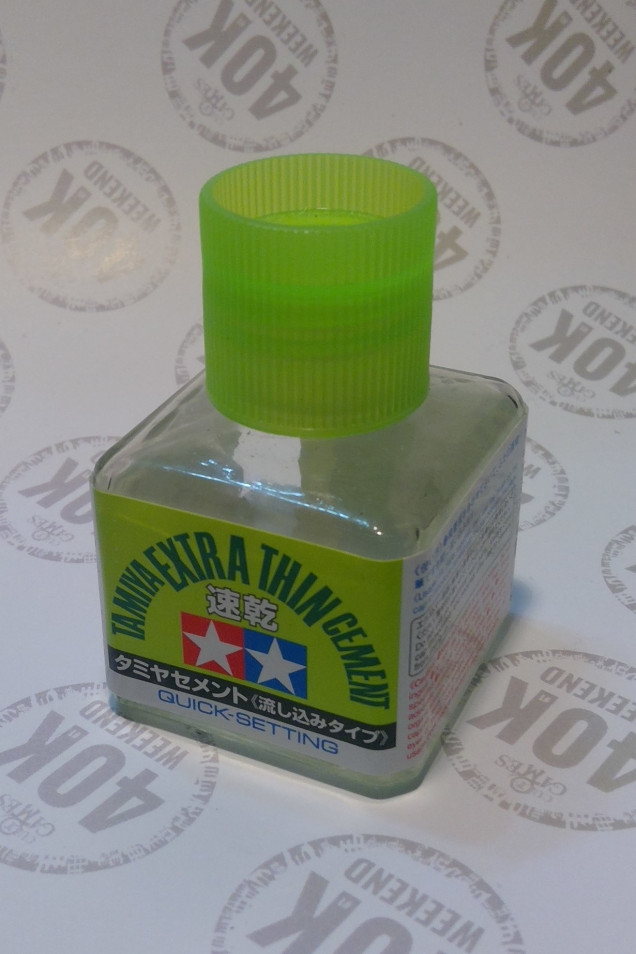
Started assembling the Fire Warriors. Before discussing the assembling process, here is a brief description of the tools used. Clippers are used to remove parts from the sprue. Hobby knife to clean mold lines and any chunk of sprue off the parts. Testor cement adhesive to glue the parts. A tooth pick and small dish to apply the glue. Experimenting with Tamia Extra Thin Cement to glue some parts. There is some blue blu tack and some white blu tack. There is no real difference between the blue and white blu tack.; just happened to have different colours. The blu tack and elastic bands used to help hold parts together while the glue cures.
The Tamia Extra Thin Cement is an interesting produce. The adhesive comes in a glass bottle and the cap has an applicator brush. Parts can be dry fit together and then “paint” adhesive along the joint. It works pretty good.
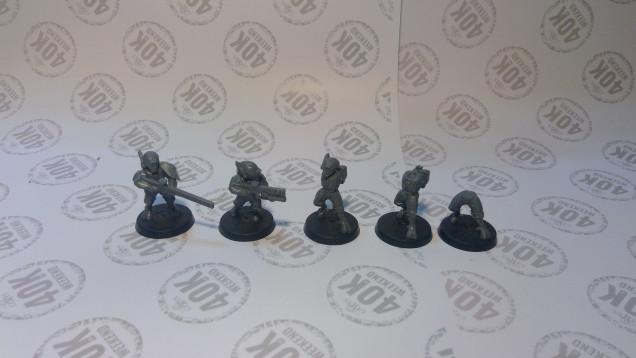
Clipped out parts from sprue and started to assemble the models as per the enclosed instructions. Quickly clean off mold lines.
Step one, attach the legs to the base.
Step two, attach the torso and back pack.
Step three, attach the head and antenna.
Step four, attach the arms.
Step five, attach the shoulder guard and remaining bits.
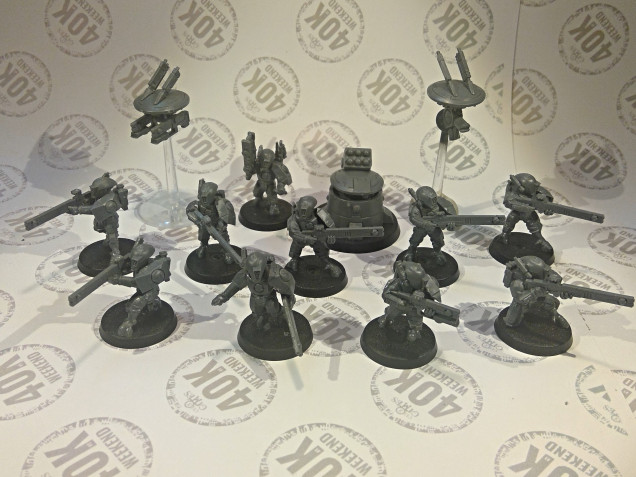
The tau missile DS8 missile support turret, looks a bit like a R2-D2. It is tempting to paint the turret R2-D2, but that would be contrary to the theme. The turret and the drones may get painted battle ship gray to go with the theme.
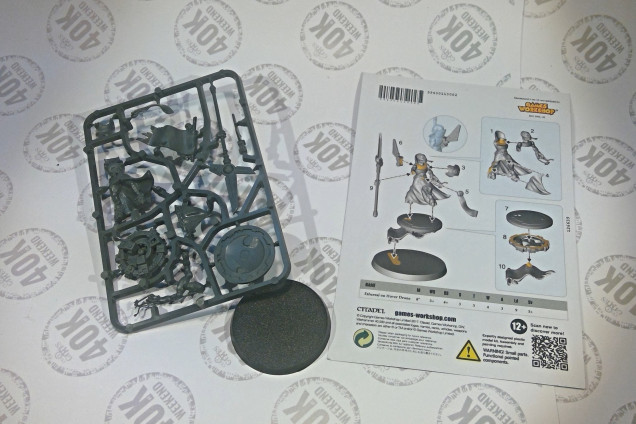
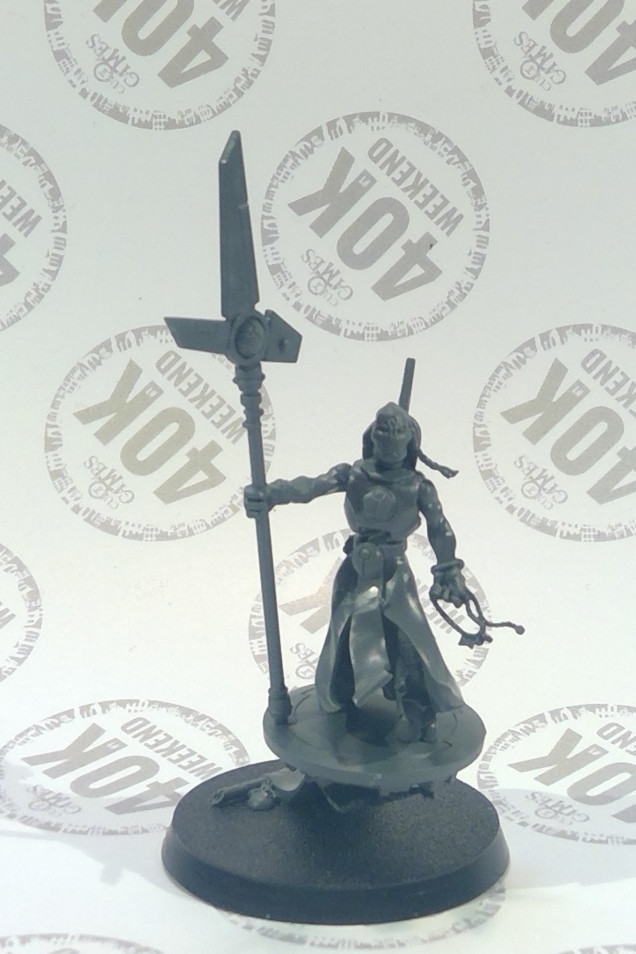
Next is the assembly of the Ethereal. As stated previously this is a single pose model. This model was fairly simple to put together. Not sure how to paint the Tau skin; the but armor and cloth will be painted as like the fire warriors.
The Ethereal was not glued to the fancy base separate for easy of painting.




Excellent work so far, I have a large tau force painted unimaginatively in the T’au Sept colours. I do like that Ethereal, i’ll be interested to see how this turns out.
I have to admit that I am not the greatest paint. Will see how it goes.