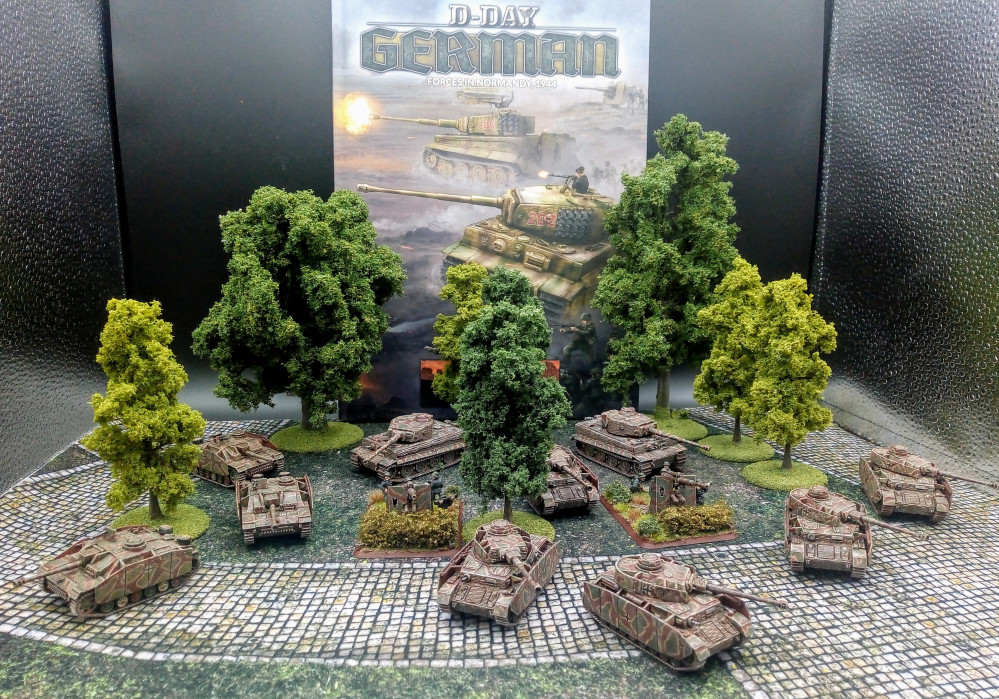
Flames of War Germans
Doing decals for the first time
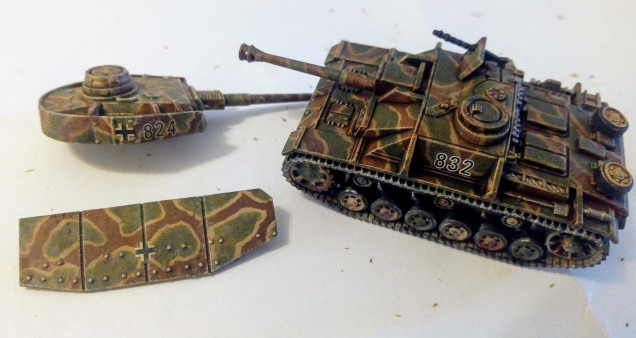
So this has been my first foray into decals. It’s been one of those things I have tried to avoid for many years and doing WW2 and having a need for the markings to be correct, I am now forced to apply them.
Thankfully the FoW Colours of War book has a guide and watched a video or two but didn’t have the decal softener stuff so just had a go.
Fully submersed them in water until they floated around easily. Applied some water to the tank/armour where the decal is to go. Used a brush to transition them from the water to that area.
Initially I was trying to align them using the brush and with these being two different ones per three digit number they need to overlap for even spacing. That’s a bit of a pain to get them right. After struggling with the first few and one in particular I ended up moving them around with the tip of my cutting blade. This made them much easier to manipulate and set to the correct positions.
Once this is done and the water had dried I then applied Agrax Earthshade across them. This is the shade I had used in the armour and worked nicely to dull them down. After that a drybrush of Ushabti Bone, again something done on the armour, kept them in theme with the model as a whole.


Gloss varnish and tweezers are the one thing I would always recommend for decals. Makes it easier to position them, and stealing Gerry’s explanation, when you create a gloss sandwich with the decal in the middle, you very rarely see the transparent film.
These ones look fine, good work.
Cheers buddy