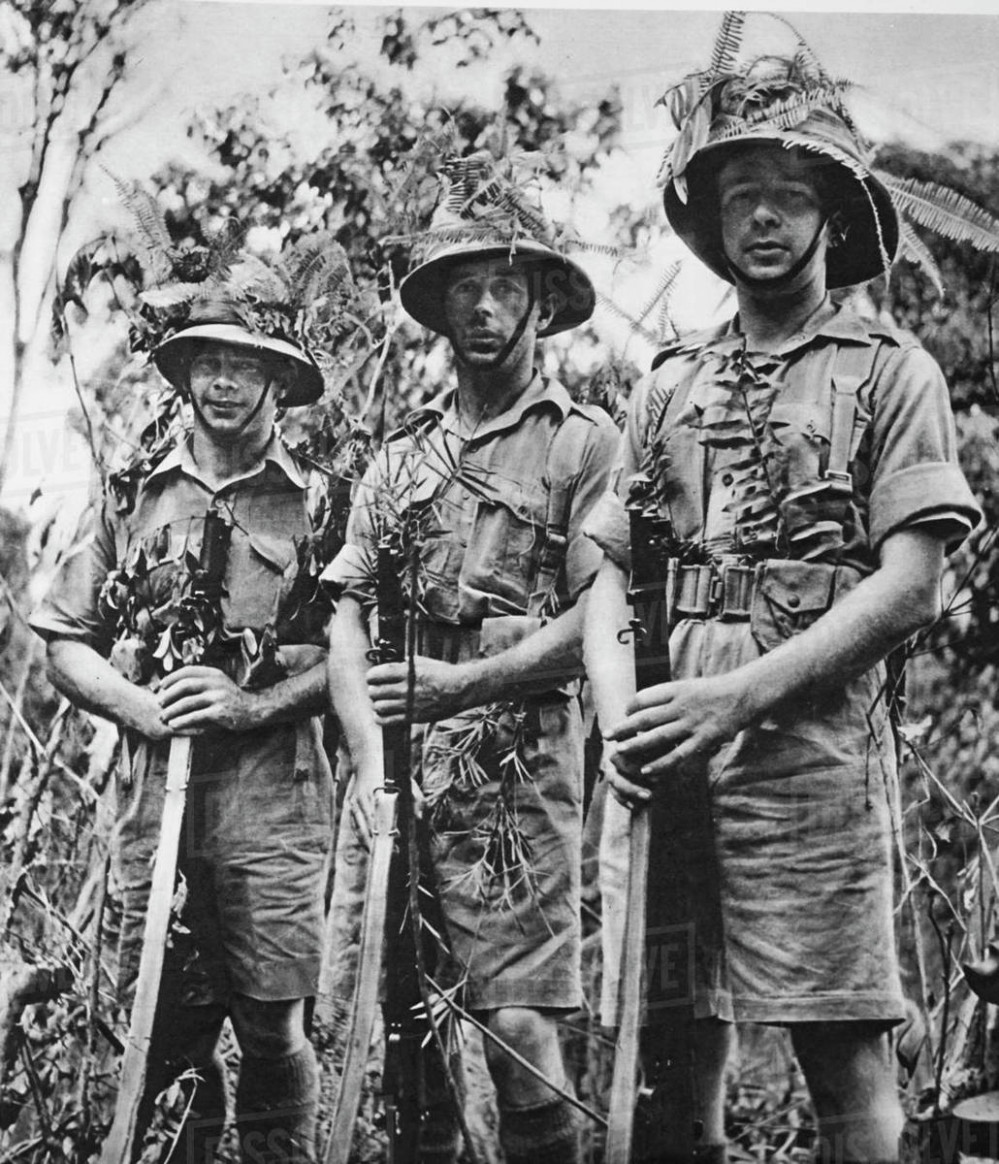
British & Commonwealth (28mm) Malaya Campaign 1941
Project Blog
Context:
The Malayan campaign began when the 25th Army, under the command of Lieutenant General Tomoyuki Yamashita, invaded Malaya on 8 December 1941. Japanese troops launched an amphibious assault on the northern coast of Malaya at Kota Bharu and started advancing down the eastern coast of Malaya. Japanese forces also landed at Pattani and Songkhla in Thailand, then moved south across the Thailand-Malayan border to attack the western portion of Malaya.
More info available on line good starting point is Wikipedia
At Salute I managed to get on the demo game being run by the Too Fat Lardies and that hooked me into the period, the figures used at Salute after close inspection were Warlord Desert War plastic figures, and some subsequent research “Google” confirmed that the tropical kit was fine, plus the head selection on the 8th Army and Commonwealth Infantry sprues worked well for the units present in Malaya to face the relentless onslaught of the Japanese in the peninsula.
For the companion Project Blog on the Imperial Japanese Army click here
Figures:
- Warlord Bolt Action – British Commonwealth Infantry Sprues x3 (18 Figures)
- Warlord Bolt Action – 8th Army Sprues x3 (18 Figures)
- 2 sets of Gurkha heads (10 heads)
Pending the new book the most up to date Chain of Command List for British Far East 1941
Without the new Far East Chain of Command book the difficulty is the weapons for the Junior Leaders the 1940 British Platoons had rifles the army would be slowly introducing SMG into units with the priority likely to be home service.
The Sten was only just being produced in the U.K. so it’s unlikely to have made its way to the region, the U.K. was purchasing Thompson’s so that is a possibility so I will build my senior sergeant with a Thompson but will probably arms the rest with Rifles.
Chain of Command unit: (38 men)
Command Team: (2 men)
Lieutenant, Senior Leader, with pistol
Sergeant, Senior Leader, with Thompson SMG
2” MORTAR TEAM (3 men)
2” mortar with two crew
BOYS AT RIFLE TEAM (3 men)
Boys AT rifle with two crew
Section One (10 men)
Corporal, Junior Leader, with Rifle
LMG TEAM RIFLE TEAM
Bren gun with three crew
Six riflemen
Section Two (10 men)
Corporal, Junior Leader, with Rifle
LMG TEAM RIFLE TEAM
Bren gun with three crew
Six riflemen
Section Three (10 men)
Corporal, Junior Leader, with Rifle
LMG TEAM RIFLE TEAM
Bren gun with three crew
Six riflemen
So I am therefore 2 men short …..
For information for future builds (will need some Lewis Guns)
Volunteer units in Hong Kong and Singapore will replace all Bren guns with Lewis guns.
Canadian units in Hong Kong will replace the Bren in the third section with a Lewis gun.
So as I need more figures a quick look at support options requiring figures
Medical Orderly (1)
Entrenchments for one Section (10)
Boys AT rifle Team, (2)
2” mortar Team, (2)
Sniper Team (2)
Regular Infantry Section with Junior Leader (10)
Forward Observer and 3” mortar battery (1)
Recce Section of two Universal Carriers, 4 crew each. One Junior Leader (9)
Amounts to 39 figures (I have excluded the Engineering teams as these will require significant modification …) so it looks like a Box of either 8th Army or Commonwealth Infantry will be required…
So the build commences.
Thanks to some magazine freebies I can extend the base force.
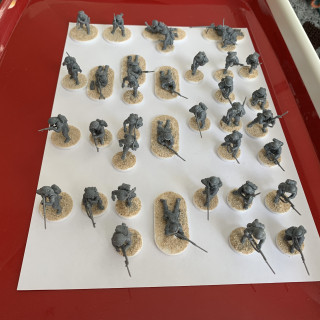
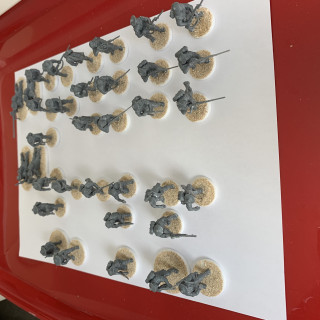
I have built a platoon in Tin helmets, using Warlord Commonwealth, 8th Army and some left overs from late war British.
in addition I have a section each of troops in
Tam O’Shanter’s
Slouch Hats
Turbans
Having read accounts I felt I should aim to have a entire Platoon of Empire troops so my Section of Sikhs is the start of that plan.
In addition I have built some extra Australians with a Boys anti tank Rifle and 2” mortar.
The figures are based on 3d printed bases and PVA’d then dipped into Chinchilla sand from the local pet shop. Left to dry and then tapped to loosen any sand not adhering and then PVA’d again.
Next is base coating and painting ….


![TerrainFest 2024 Begins! Build Terrain With OnTableTop & Win A £300 Prize! [Extended!]](https://images.beastsofwar.com/2024/10/TerrainFEST-2024-Social-Media-Post-Square-225-127.jpg)


Leave a Reply