Warhammer 40K: Conquest Challenge
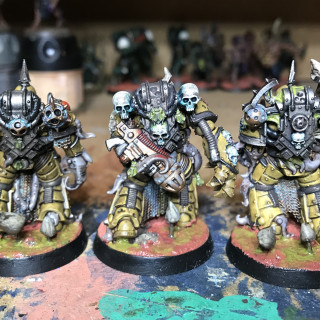
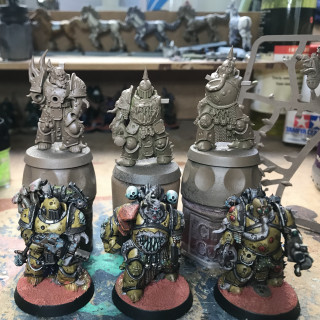
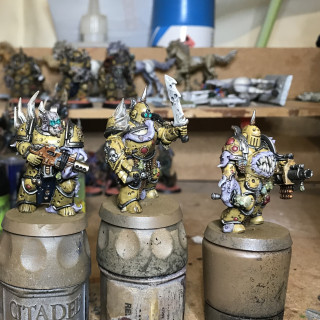
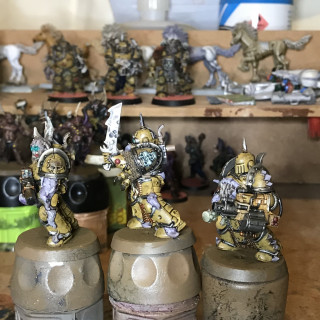
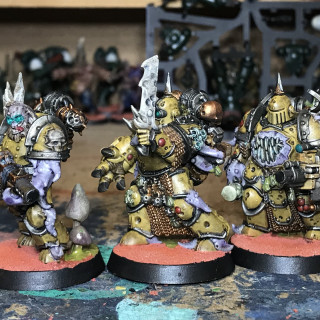
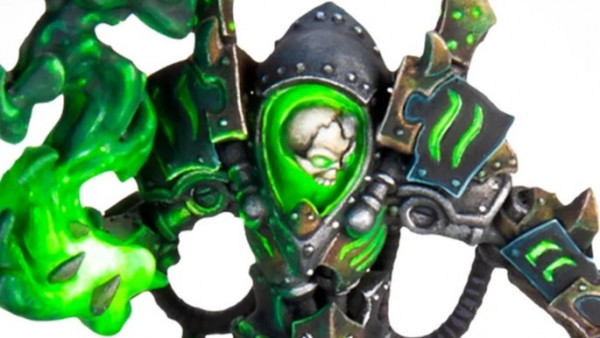
2 Jun 2019: Plague Marine painting
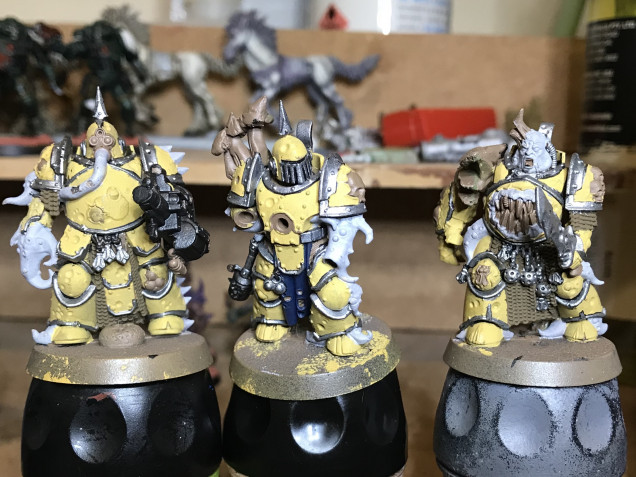
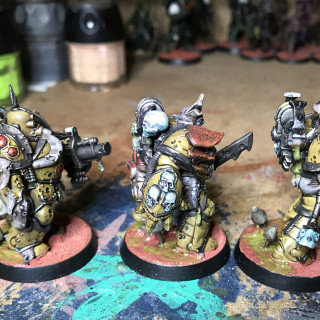
Trying to work quickly, I’ve limited my palette.
Base spray: Army Painter Leather Brown
Armour: Citadel Iyanden Darksun
Trim and details: Citadel Boltgun Metal
Cloth: Citadel Deadly Nightshade
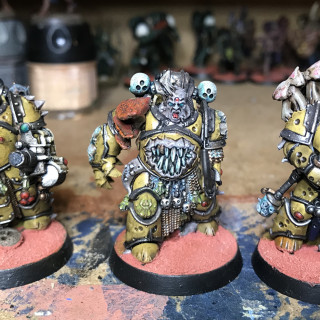
Fleshy bits: Citadel Fortress Grey
Weapon casings: Citadel Dwarf Bronze or Armpy Painter Skeleton Bone
Pustules: Citadel Foundation Mechrite Red
Shading:
- Citadel Devlan Mud across the whole mini.
- Army Painter Dark Tone across the yellow armour, bone accessories and flesh.
This gave a nice two-toned dirty, grimy look to the minis. I found the Devlan Mud on its own wasn’t strong enough.
- Devlan Mud only on the Bronze surfaces.
- Citadel Leviathan Purple wash on the flesh.
On the first batch I think I put the purple wash on first then the Devlan Mud and Dark Tone later as glazes. On the second batch the Purple went on after the darker colours. The result is that the second batch flesh looks more purple than grey.
- Old Citadel Waaagh Green Ink as a glaze on Skulls and grenade head.
Other details:
- Citadel Nurgle’s Rot on all of the Fly icons.
- Typhus Corrosion on Boltgun coloured weapons for rust weatering
- Nihilakh Oxide in small patches on Bronze coloured accessories for weathering.
- Pustules highlighted with Citadel Blood Red
- Eyes and gun sights are Citadel Kabalite Green with a Waaagh Green glaze.
Fungus is painted using a variety of colours using Vallejo German Camo Brown, Vallejo Khaki, AP Skeleton Bone as the bases, then mixing in other colours previously used.
Basing: same as others in this project, with a couple of added details. To represent the spreading corruption of the marines, they have a slime trail behind them.
- First drill a hole or two into the base and add hand-made fungus, glue into position.
- A coat of paint-on gloss varnish behind the minis.
- Patches/ trails of Nurgle’s Rot.
- Tidy up the rim with a matt black.
Varnish all with a spray matt varnish (Not done yet). I might paint on a gloss varnish to the flesh to give it a slimy/wet look.
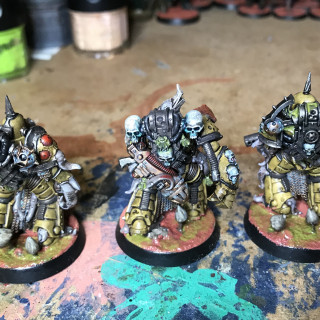
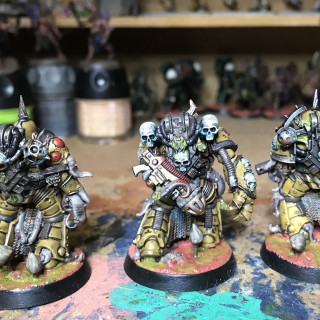
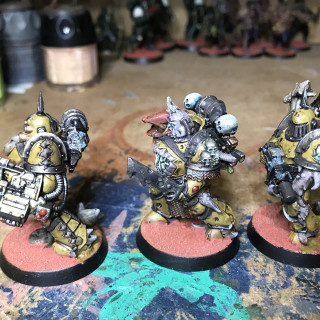
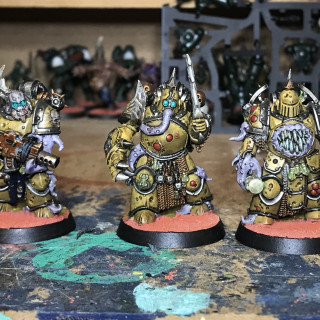
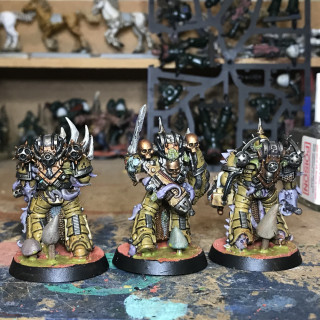
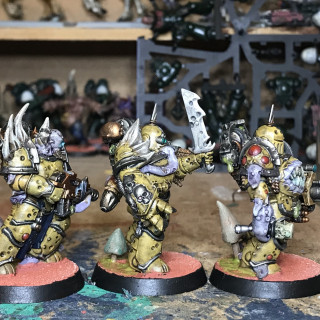
17 June 2019 2nd Batch of Plague Marines, Conversions required
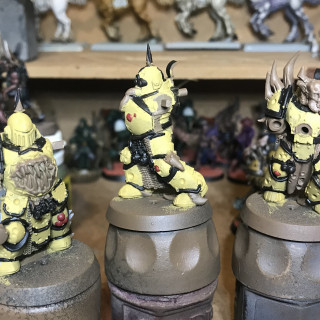
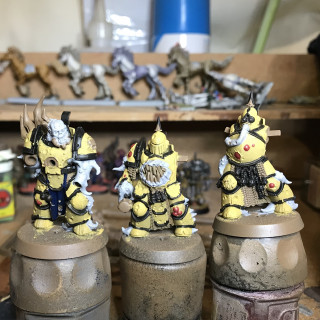
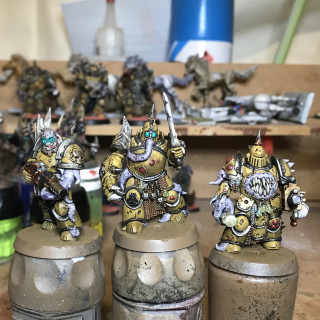
The second batch of three Plague Marines is a second set of the same three Marines as above. So I wanted to take the opportunity to get some conversion practice.
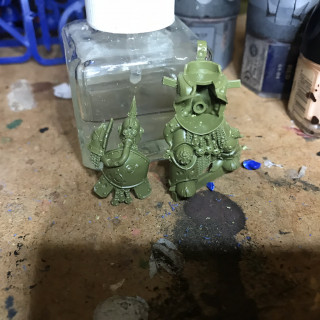
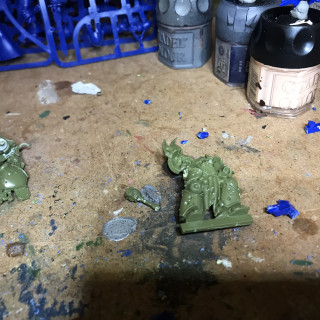
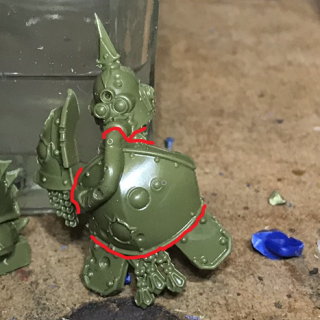
If you compare with the three above, I planned to swap the front pieces of the Leader and the Heavy Weapon miniatures. I also took the grenade off the Bolter armed Marine to move it to another Marine.
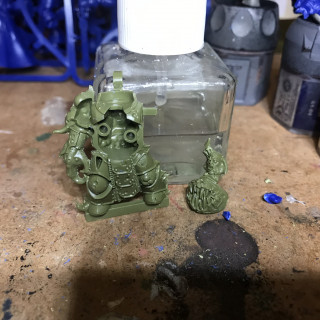
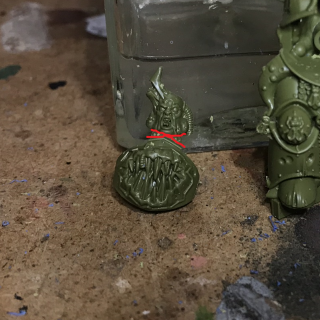
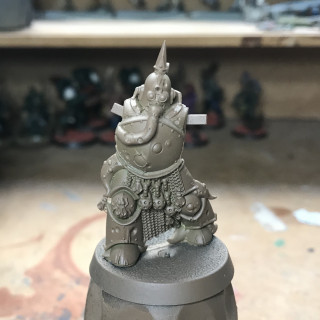
Marked in Red are where cuts were made to the minis. The Gas Masked torso was cut at the hose at the front of the mask. The front half of the pauldron was cut away to put with the other half on the body it came from. The three hanging details were also separated from the piece to move back to the original body. Heavy cuts were made to to the body to allow this torso to fit neatly, though there were still gaps. These were filled with greenstuff, and this was also used to re-join the gas mask hose at the face.
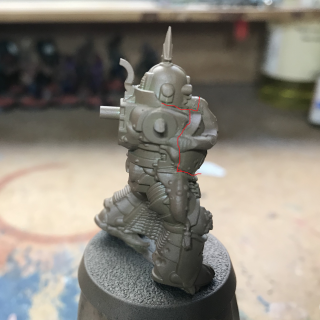
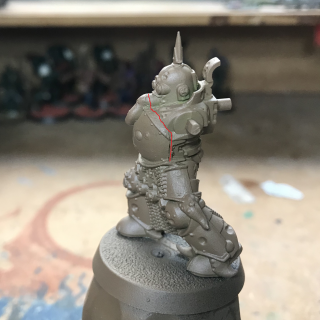
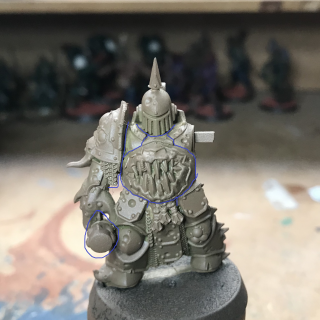
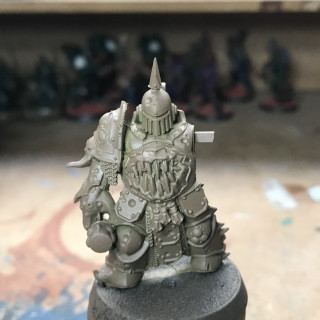
The Bare head was cut away from the torso front that has the gut-mouth. The gut-mouth torso was cut in to the body that had been the Gas-Mask marine body. Again gaps were filled with green stuff. The hanging details were added along the waist line to help cover gaps and voids present in the miniature. Initially I was going to use the bare head n this body, but decided to move the Helmet head onto this body to further differentiate it from the original. The picture with blue lines shows where all the pieces were joined to make this conversion.
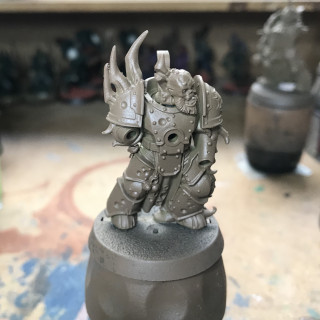
The bare head was to be placed onto the standard boltgun marine body, but I wanted to make it different somehow. I cut the face off from the head, and replaced it with one from the old GW Zombie regiment. It looked suitable rotten and gross. The join isn’t neat (Again some greenstuff to fill gaps) but they’re rotten and decrepit, so I think I can get away with this in the paint stage.


















Leave a Reply