Pafetikbazerkas foray into 15mm Flames of War
Lets get it together
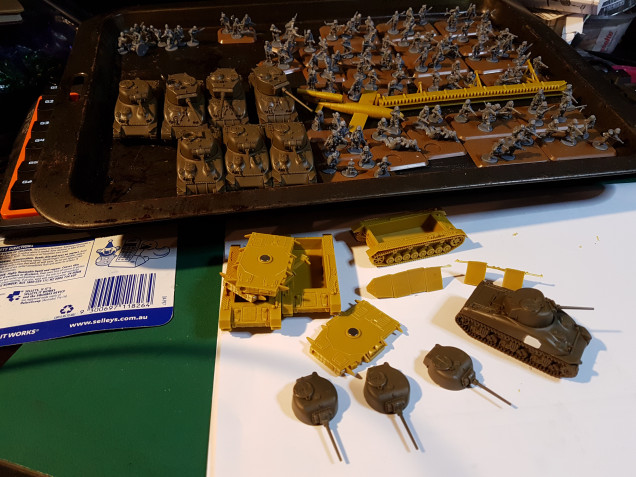
So I find part of the appeal of FoW is getting back to putting together plastic kits. Something I hadnt done for many years. I soon found that with the fine detailed parts of FoW it was apparent I needed to get a proper pair of sprue cutters. So not being patient enough to wait for a mail order I skipped down to my local Games Workshop store to get some Citadel fine detail cutters and man they are awsome.
As for adhesives I’ve started out a new system for me which uses a pen primer and standard glue tube. I dont thinmk I’ll be turning back. The primer means I can use the glue very sparingly, it sets very quickly, and it seems incredibly secure. I do have to ensure my pieces are going to have a good clean fit before touching the glue though as I dont think theres much chance of separation after.
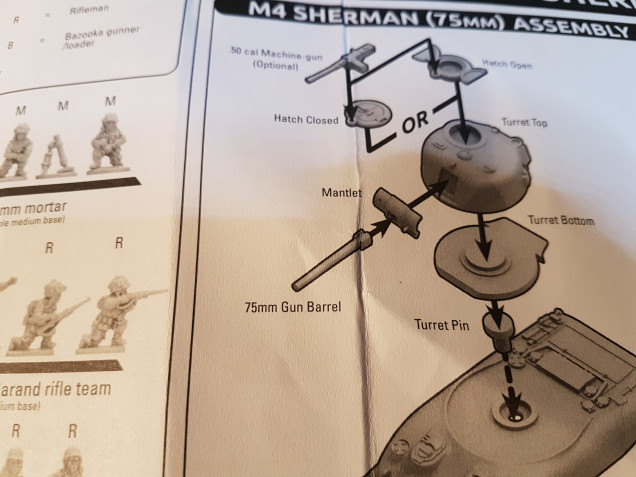
I’m sure many experienced WW2 Sherman lovers would have picked this up if they still needed the instructions. Thankfully my hours of reaserch trawling over pics and entrys about late war Shermans and what seperates them from early war Shermans help me pick this error up before I applied glue. Having instructions only showing the late war mantlet ears and missing the actual matlet base deserves a little editorial slap on wrist.
One of the more interesting things I discovered about the Sherman was that such a huge numbers were made and in a variety of ways. Molded, welded plate, combo of molded and welded plate , small hatch, large hatch, 75mm or 76mm , advances and changes being incorporated into processes on the factory floor and retro fitted in the field simltaneously. It all means that you could fit the options available together in almost any combination and be right for some point in the war.
I decided to go with the theme of late war a make 3 76mm versions but the remaining 3 standard turrets I have configred with earlier style mantlets and left the ears off. So that is 3x76mm , 3x 75s with ears and 4x 75s naked. I have also welded plates to the side of a small hatch body as a start to giving the models character and considering stowage etc.
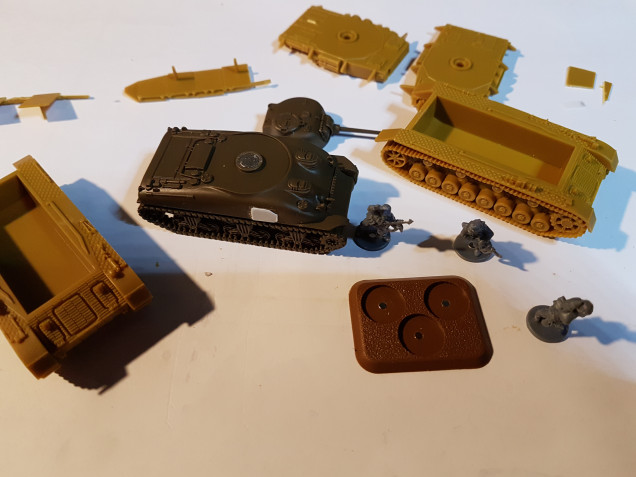
Oh and I love the fact that I found a use for the magnets I impulsively bought at a gaming con a few weeks ago and Battlfront make it so easy, the 1x 5mm disks slot straight in with no further work.
I know magnets in the infantry bases is a bit nuts but it will alow me to easily reconfige and replace any that break a barrel etc. Also I’m hoping one day they maybe used as individual figures for roleplaying purposes. But thats another project.


Great project.
I look forward to following your progress.
Great work so far. I also found the instructions a little off in places but apart from the mud guards on the Shermans, everything goes together very easily.