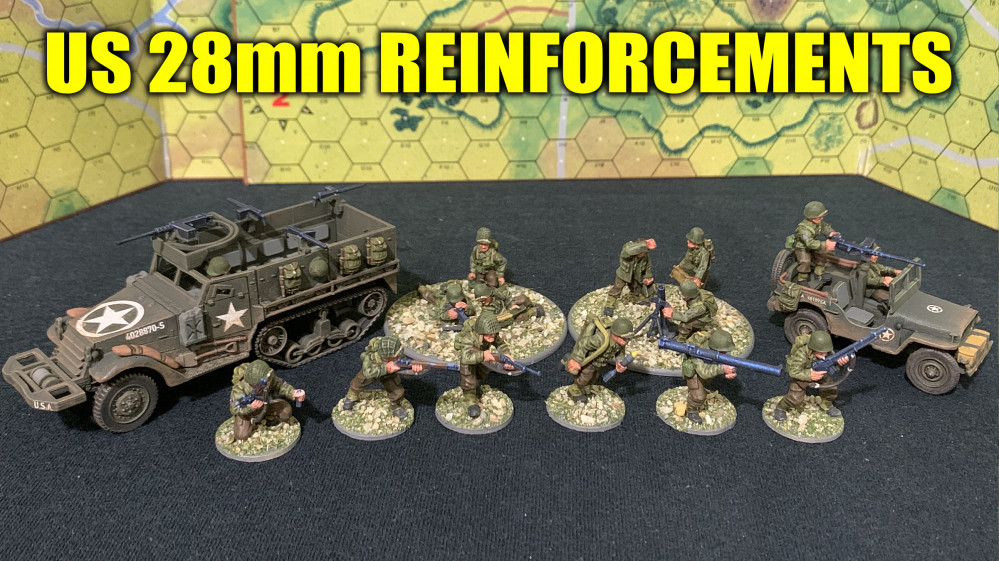
Oriskany's US 28mm Reinforcements
Guns Fall Silent on Omaha - It Is Finished.
Turn Twenty, and the game overall, is finally complete.
At twelve minutes a turn, this puts us at 240 minutes after H-Hour, four full hours.
In all, this game took seven days, playing at least 3-4 hours a day. So how did it go?
Well, as students of the battle will tell you, the Americans are already kind of running away with it. We’ll get into the “how and why” of it later, but for now let’s see how this game finally burns down to a conclusion of our re-creation of D-Day on “Bloody Omaha.”
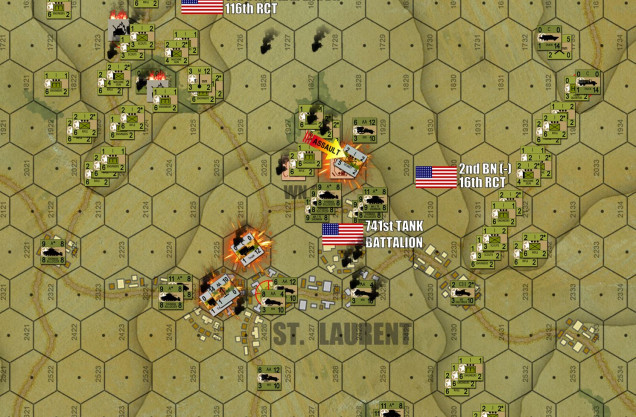 Turn 16: As expected, the badly-damaged German center collapses almost immediately. The St. Laurent Objective Hex is taken, joining the Les Moulins/Dog Three draw on the left flank of 116/29th InfDiv with the right flank of 16/1st InfDiv coming down the Easy Three draw.
 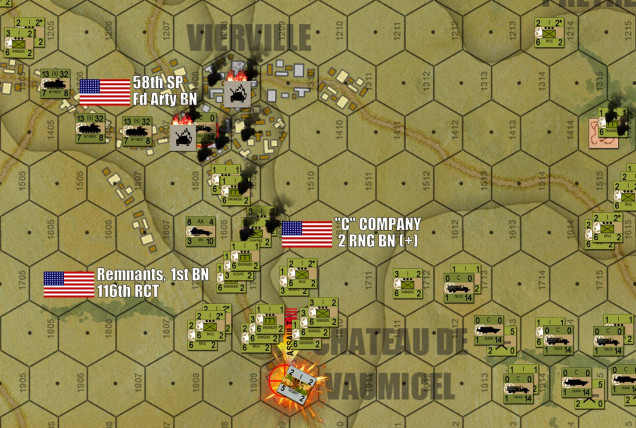 In the west, the Americans follow up the win at Vierville with an infantry powerhouse attack on the next objective, Chateau de Vaumicel. Other ranger units are already splitting off to secure exit hexes off the west end of the board. Historically this was the start of an effort to reach fellow Rangers at Pointe du Hoc.
 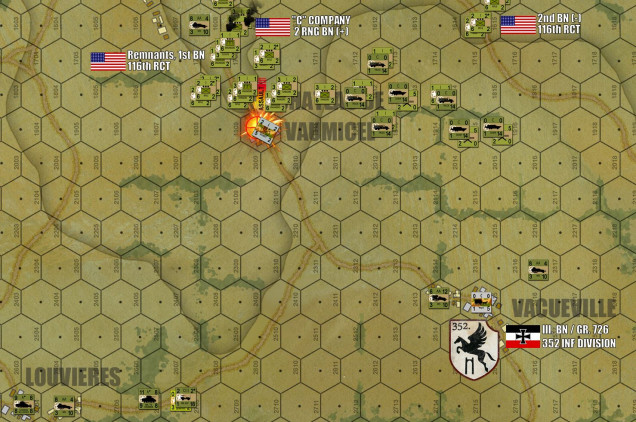 Further to the south, we see that the entire III. Battalion / 726. Grenadier Regiment / 352nd Infantry has been reduced to a single horse-drawn wagon team. Seriously. Five horses, ten men, five wagons. Their equipment is probably a handful of rifles and pistols, and a good bottle of French wine if they’re lucky. Drink it fast, boys ... the Americans are already encircling you and closing the road to Louviers as well.
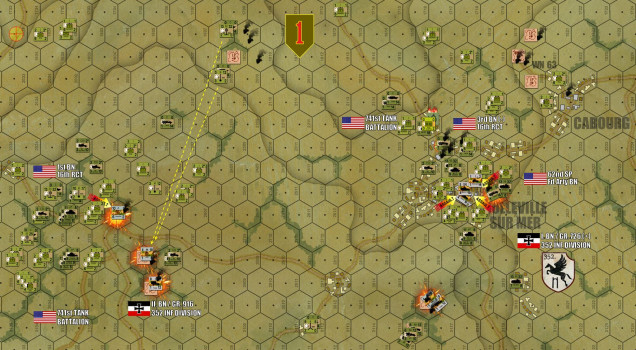 Turn 18, and the last battles are sizzling down in the east. Historically, Colleville-sur-Mer wasn’t really secured until D+1, and here the Germans are putting up a tough last resistance as well. But their left wing is gone and faster American mechanized units area already behind them, taking out supporting FlaK positions SSW of the town. To the west, American spotters have called in coordinates to the only land-based indirect artillery mission the Americans will make in this game, splashing 81mm mortars and 105mm field howitzers on the last FlaK positions of II Bn/916 Rgt.
 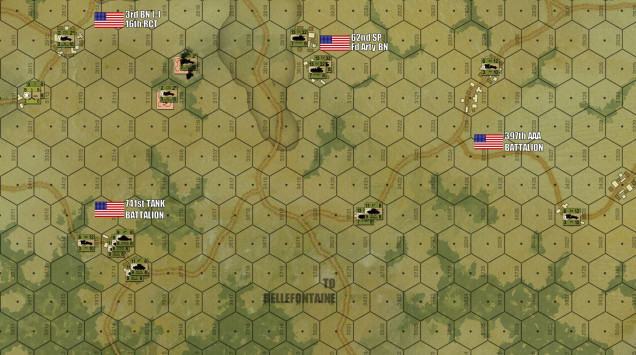 Turn 19: The Americans spread out and occupy every village and road in the southwest corner of the board, totally securing this whole section of the board. This is at least 2 miles deeper than the Americans historically secured in this sector.
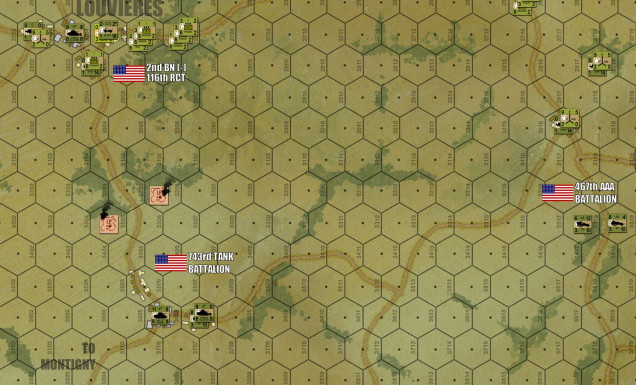 Same in the southeast. For the record, this was the approximate “phase line” predicted in V Corps HQ operational planning. Historically, they didn’t come close. But here we seem to have actually pulled it off.
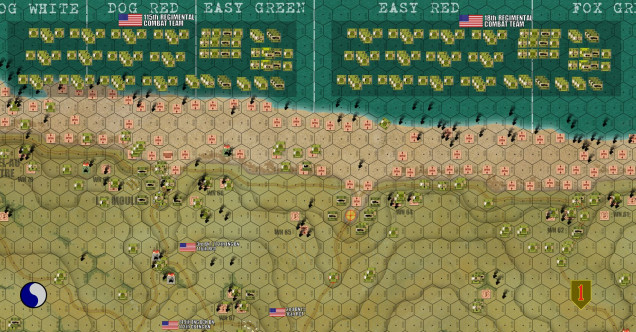 Turn 19, the second big “Operational Wave” starts to come ashore, two ENTIRE NEW Regimental Combat Teams (RCTs). To the west we have 115th RCT, originally part of 29th Infantry and assigned to come in on 29th’s beaches (Dog Green, Dog White, Dog Red, and Easy Green). To the east we have 18th RCT, part of 1st Infantry. Now historically, the western landings were so bad, the decision was made to change 115th’s landing site and put BOTH of these RCTs on East Red and Fox Green, reinforcing the 1st Infantry that was actually making better headway. But since both divisions are doing pretty well here, I kept with the original plan and landed 115th on the original target. Hey, it’s not every day you get to make a CORPS COMMANDER decision in Panzer Leader. Oh, and by the way ... Turns 1-19 of this uber-game were the MORNING landings (16th and 116th RCT). 115th and 16th RCT are the MID-DAY landings. In the afternoon a THIRD wave would land a FIFTH regiment, the 26th (the balance of 1st InfDiv) on Easy Red and Fox Green. The last part of the 29th InfDiv would not land until the next day (175th Rgt). So even with this whole second wave, we’re only looking at the first two-thirds of what these two divisions would but ashore, and ANOTHER WHOLE DIVISION (2nd Armored – “Hell on Wheels”) was behind that on June 8th IIRC.
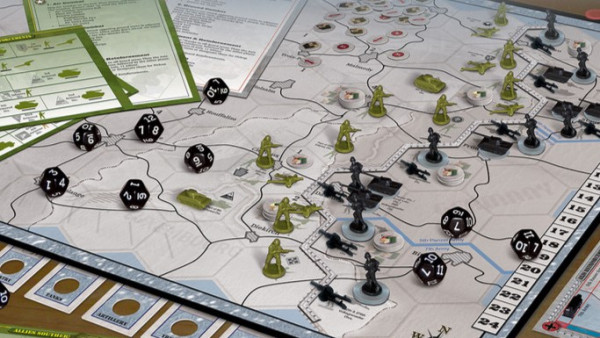
 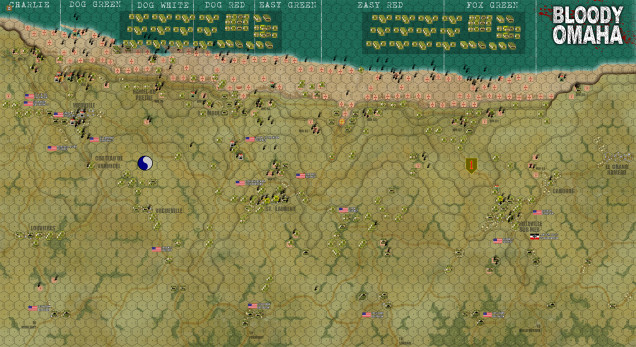 So here is a full-screen blow up of the whole battlefield at the end of Turn 20. Open image in new tab to get the full resolution. Yes, the Americans won, badly. As in “imbalanced” badly. As in they were definitely more than a little “OP” in this scenario. True, American losses were rough in the first three or four turns. But I’ve taken another drive through the numbers, and compared my statistical results with more reliable historical results from the actual US National D-Day Memorial Foundation (spoilers, the casualty rates usually published in most “credible” books are waaaay too low). Higher historical casualty figures, combined with American game losses being lower than first surmised, means that this game delivered an American casualty rate lower than the historical record (not higher as I first said). So a lower American casualty rate, combined with a much faster rate of success (particularly in the west, the Americans achieved a deeper beachhead in four hours than the historical Americans did all day) means the Americans really ran away with this game once they got off those beaches and up on the bluffs. Seriously, after Turn 6 or so practically not a single American unit died unless I made a blatant error or units were lost in landing accidents.
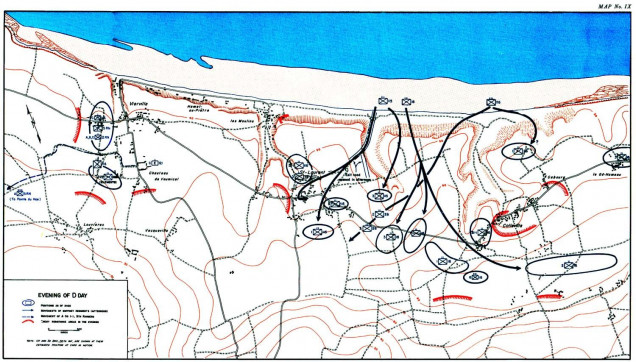 Here is a historical outline of actual results at the end of the first day. AS you can tell matching up the towns here with their counterpoints on the map, the Americans unmistakably overran these results by a wide, wide margin. A much higher rate of American tanks making in ashore, plus the arrival of the 56th and 62nd SP Field Artillery Battalions (M-7 105mm SPHs), really made a crushing difference. These units were real and accurate, but were delayed historically - they didn’t land until much later and didn’t really get into action on D-Day. In this game, though, they made a gigantic difference. So I guess this game shows what might have happened if the American transport and landing operation had actually gone closer to plan? Indeed, we came pretty close to achieving the planned phase line for V Corps on D-Day. But as far as the actual historical results go, we blew these out of the water.
So the game is finally done. Yeah, the Americans turned out to be a little OP. After Turn 6 or 7 it was really a steamroller, with the Germans more or less helpless. While this happened historically, if didn’t happen until MUCH later in the day. I’m not saying that games always have to go as history prescribes, but clearly too much of the American landing plan went like clockwork here, and as a result the Germans never stood a chance. Had this been a live game, the German player would have spent the last 16 hours of gameplay as a patient speed bump only hoping to flatten a few tires as he was ruthlessly run over.
This was a reason I really didn’t want to run this game live. There is no point system for Panzer Leader. Followers of the game know there is just no way the system has room for that. Designing scenarios is about experience, research, and gut feelings. Needless to say, it is an inexact science. In small or medium sized games, a 5% “wobble” is no big deal, one or two dice rolls can sort that out. But in a game this gigantic (seven days, at least 3-4 hours a day), even a 5% wobble can quickly get out of control.
A detailed breakdown of American game losses by beach assault zones:
- Charlie / Dog Green: 24 counters (240 killed, 480 wounded)
- Dog White: 14 counters (140 killed, 280 wounded)
- Dog Red: 14 counters (140 killed, 280 wounded)
- East Green: 12 counters (120 killed, 240 wounded)
- Easy Red: 24 counters (240 killed, 480 wounded)
- Fox Green / Fox Red: 19 counters (190 killed, 380 wounded)
Total: 107 counters (1,070 killed, 2,140 wounded, 3,210 total casualties)
This is actually a little lower than the historical result. Yes, most sources will cite “about 2,000 American casualties on Omaha” – that is complete horsesh*t, due in part mostly to American GRUs (Graves Registration Units) use of the “Missing” category for men killed who cannot be positively identified or are not found (like all those who drowned in the Channel). The more recent and realistic figure posted by the US D-Day Historical Association (since picked up by other sources) gives 2,501 Americans killed on D-Day, with 979 in the airborne drops, 152 on Utah (including boating losses), and about 45 at Pointe do Hoc. This leaves about 1,325 on Omaha killed, with easily double that in wounded for a casualty rate on Omaha alone closer to 4,000.
As you can see, the Americans in this game suffered far less than that. AND far surpassed the historical results on the beachhead. So this game was a little tilted toward the Americans.
If we run a SECTION of this live later, we’ll stiffen the dice roll for American tanks making it ashore, delay the M-7 Priests to when they ACTUALLY landed instead of when they were PLANNED to land, and reduce the American airpower (which was very spotty in effectiveness on the day). One thing we’ll keep in the naval gunfire support. The battleship USS Texas closed to within ONE MILE to deliver point-blank fire with 14” guns, some destroyers closed to with 450 yards of the shore (insane for naval scales, the ships technically would have been ON THE TABLE about three hexes out into the water).
Still, it was a great game. I learned a lot.
If you’ve made it this far, thanks for reading! We have more Panzer Leader in the works, this time with British units fighting inland in the weeks and months following the landings.
And again, if you’re ever interested in trying some of this out yourself, ping me an e-mail and I’ll add you to the weekly mailing list!


![TerrainFest 2024 Begins! Build Terrain With OnTableTop & Win A £300 Prize! [Extended!]](https://images.beastsofwar.com/2024/10/TerrainFEST-2024-Social-Media-Post-Square-225-127.jpg)











I really like the depth to which you dig for the true statistics of events that happened. It is amazing what can be found in the archives if one digs a bit. Also, thanks for sharing the higher rez pics of the battlefield. I recognize the ‘Map IX’ ‘Evening of D-Day’ from my own research that I ran over ten years ago when I first dove deep into researching D-Day. I ran across that Map and others that bore the progress of the day. Really fascinating to look through. Well done on the setup, execution, and summarizing of this ‘EVENT… Read more »
Thanks very much, @templar007 – admittedly I wish this one had gone a little tougher for the Americans … If you’ve researched the battle than you know how badly the Americans overran the historical result (in terms of distance pushed inland and size of the initial beachhead). But hey. Still a fun playtest. If anyone ever wants to play part of Omaha “live,” I now have a very detailed playtest to use as a baseline for a accurate scenario that is also fun and challenging for both sides (not always easy to do in an amphibious landing scenario). Glad you… Read more »