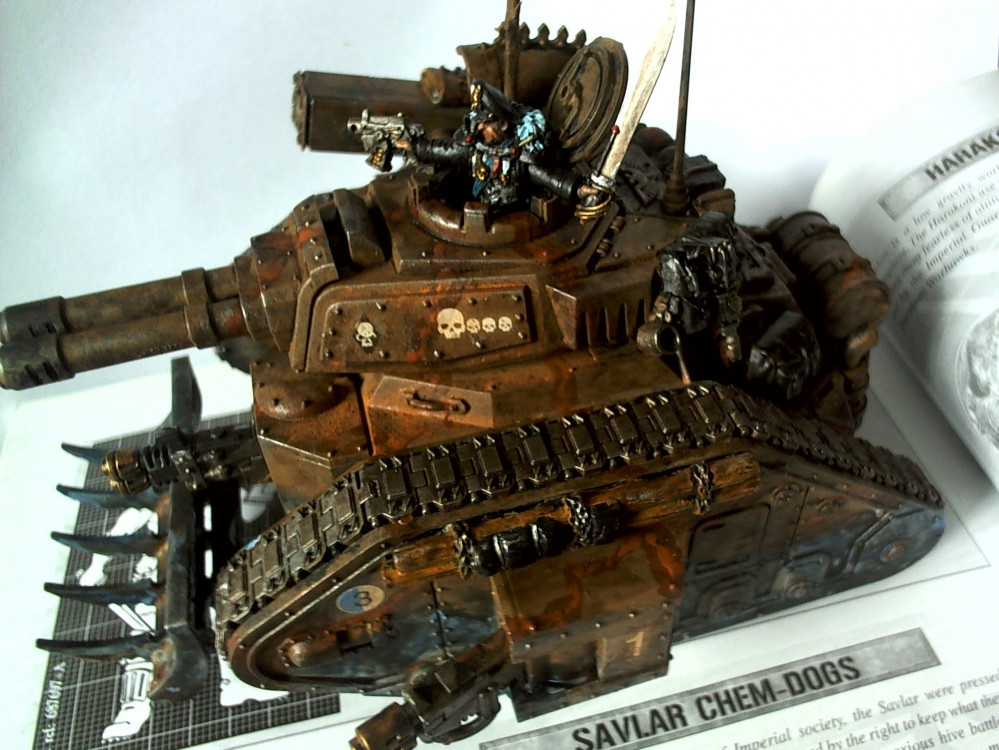
3rd Armoured Division Savlar Chem-Dogs
3rd Armoured Division Savlar Chem-Dogs – Tank A- Solar Auxilia Dracosan Armoured Transport - Construction
3rd Armoured Division Savlar Chem-Dogs – Tank A- Solar Auxilia Dracosan Armoured Transport – Construction
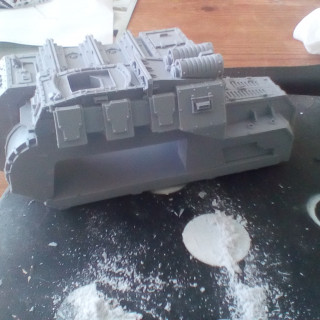
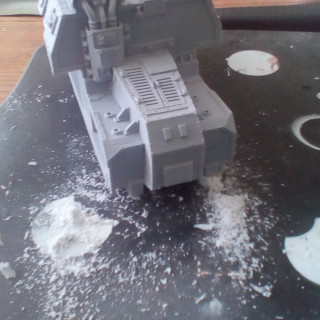
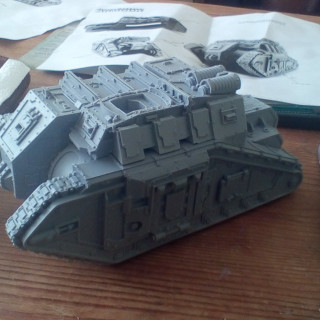
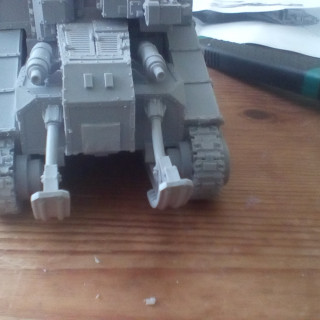
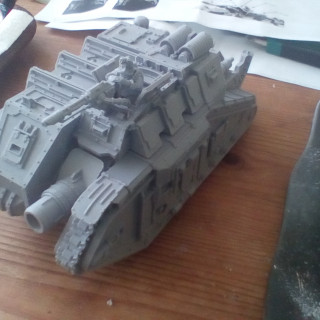
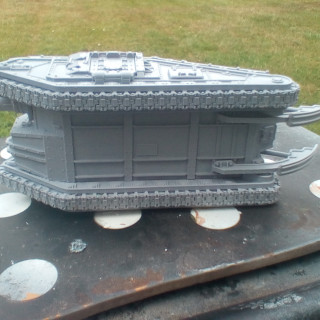
This was pretty straight-forward. There are only four main pieces with a couple of track pieces to add at the rear, two trench rails and a life support filtration unit positioned behind the cab.
The base slotted nicely with the top of the tank and was pretty much a perfect fit. I like to dry fix first before using the glue. The instructions suggested using a two-part epoxy resin glue, but I don’t have any of that to hand, and in fact I’ve always just use Loctite Superglue, whether it be plastic, metal or resin. I tend to use small 1g tubes of superglue, because larger tubes dry-out quickly if not used up on one project. The larger pieces did require a fair degree of glue and so in the end I have used two of these small tubes of glue up, but wasted none.
Once the top and bottom were glued the sides slotted in nicely as well. The trench rails look okay, although one appears a little bent and frankly I couldn’t be bothered to put back in warm water to re-bend. It looks okay, and after all, I’m not going for a Golden Demon award!
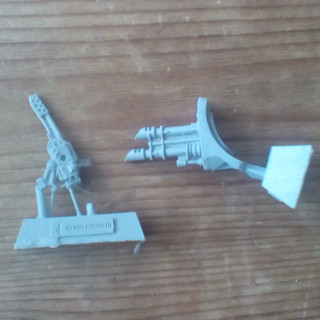
The construction requires me to choose either a demolisher cannon or a twin-linked laser-cannon for the main hull weapon. I chose the former, mainly because I haven’t got the rules for the Solar Auxilia Dracosan Armoured Transport and so I could always just use it as proxy Leman Russ Demolisher if required. The las-cannons can go in the bits box, as can the turret mounted flamer. I chose a multi-laser for the gunner, because again it could be a proxy las-cannon, but also because the alternative flamer was bent.
For the gunner, I toyed with idea of using a Forge World Chaos Militia Enforcer body and to attach the gunner’s arms, but as I’ve found a dozen or more of these torsos hidden away in a box, I think they may be better suited for a rough rider unit? So, even through the construction process, you can inspire yourself…
The gunner fitted together nicely with the multi-laser and the hatch doors sat in their hinges well. Check they are facing the right direction – according to the instructions, because if you get it wrong I think you may damage the hinges rectifying the mistake.
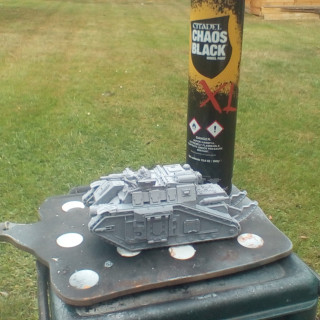
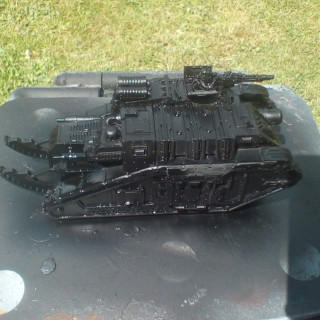
Once glued and I was happy with the overall construction, it was time for the undercoating. This was done outside for ventilation, as I tend to use a spray can of black or white to undercoat my miniatures. I use white if the subsequent layer coats of paint are to be bright e,g. when using yellow, but in this case I wanted to reinforce grime and darkness of the Savlar Chem-Dogs and so black was used. This will give a darker feel to the final paint job that I hope to achieve. I sprayed the underside first, and although this would not be seen on the table top, I feel it’s necessary.
Then leave the tank to fully dry. Having painted the Commander’s Tank earlier I have collected together the paints that I will need for this new tank. Although every tank will look slightly different, I want to keep a continuity through the base colours of blue and brown, even if I experiment a bit later with different shades, or if I run out of paint!
Time Elapsed:
60 minutes construction
10 minutes black undercoating (spray)
2 hours drying time


![TerrainFest 2024 Begins! Build Terrain With OnTableTop & Win A £300 Prize! [Extended!]](https://images.beastsofwar.com/2024/10/TerrainFEST-2024-Social-Media-Post-Square-225-127.jpg)




Leave a Reply