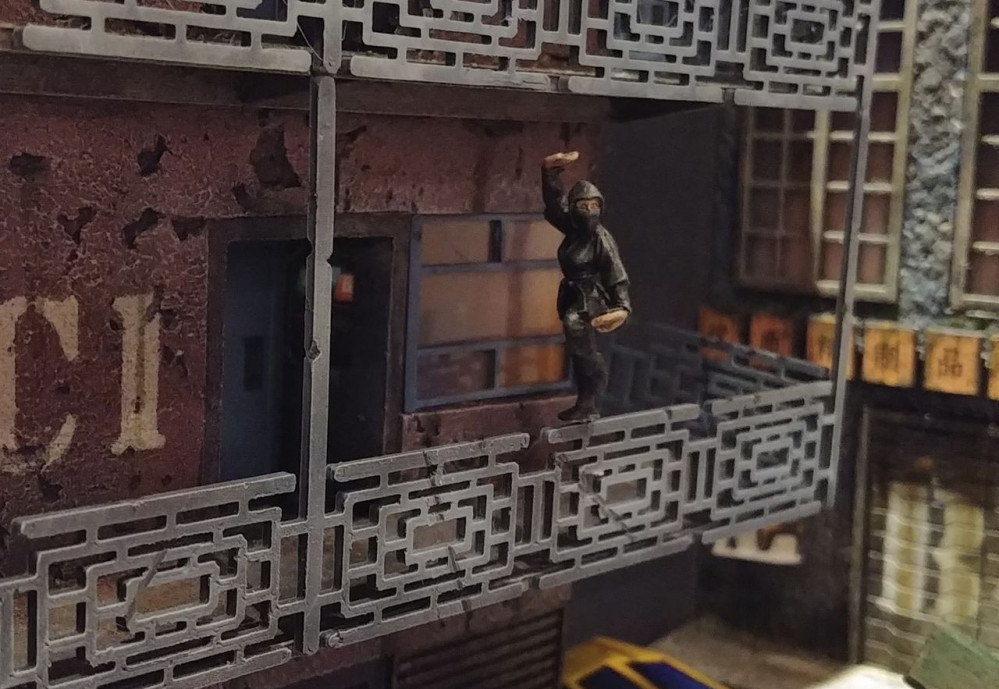
Cyberpunk Diorama - Spring Cleaning Hobby Challenge. Completed
What a productive weekend I had
With 19th of May approaching I sat down on Saturday to push my project further. I started with the easiest parts as I wrongly assumed: the backdrop and backs of faux books. After first attempt I realised that neither me nor my printer are capable of producing decent results. So I turned back to planning board and changed the concept almost completely. A couple of hours later I came up with something like that:
As you may have noticed the building in the left is completely flat. I have an idea for it, but had no time to put that idea into drawing.
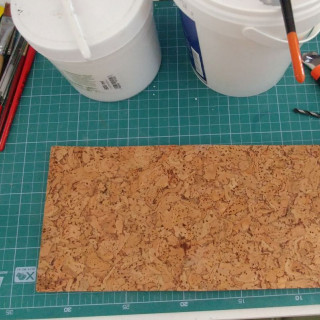
I was actually so excited with new Idea that I went on to model it right away. I started with the concrete floor. I had some cork lying around and used it as base material.
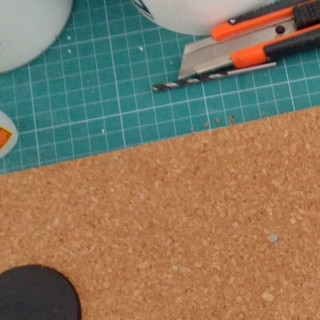
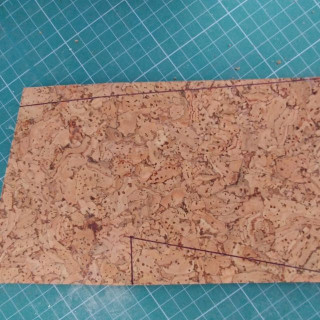
Pictures bellow show whole proces step by step. Those were:
1. Install three magnets underneath, so I could attach my samurai on top without gluing her down (I dont kwnow where she’ll look best in the layout that’s why they are three not one).
2. I also drafted where the walls shall be installed and in effect, which part should be painted as concrete.
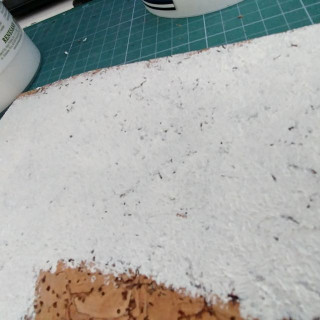
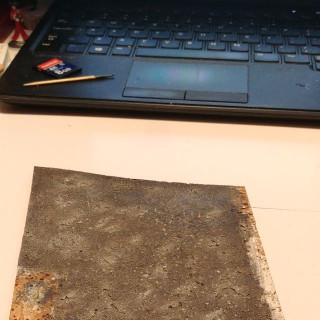
3. Start painting: stipple gesso undercoat (I did it too thickly and had to sand it a bit afterwards).
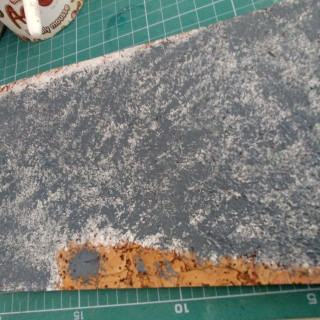
4. After gesso dried, next layer was some dark grey mixed with white, again stippled.
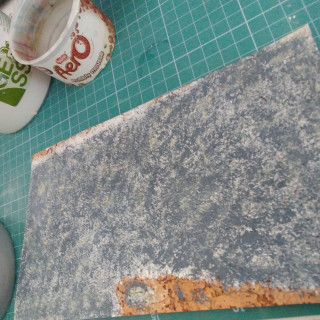
5. And then some desert yellow and buff, also stippled.
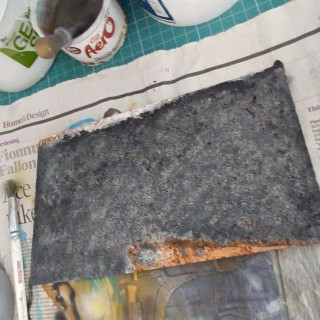
6. Second to last layer was black wash.
7. And finally light overall drybrush with some off-white. After that was done I came back with the same off-white and drybrushed some random spots here and there a bit stronger.
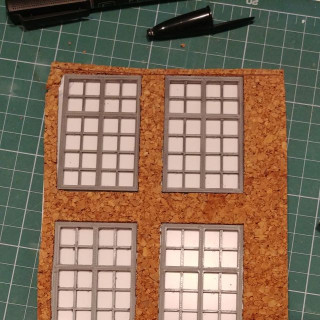
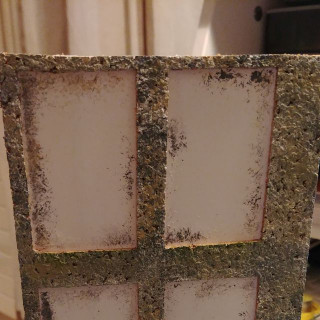
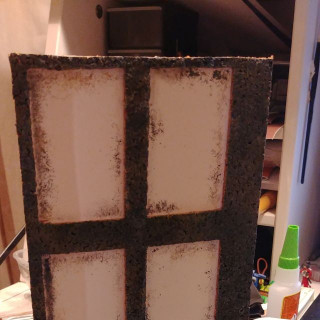
With ground level done I then moved to the back wall. This one also was planned to be made out of cork tile, but to add some needed rigidity to it I started with a sheet of HIPS. I ‘d cut windows and doors in the cork tile and glued it down to the HIPS.
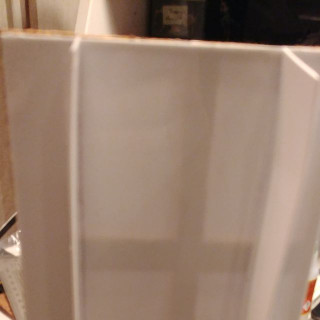
My construction curled a bit due to the way I stored my HIPS, so I had to add some ribbing in the back.
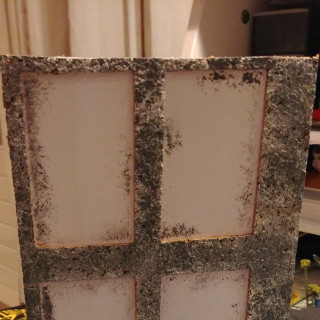
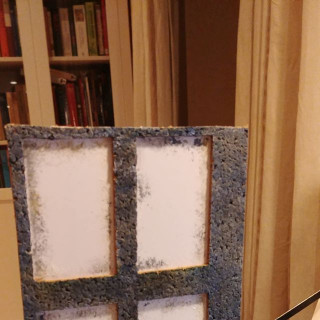
After that was done, I’d removed my 3d printed details and moved on to painting. Sequence and method were quite similar to what I did with ground level but I used different colours. Those were: white gesso, army painter uniform grey, desert yellow, some VMA cammo green under the windows and in the bottom of the wall. Then I applied a blue wash, but only to the wall and not the ramp. After that was dry I went on with overall black wash to the whole of the piece. Finally light drybrush with VGA wolf grey.
While I was applying my layers of paint, the printer finished details for the next wall. I love this efficiency.
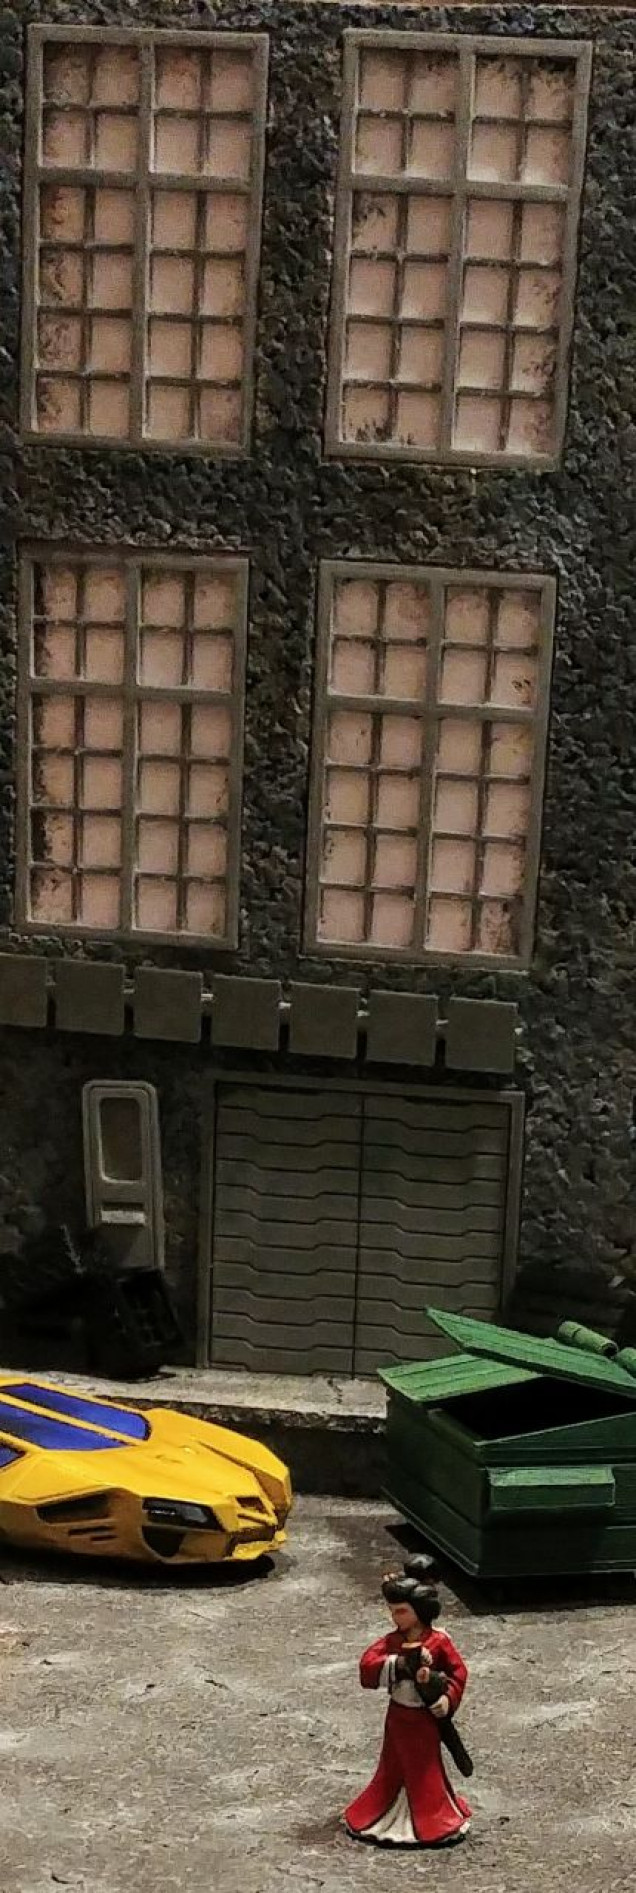
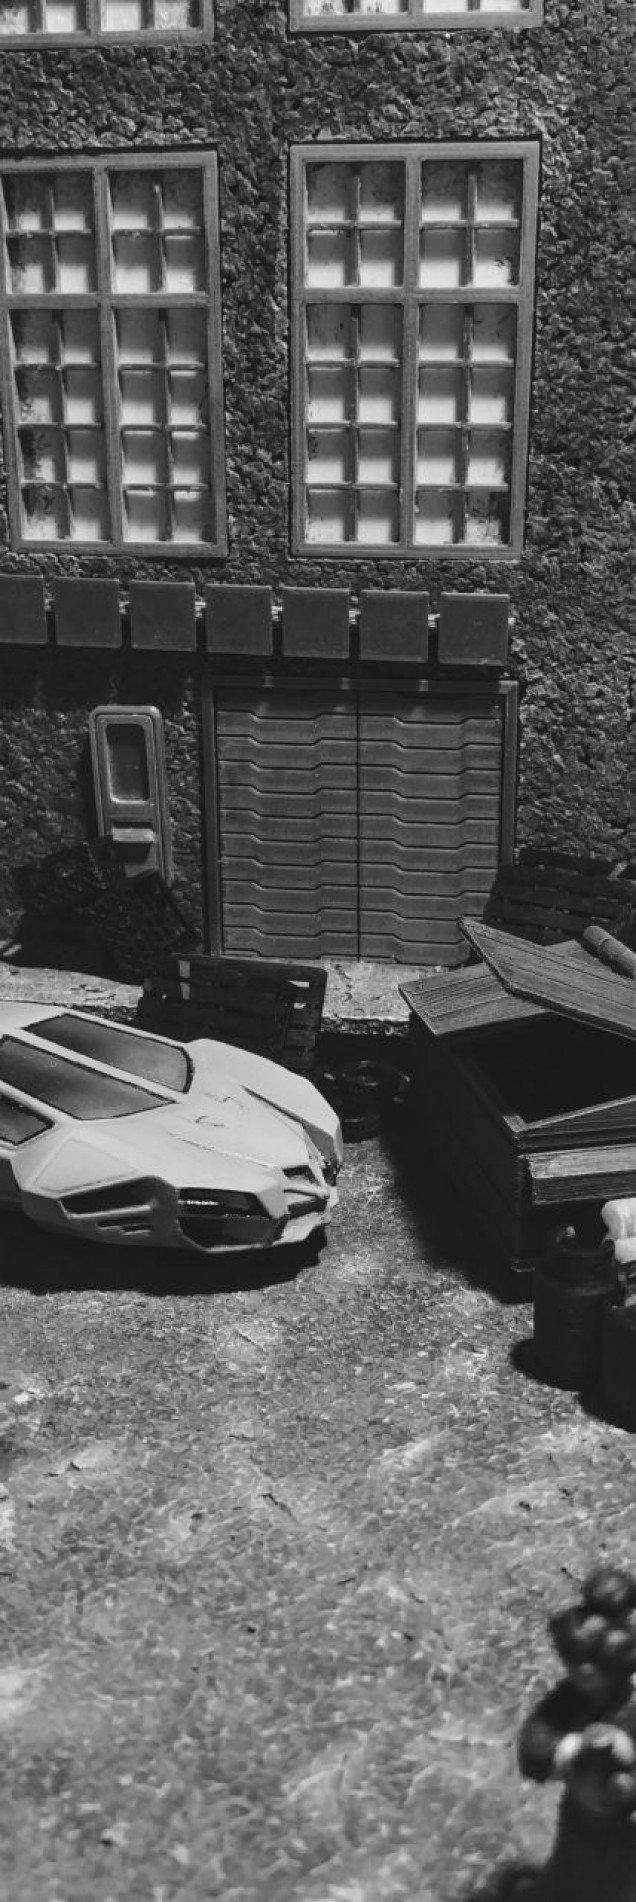
In the end I took a photo of all work done (except for the ninja, her perch is not even designed yet).
Couldn’t help myself and edited final photo to look more like CCTV image.





Leave a Reply