Skip to toolbar

Chips'n'Scratchins'

Supported by (Turn Off)

Project Entry by holly Cult of Games Member

Back to Project Blog

Chips'n'Scratchins'

Tutoring 6
Skill 7
Idea 7
No Comments

With all the base colours down on the Armour plates, the next stage is to add some weathering.

There are so many ways to do weathering and chips on models, and there are loads of people who can do jaw-droppingly realistic chips using sponging, salt and hairspray etc.

My method is just using paint and brush, creating a very graphic cartoony style, but which I like.

Paints needed:

  • Abaddon black
  • Runefang Steel
  • Wild Rider Red
  • Lugganoth Orange
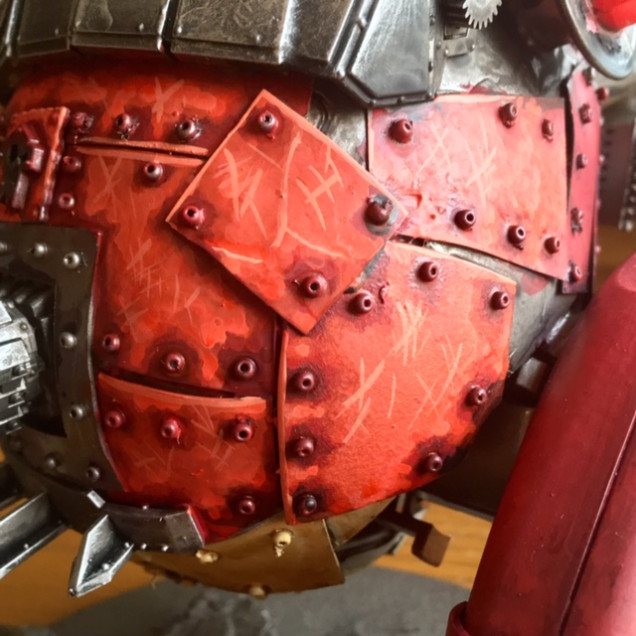
With Wild Rider Red and a little Lugganoth Orange, brush on some lines to represent scratches. I do some lines on there own, and in other places a kind of cross-hatching.With Wild Rider Red and a little Lugganoth Orange, brush on some lines to represent scratches. I do some lines on there own, and in other places a kind of cross-hatching.
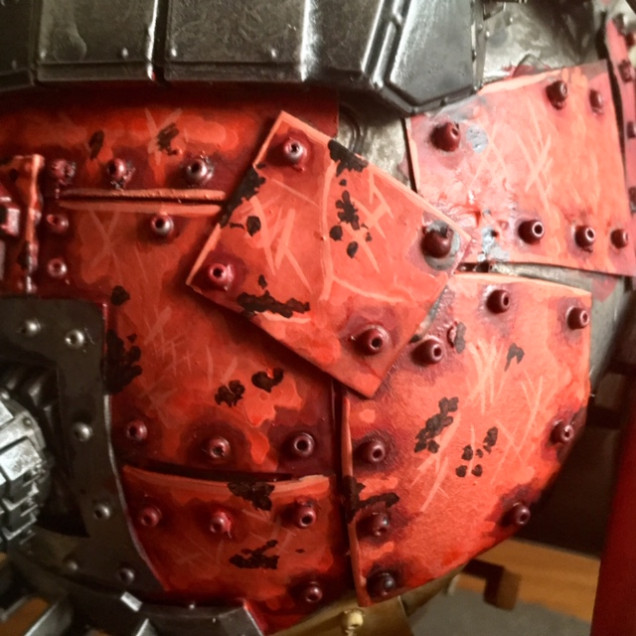
Looking at the plates, add little marks and blemishes using some thinned down Abaddon black. You want them to look random, but also where it looks like paint might get chipped.Looking at the plates, add little marks and blemishes using some thinned down Abaddon black. You want them to look random, but also where it looks like paint might get chipped.
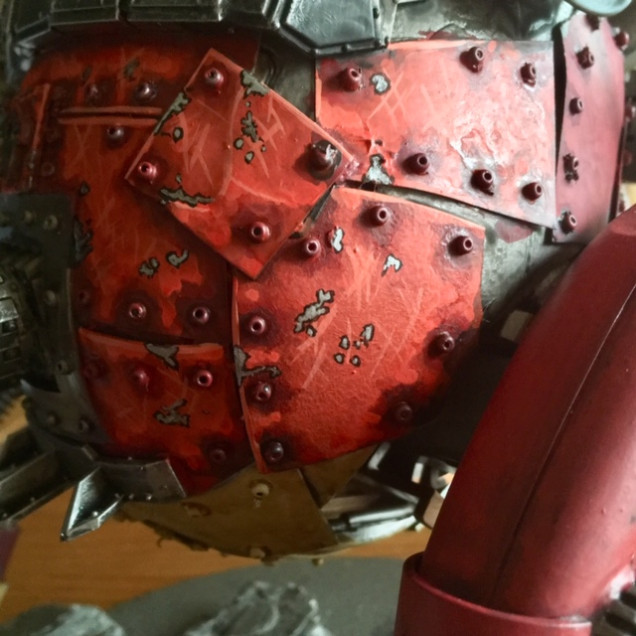
Apply Runefang Steel inside the blotches, leaving a thin line of black around the edges.Apply Runefang Steel inside the blotches, leaving a thin line of black around the edges.
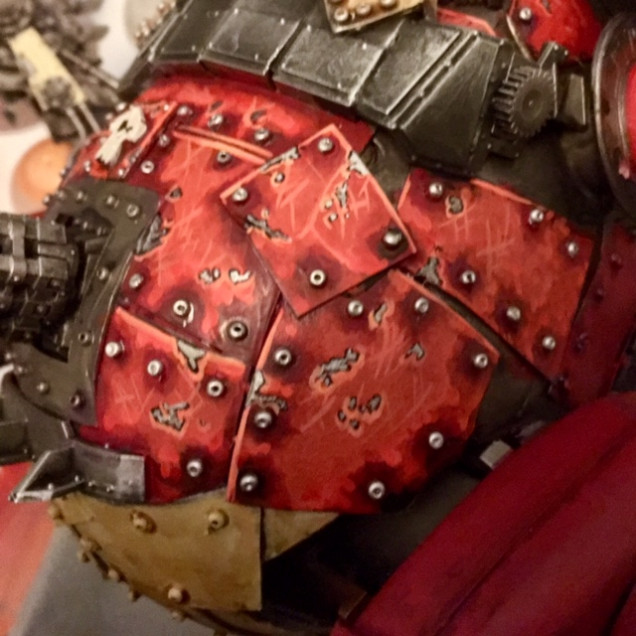
Finally, using Wild Rider Red and Lugganoth Orange, highlight the chips by painting a thin line along the bottom edges of each blotch. Dot the rivets with Runefang Steel (they'll each receive a wash and some streaking in a later stage)Finally, using Wild Rider Red and Lugganoth Orange, highlight the chips by painting a thin line along the bottom edges of each blotch. Dot the rivets with Runefang Steel (they'll each receive a wash and some streaking in a later stage)

Leave a Reply

Supported by (Turn Off)