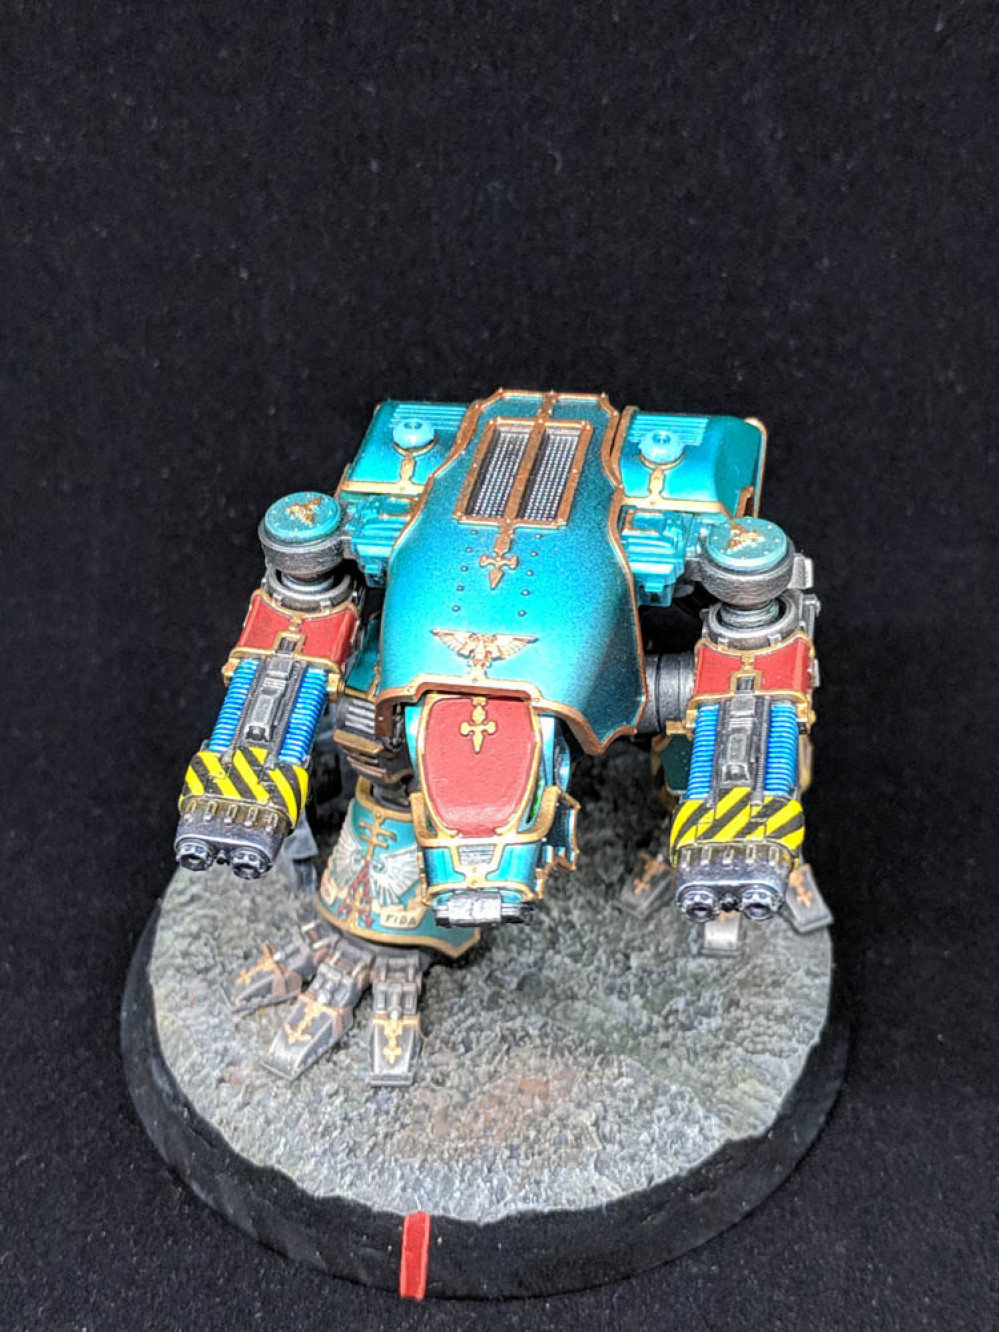
Titanicus - Legio Loki
#4: Reaver Builds:
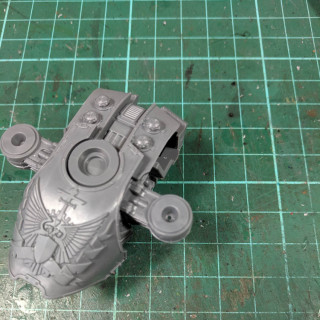
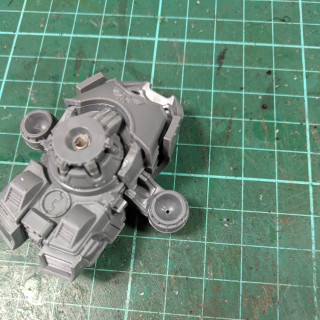
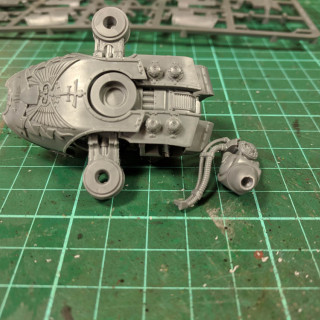
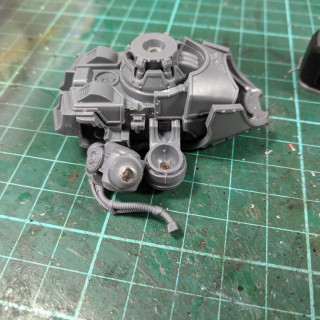
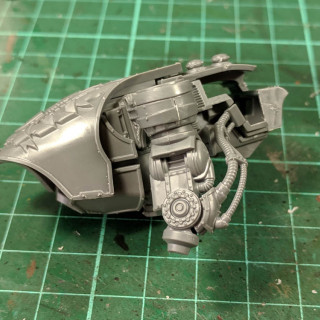
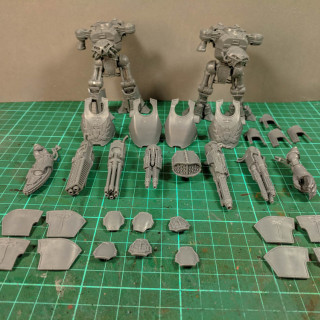
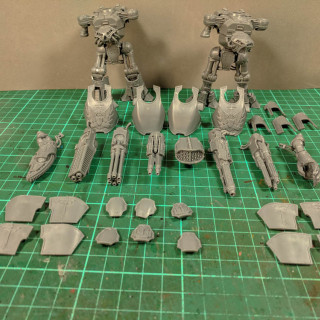
Now it’s time for the big boys, or in titan terms I suppose we looking at the middle weights. Fast enough to get in and out of the fight quickly whilst still packing a good punch. Now I know there are lot of tutorials out there that have you painting the armour panels whilst they are on the sprue but I’ve not gone down that route. The reason is the way I got the effect I did with the Warhounds was by painting everything in situ an zenith approach with the airbrush which I couldn’t do it the plates were still on the sprue. So I’ve built everything and the plan was to blue tac the armour into place but things weren’t staying in place so I thought about using some magnets as a way round that problem. But once I’d started I got a bit carried way. The result has been that there are eight different elements that now magnetised. The bonus with be that I can paint all the armour panels that come in the box which then means I can give the same chaise lots of different look just by swapping out selected panels.
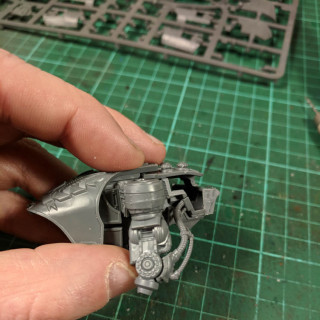
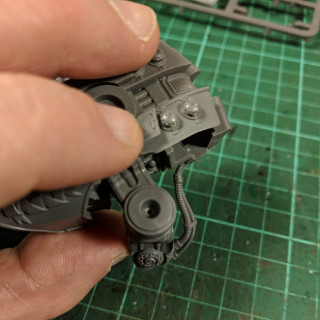
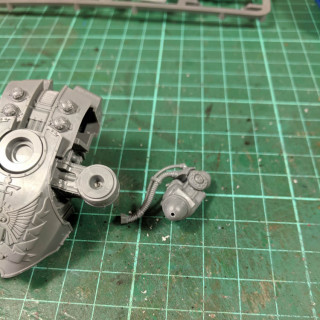
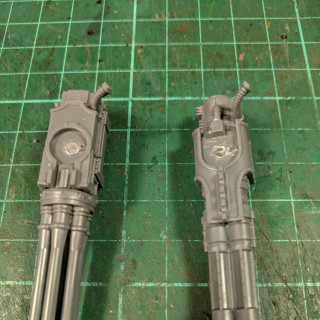
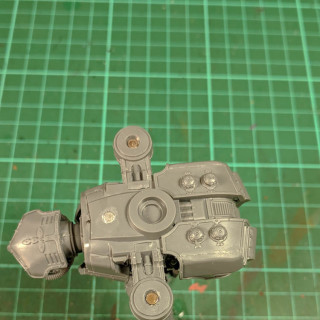
For the weapon arms I’ve gone with two different approaches to magnetising the part and on the right weapon arm I’ve put the magnets on the weapons themselves leaving the arm glued to the body. It does mean that the cables don’t meet up exactly but they are close enough for a gaming model.
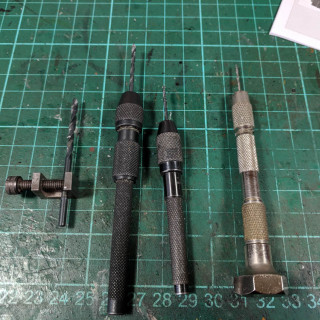
For the left arm I put the magnets in the shoulder socket and actually drilled down through the shoulder into the arm to ensure that everything is lined up. A top tip here is to start off with a small drill bit and then slowly build up in size until you get to the size you need. It takes a little bit longer but makes the whole process a lot easier and you don’t blow out any of the plastic int the process.
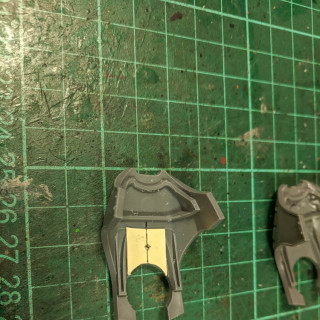
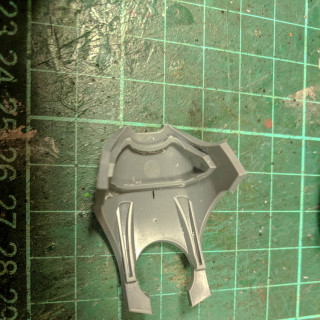
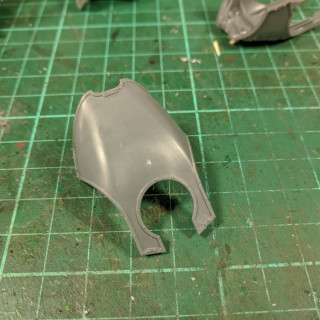
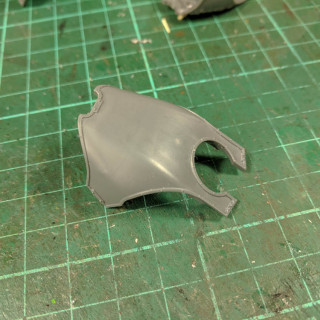
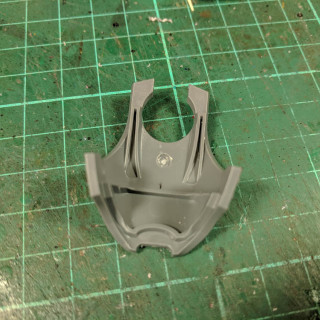
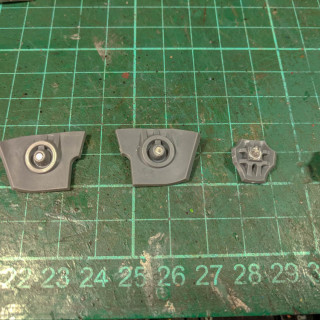
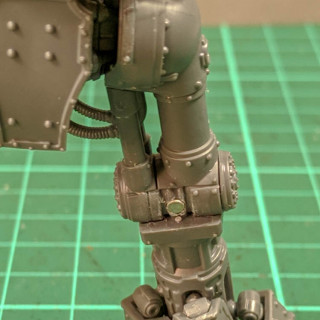
I then did the work to magnetise the armour panels and to do this I made a simple card templet so that all the magnets ended up in the same place. When drilling into the thin plates it’s just a case of taking your time and go nice and slowly so you don’t actually drill all the way through. If you have your finger resting on the plate then you will feel when the drill is getting close. Just take your time. If you go a little to fare so you end up with a bit of pimple you can flatten this back down with your nail to smooth things out. I also added magnets to the knees so that the knee pads could be swapped out as well.
At the end of the day I now have two fully built Reaver titans ready to be painted.




![TerrainFest 2024! Build Terrain With OnTableTop & Win A £300 Prize [Extended!]](https://images.beastsofwar.com/2024/10/TerrainFEST-2024-Social-Media-Post-Square-225-127.jpg)




Leave a Reply