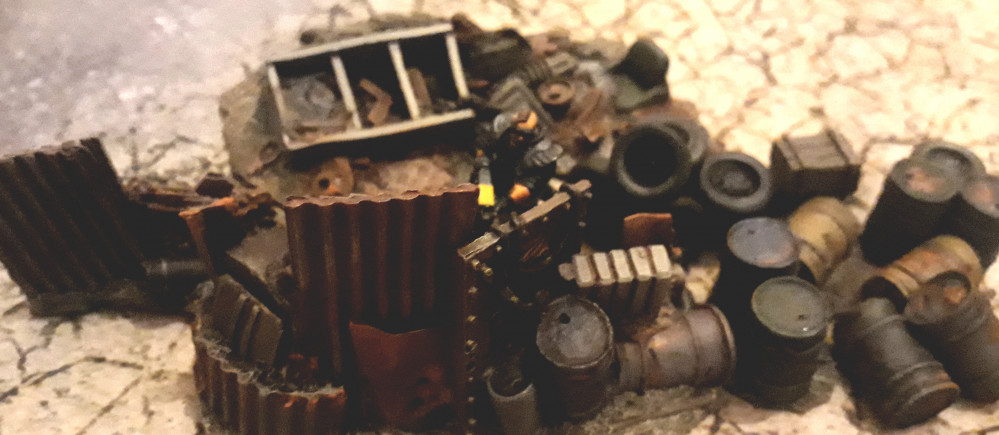
Check out my Junk!
Junk Tutorial
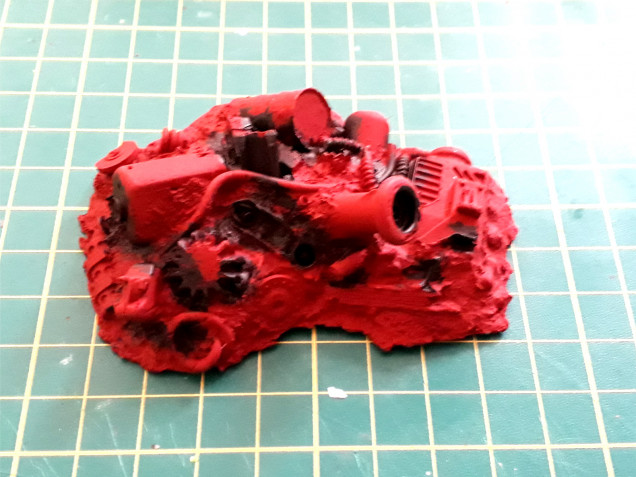 I start with a rust primer. Rather than cake it on, trying to get into all the nooks and crannies with the rattle can, I've stabbed some black brush primer in there. Yes it looks a bit of a mess now, but it just doesn't matter on a piece like this.
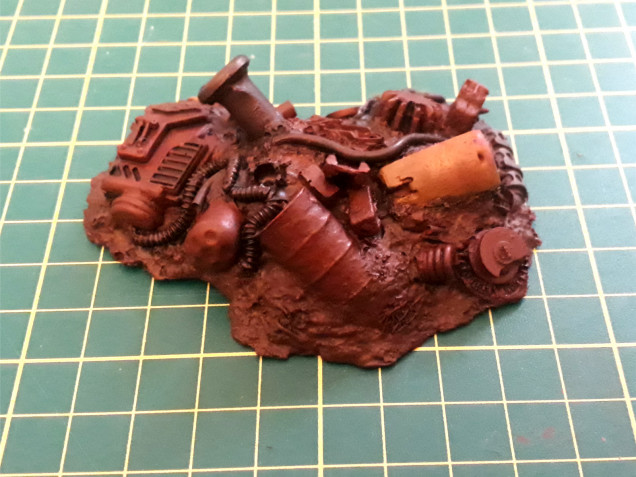
Base coats on. I’ve cheated a bit here. On the previous batch, I’d done the proper basecoats for all the colours (e.g. the petrol drums). This was blue for the blue parts, green for green, etc. I found that with a brown wash on, all the colours looked about the same so this time I’m undercoating a lot just brown. In this piece, the yellow bit did look different, so it does get its own base coat.
Washes on. The whole piece gets some Army Painter Strong Tone slopped on and I’ve hit anything that’s to be black with Dark Tone (for Citadel fans: Agrax Earthshade and Nuln Oil respectively).
The next stage is to highlight the ground. This another fairly messy drybrush, not taking any care what I go over. I’ll recover some of the paint on some of the parts; the rest is just bonus dirt!
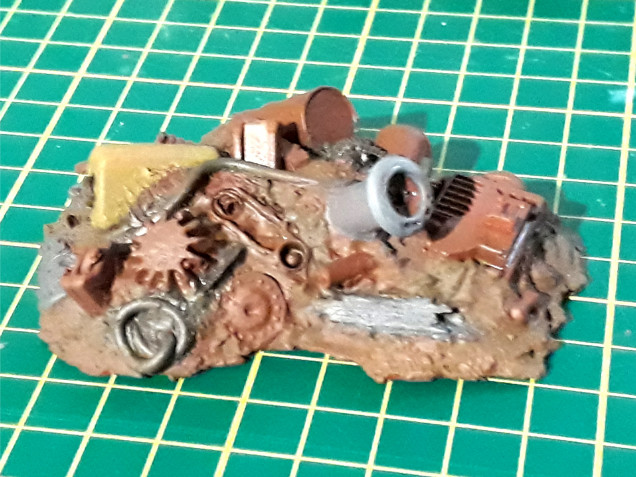
The first set of highlights are the blacks, the rust and the yellow. These are the bits where I know what colour I have to use. I’ll then decide the rest to try and make the final piece look good (in a filthy way).
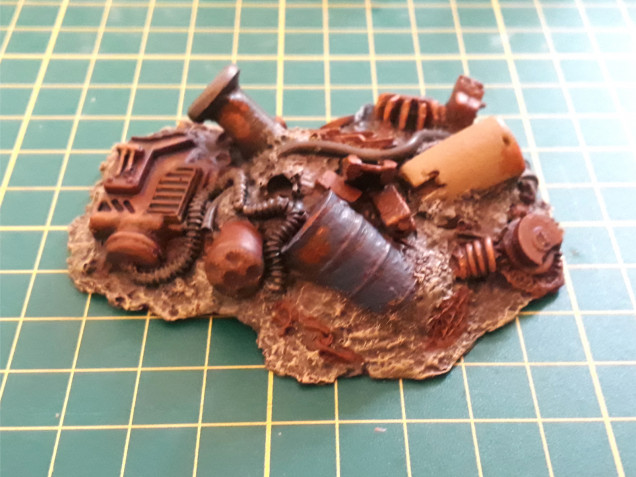
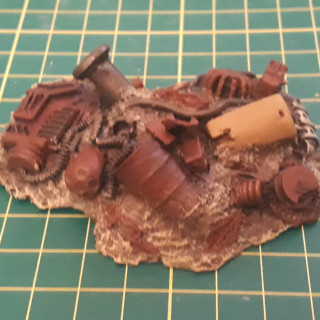
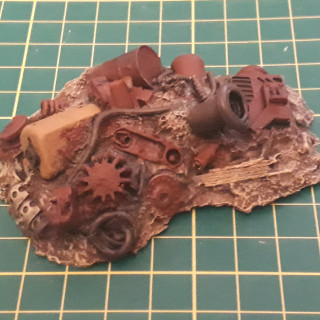
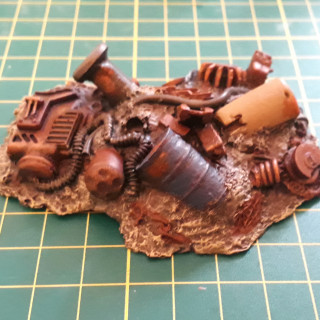
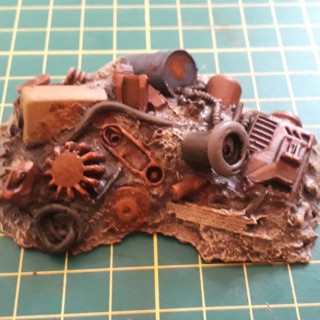
And here’s the finished piece. Here I’ve highlighted the other colours and added some lovely rust. It can look a bit crude up close but from three feet away it’s the business.






Leave a Reply