Battle Boards and Scatter Terrain
Battle Boards and Scatter Terrain
Last fall my LGS convinced me to build battle boards and terrain for their new store. It was a project that went from ‘a few boards’ as we ordered our first pints, to a monster undertaking where I somehow agreed to produce two 4’ by 6’ tabletops and accompanying scatter terrain. At some point, in a moment of clarity, I managed to come up with a PIDOOMA (pulled it directly out of my ass) on a cocktail napkin that was based on four sheets of 2’by 8’ polystyrene and a hockey sock full of hobby supplies. It looked something like this:
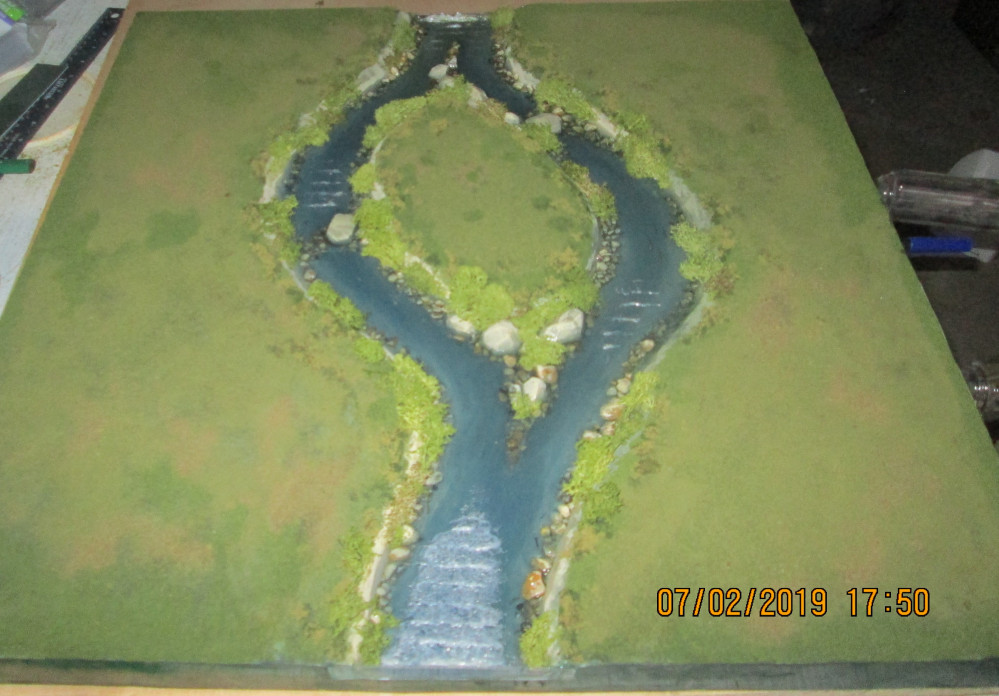
1. Twelve 2’ by 2’ game boards: six flat boards, four slope boards, and two river boards. The plan was for them to be geomorphic, in that they could fit together in a variety of ways.
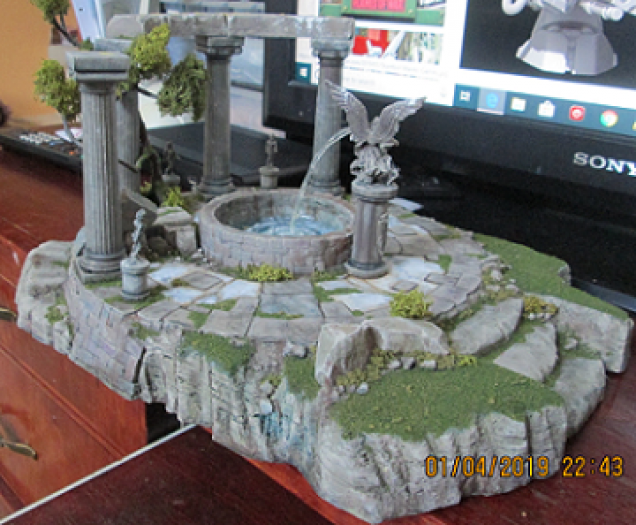
2. Four hills, with one being a centerpiece with a fountain. More on the reasoning for that below.
3. Four copses, with one having a statue/plinth centerpiece.
4. Four small edge pieces to turn two back-to-back edge boards into a larger hill for ‘King of the Castle’ style games.
 Tentative plan to turn four sheets of polystyrene insulation into twelve battle boards and scatter terrain.
I’ve since added some individual trees to the project as I thought the copses and hills weren’t enough to fill two tables. Keep in mind that this is an initial bare-bones build, and that I will be plugging in other pieces next winter, starting with some sci-fi scatter terrain, followed by a modular castle, and then a medieval village. I’ll post all relevant how-to’s on here, along with any how-not-to’s (we learn more from failure than success), epiphanies, and creative flares of profanity.
Parameters: As mentioned, the boards needed to be somewhat geomorphic, to create interesting and varied landscapes. Other factors were:
1. Maximum playable space. Herein lies the fundamental difference between a diorama and a game table. While it’s great to throw together great sprawling forests and huge rockwork landscapes, in the end it’s just unusable space. Also, steps and climbable rockwork would need to accommodate a 32mm base, minimum.
2. Contours would be a function of the scatter terrain, not the boards, meaning that the flat boards would stay flat, and not be carved into shallow depressions and crests. A pet peeve of the client, and frankly one of mine as well, is that it looks bad trying to rank up models on an uneven surface, or one studded with gravel or other annoying gubbins… another difference between a game table and a diorama.
3. The terrain needed to be generic, as opposed to genre specific, so it could be used for fantasy or sci-fi gaming, or even historical battles. I built some ancient ruins into the hills here and there, but resisted the temptation of putting in old helmets, shields, discarded bolters, etc.
4. The boards had to be robust. In my own experience gamers take terrain for granted. If it’s not theirs it’s meant to be tipped, dropped, bumped, leaned on, spilled on, puked on, and chipped. I needed to figure out a way to mitigate any *ding, blue foam* events.
5. Budget… doesn’t it always come down to that?
Materials
 A few of the materials I tested while looking for cheaper alternatives. Some good, some not so much.
1. Four sheets of the aforementioned polystyrene, 2’by 8’, 1½” thick (approx. $30 Canadian a sheet). Rumour has it you can also use it to insulate your home.
2. About 2 liters of PVA or wood glue
3. Glue gun and gobs of glue sticks!
4. A bag of moss. I used Woodland Scenics, which was about $25 Canadian. I had about half of it left after all was said and done. I’m sure there are cheaper alternatives out there. You’ll need glycerin to keep it from crumbling like autumn leaves after it’s stuck to your trees.
5. Flock, assorted shades and textures. The Woodland Scenics coarse blend is great for adding texture and won’t ‘tilt’ model bases. In forested areas I used ground up Spanish moss as ground cover. Cheap enough at any dollar store or florist.
 Flat terrain doesn't have to be boring... said the guy from the prairies. Woodland Scenics products make for a diverse and realistic landscape.
6. Sand for areas devoid of vegetation.
7. Gravel. The key is to use different-sized pebbles to make your rockwork look natural. I have an abandoned quarry a mile from the house, so a no-brainer for sourcing. Pebble size should be ½” or less. You should use polystyrene scraps for any bigger ‘rocks’, else you’ll end up with a hernia when you schlepp your boards to a gaming event.
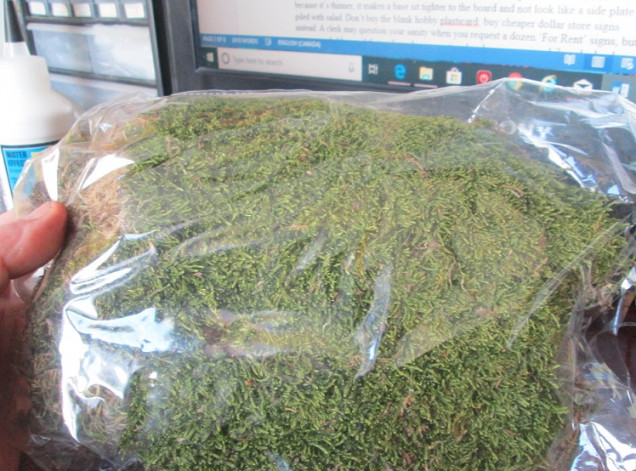 Spanish Moss. Ground up, it's great for forest floor terrain, and can also be used as tree foliage in savannah or jungle landscapes.
8. Craft paint: six 4 oz. bottles of DecoArt Tan, and probably eight of the Christmas Green. They’re about $1.25 here. Alternately, you could buy two quarts of Latex, but it will cost more. You’ll be making dark washes out of brown/black craft paint, water, and dish soap… or you can get a second mortgage and use a quart of Nuln Oil and Agrax Earthshade.
9. Plasticard for edging boards and basing scatter terrain. It’s cheaper than MDF, and because it’s thinner, it makes a base sit tighter to the board and not look like a side plate piled with salad. Don’t buy the blank hobby plasticard; buy cheaper dollar store signs instead. A clerk may question your sanity when you buy a dozen ‘For Rent’ signs, but you can pre-empt that awkward conversation by showing up in a bib and a hockey helmet.





















Leave a Reply