
I love the smell of Prometheum in the morning
Part 8 – The Drilling Assembly
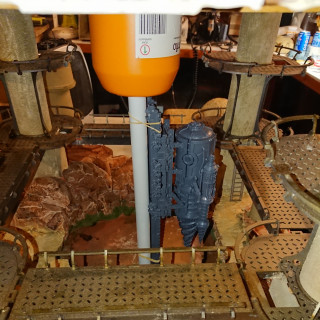
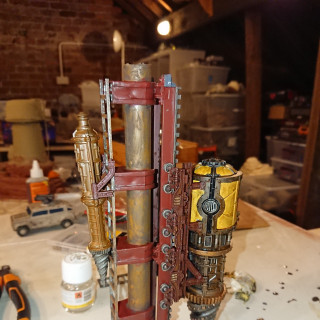
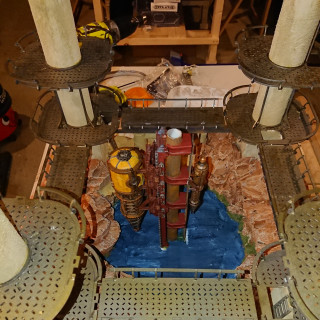
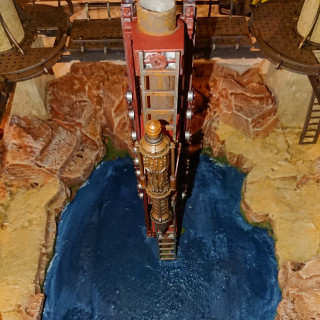
It’s really starting to come together at this stage but that gaping hole in the middle needs addressing. After all it’s a Prometheum Rig and that massive crater didn’t happen on its own. When GW released the Tectonic Fragdrill decided that was a perfect fit for what I was looking for. I didn’t really want the platform it came with, aesthetically it’s not a good match with the rest of the pieces, I just needed the mahoosive drill. However I do have a sizable sector mechanicus collection so they can just be added to that. But the drill can’t really just float in mid air, it needs to be connected to the rest of the platform somehow. So I decided to build my own drilling assembly. To do this I bought some plastic pipe from the plumbing section of our local DIY store. I then used some of the wall clips for said pipe and onto that I glued a series of ladder pieces to create a sort of track. On the other side I glued the track for the Fragdrill. When assembling the drill I didn’t add any of the extra attachments because a drill doesn’t work so well with a smaller drill and a mechanical arm hanging off the side. However I did assemble the smaller drill. I then fastened the small drill to the home made track and put the parent drill onto the official one that came with the kit. To paint it I primed it all with Plastikote Special Primer because that plumbing pipe doesn’t take acrylic paint. Then I undercoated it all with leadbelcher and then gave it a couple of coats of nuln oil to really darken it down. Next I washed the drill with Mournfang Brown, very diluted, to give it a nice oxidised look. I picked out a few details in Ironbreaker, such as the pipes. The red is all done using Vallejo Black Red with some of the, Mournfang Brown wash added to key areas before being washed with aggrax earth, the gold is Balthazar Gold highlighted with Gehennas Gold before also being washed with aggrax earth. Finally the central pipe was wash with Typhus Corrosion and drybrushed with Ryza Rust. This was then glued into the centre of the crater using contact adhesive.
The Eagle Eyed among you will also notice I painted the floor around the base of the assembly blue. This isn’t the finished article, it’s just a base coat on which to build up a water effect.




![TerrainFest 2024! Build Terrain With OnTableTop & Win A £300 Prize [Extended!]](https://images.beastsofwar.com/2024/10/TerrainFEST-2024-Social-Media-Post-Square-225-127.jpg)




Leave a Reply