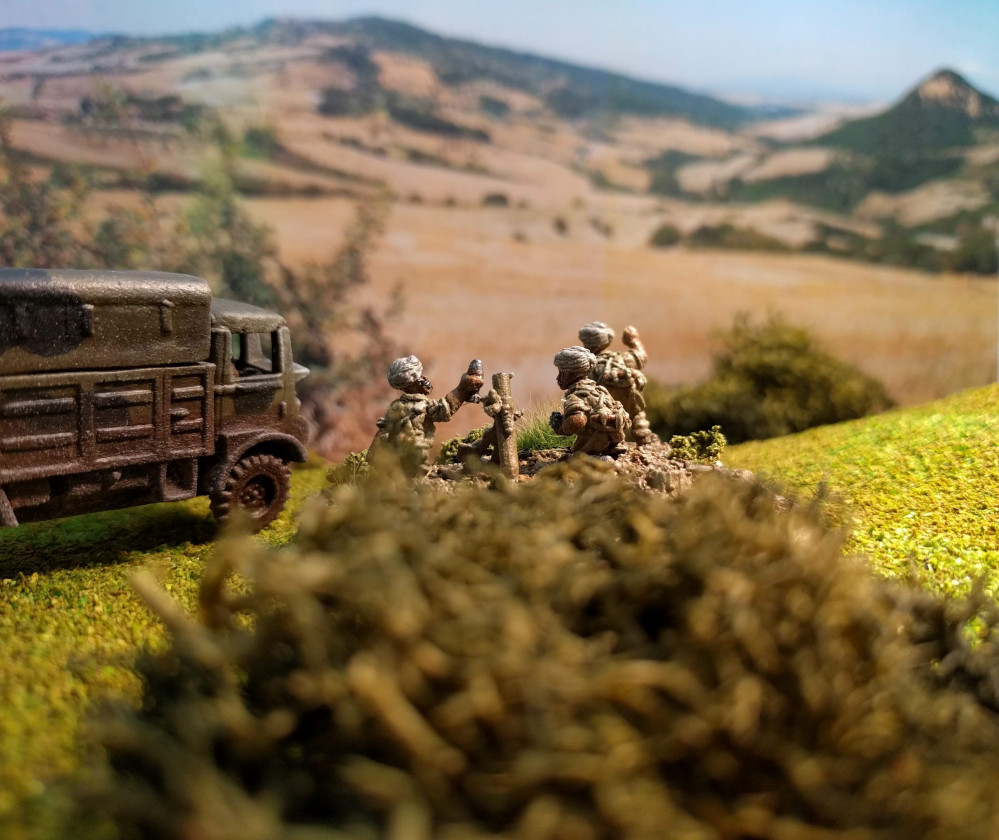
75th Anniversary of Battle of Monte Cassino and Northern Italy (Army Build)
Churchill Crocodiles
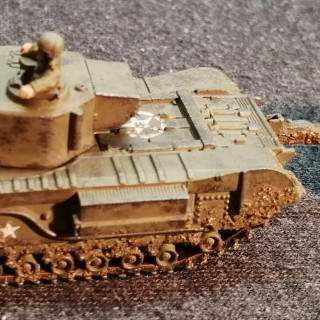
I’m adding more fire power to my British army and in this case, quite literally with three Churchill Crocodile tanks. The process for painting these was much the same as the Stuarts so I won’t go into much detail however I will focus more on the mud splatters.
Model was primed and painted British Olive Drab with the tools painted up. I’ve then applied the decals and gone for the usual mid tone dip painted on and gently dabbed off of the flat areas to stop it pooling.
I’ve dry brushed the whole model with reflective green and then just added a small highlight to the tools. Tracks were painted hull red and then dry brushed with gunmetal. I’ve then given everything a matt varnish. Straightforward so far.
Chipping was applied in the usual way with a dark grey painted sponged on and then once dry, I’ve gone back over with a lighter sponging of gunmetal.
We’re now ready for the mud splatter. I use high quality Lower Weald Sussex clay for this. Anything else is just not good enough 🙂 If anyone wants some, I’m happy to supply it at a cost 🙂
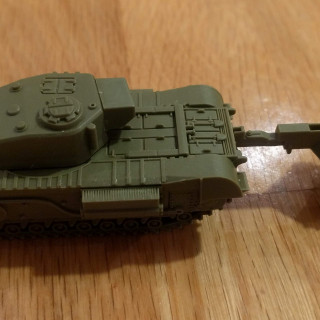
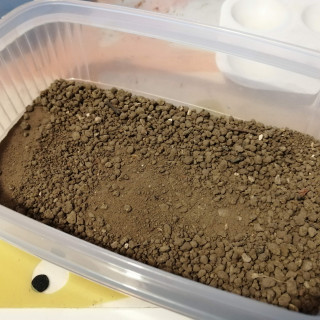
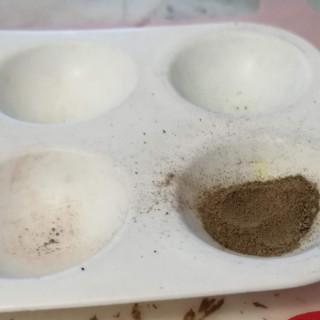
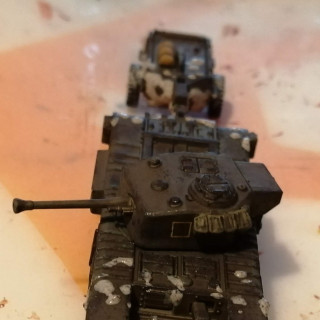
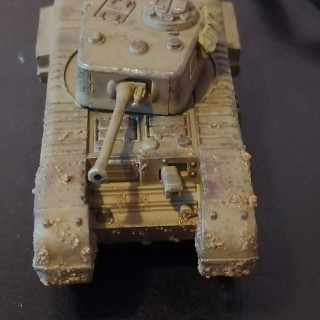
The soil must be dry and crushed down to a fine powder. You can see in the first picture below that there are a lot of lumps in mine but on the left, you can see it as a fine powder. Use a rolling pin or pestle and mortar to crush it down.
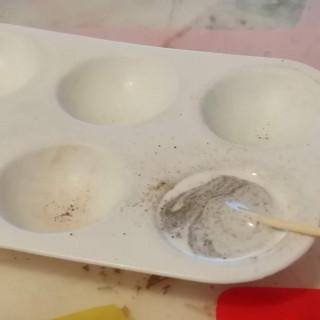
Mix a reasonable amount with PVA glue. The more glue, the less splatter once it is dry. I tend to go 50:50 and you can always add another layer if you want more.
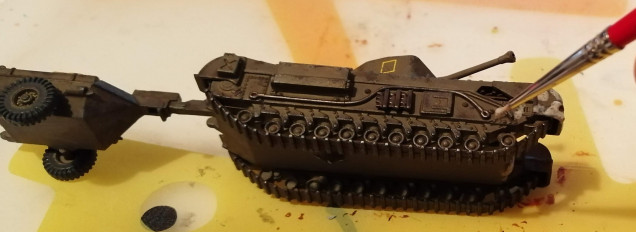
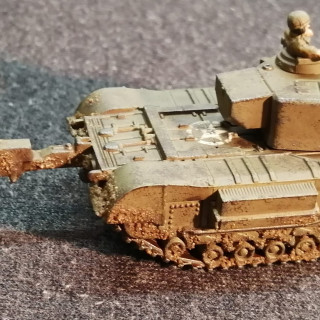
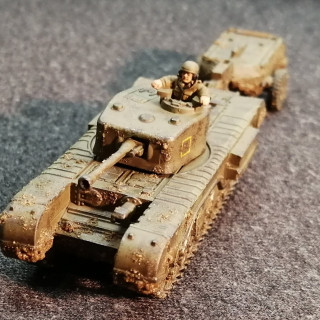
Taking an old and very fine brush, I dab on the mixture to where I think mud could splatter. So logically more around where the tracks come up to the body and on this model, the trailer that’s likely to get a mud shower whenever the tank moves.
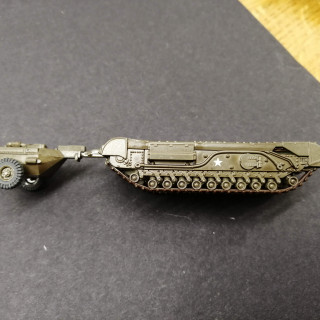
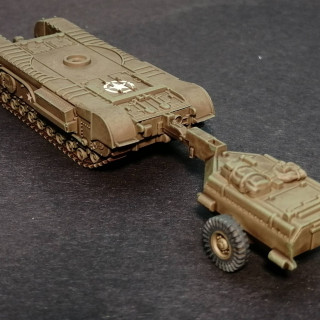
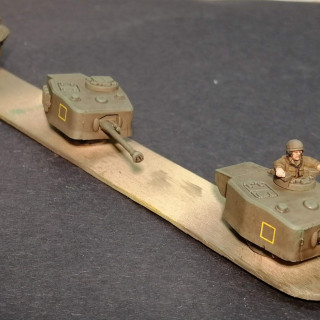
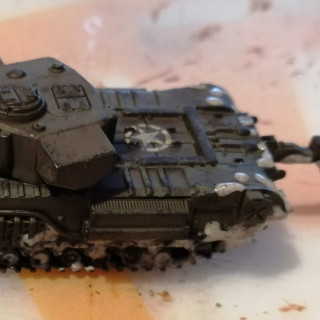
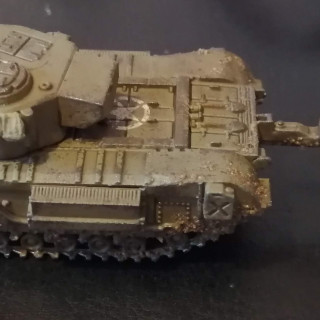
I’ve tried a before and after shot of the same tank here so that you can see how it dries and the effect from ‘oh crap, I’ve ruined my model’ to ‘that doesn’t look so bad’
As the PVA dries, it deposits the ground up soil into a fairly realistic splatter. This is why it needs to be ground to a fine dust otherwise the larger lumps just don’t look as natural. Once dry, you can add more layers for the really muddy look.
I’ve given my mud effect another matt varnish over the top to remove any slight shine left by the PVA and to seal the mud down. You can also carefully apply a satin or gloss varnish if you want a wet mud look.
I’m using this technique in 15mm and it works pretty well. I think if you scaled it up you would probably want to mix in some more pigments to break up the uniform brown, perhaps even add some tufts of static grass. But for 15mm table top ready, I think this looks fine.
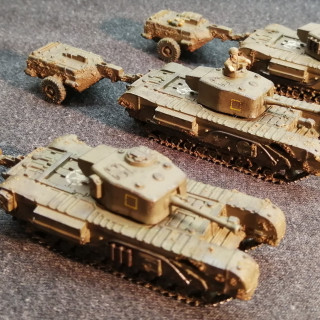
Here’s the finished Platoon.


![TerrainFest 2024 Begins! Build Terrain With OnTableTop & Win A £300 Prize! [Extended!]](https://images.beastsofwar.com/2024/10/TerrainFEST-2024-Social-Media-Post-Square-225-127.jpg)




Leave a Reply