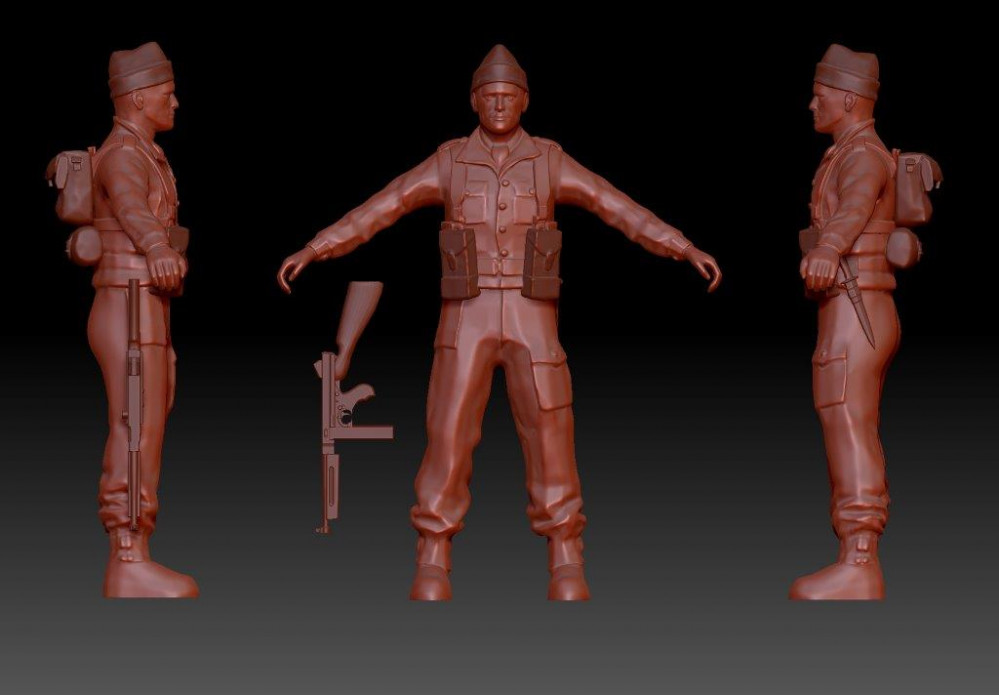
Spring Clean Challenge: Developing WWII infantry for 3D printing
First Steps
Once subdivided I made some changes to the figure’s pose by masking off sections of the body and moving them around. This is a very crude way of manipulating the figure and results in some messy areas of topology, particularly when making extreme adjustments. I had managed to pose the figure but I knew I could do better.
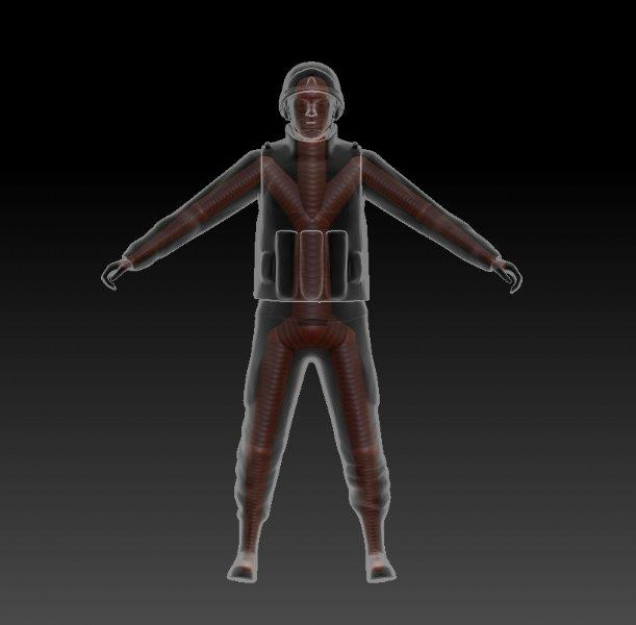
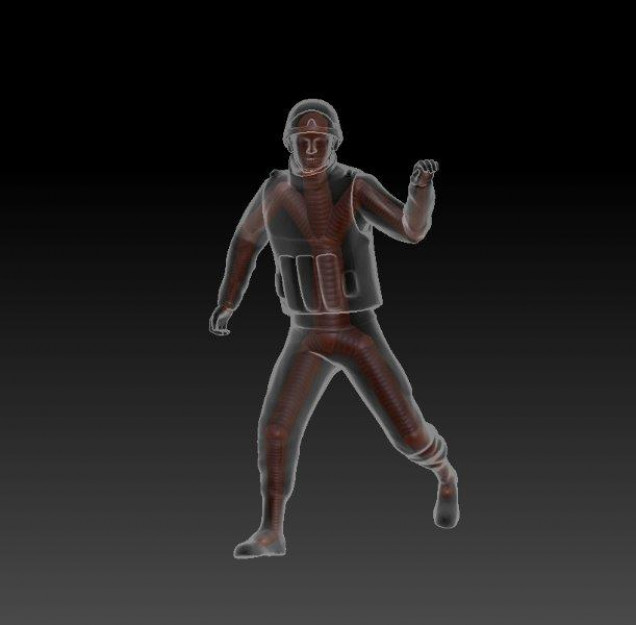
I had heard of the process of ‘rigging’ digital models to give them an internal skeleton. This would allow for more fluid movement and once achieved, would make for much easier manipulation of the figure poses. The free soldier I had downloaded came complete with an internal skeleton but it wasn’t something that could be used in Zbrush. I suspect it was designed for a program such as Maya but as I didn’t know (or have), that software, I would need to find an alternative solution. My next stop was YouTube to find some tutorials on Rigging in Zbrush.
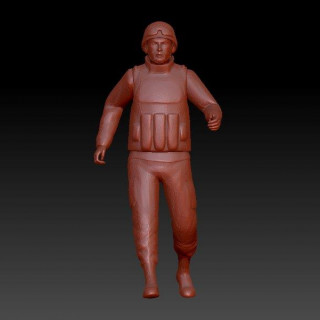
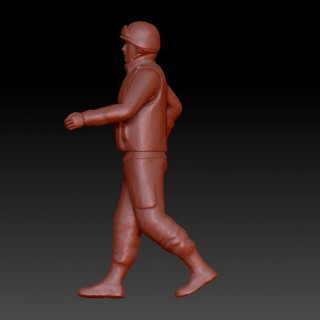
After half hour of playing around while watching an excellent tutorial, I had made a basic rig.
More surprisingly, it actually seemed to work!


![TerrainFest 2024 Begins! Build Terrain With OnTableTop & Win A £300 Prize! [Extended!]](https://images.beastsofwar.com/2024/10/TerrainFEST-2024-Social-Media-Post-Square-225-127.jpg)




All really useful info here, im watching with interest.