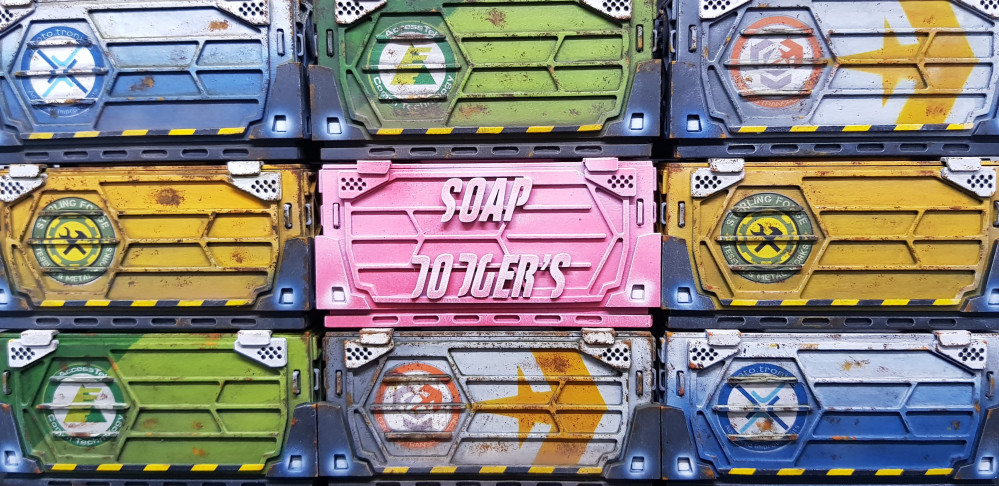
Infinity Terrain
1st floor almost fleshed out.
I continued my progress on the first floor. At this point I have a stair case that needs to be designed and built but this is pretty much it without scatter terrain on the model (which there will be a lot of.
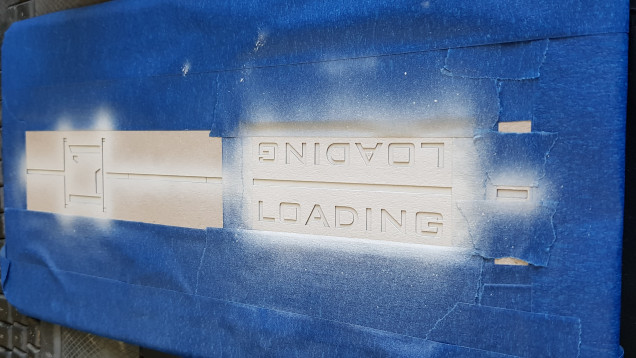 I started by using my laser cutter to cut out stencils I cut this out of thin card and stuck them down on the model with masking fluid. This works great and I got very little bleeding. I also got some blue masking tape to try and oh my god I prefer this stuff to normal masking tape and it's also lower tack so no need to scrape over my trousers to take the tack off of it.
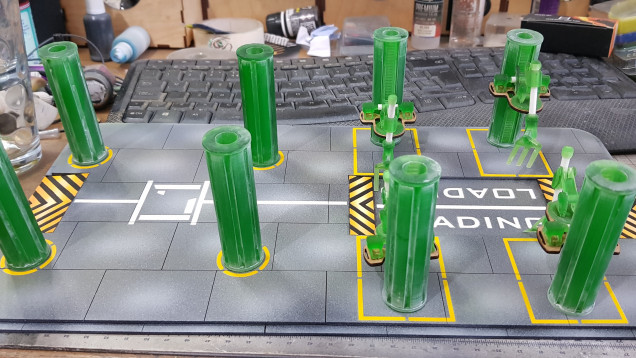 I done some more sanding which was just a quick pass over everything. This leaves a white hard to remove in places powder but it didn't seem to matter to the end finish.
 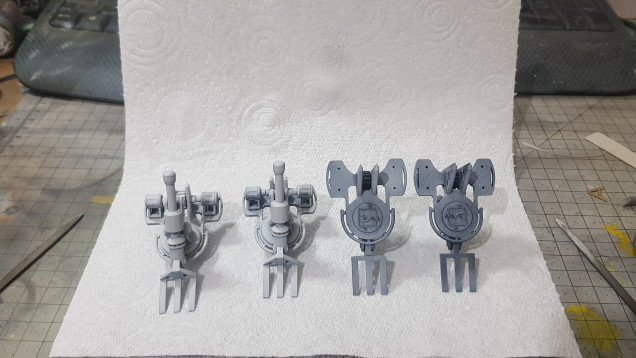 I primed the robot lifting arms and this brought everything together. I painted these orange in the end but I didn't want to pick out every detail but I used enamel pin wash and sponge and paint to weather them. The rest will be further distressed but only after everything is together. I thought this would be difficult after assembly on the arms.
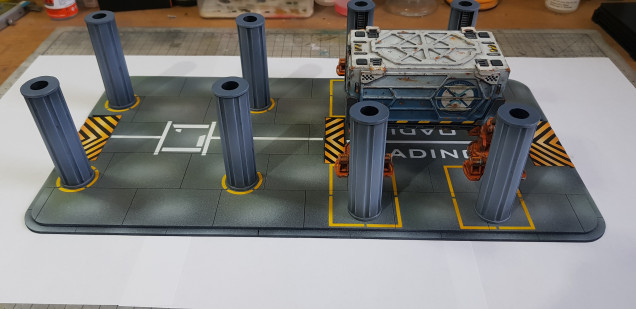 So that's everything almost complete for the first floor. I need to start to draw again. I hoped to do this side by side with building but I was enjoying it to much to stop.
 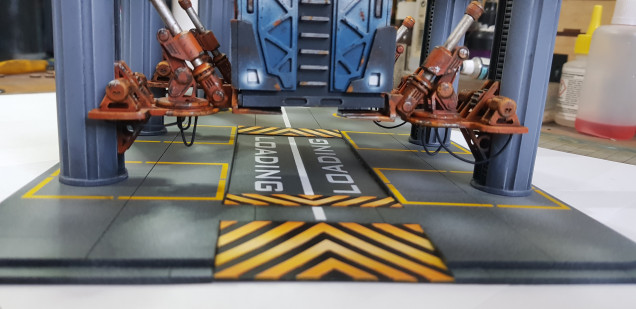 detail picture showing this from the front the container is not stuck down and pushed fully into position.
I do have more cables to be suspended from the landing platform and feed the robot arms and the motors. This is getting to the point where I am happy with the progress. Cant wait to finish this but I am enjoying the progress so much I don’t think I want to finish.
More to come.


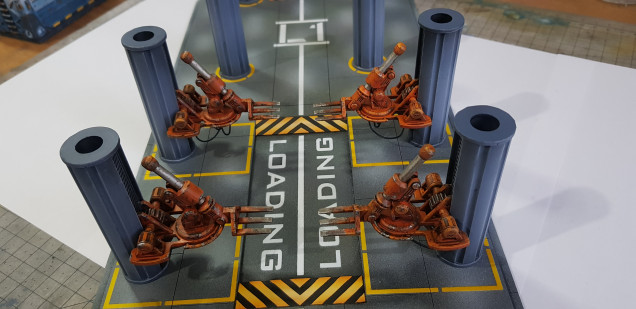
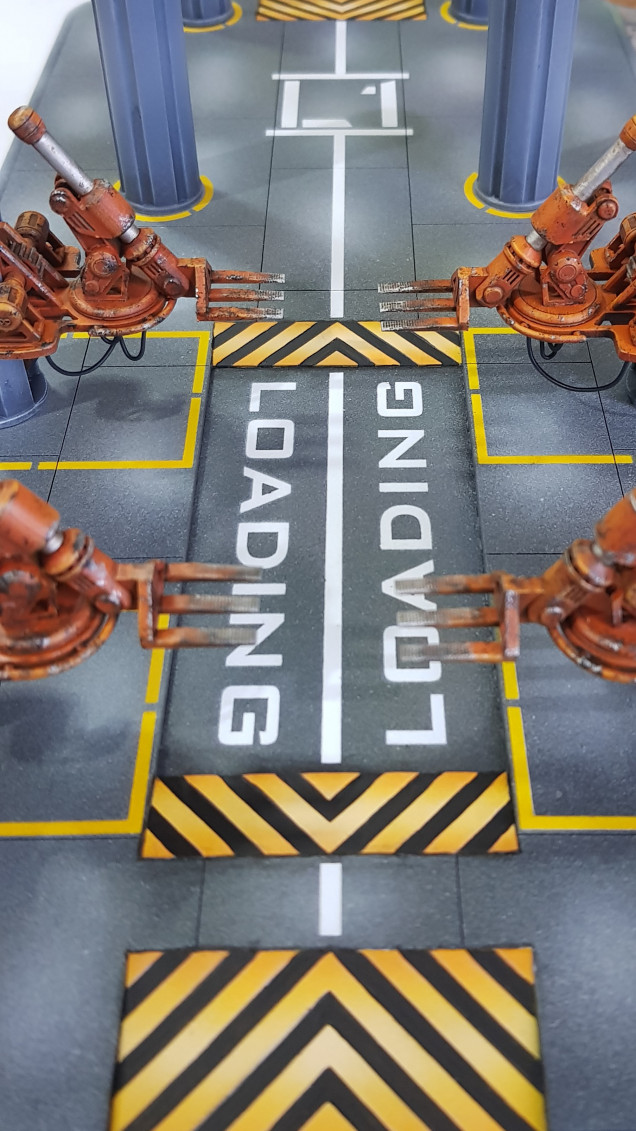


I have been following this project along from near the start and should have commented long before this. From the design to the fabrication to the paint and finish it’s been just brilliant. Wonderful use of the project system here on OTT and an inspiration to jump in and start down this road myself.
It becomes an obsession so be careful, but if you do go down the obsessive route it’s a lot of fun! I find it hard to comment as there are so many great projects here. I know that when comments come in someone has went out of there way to show support. So, thank you! Can’t wait to see what you do.