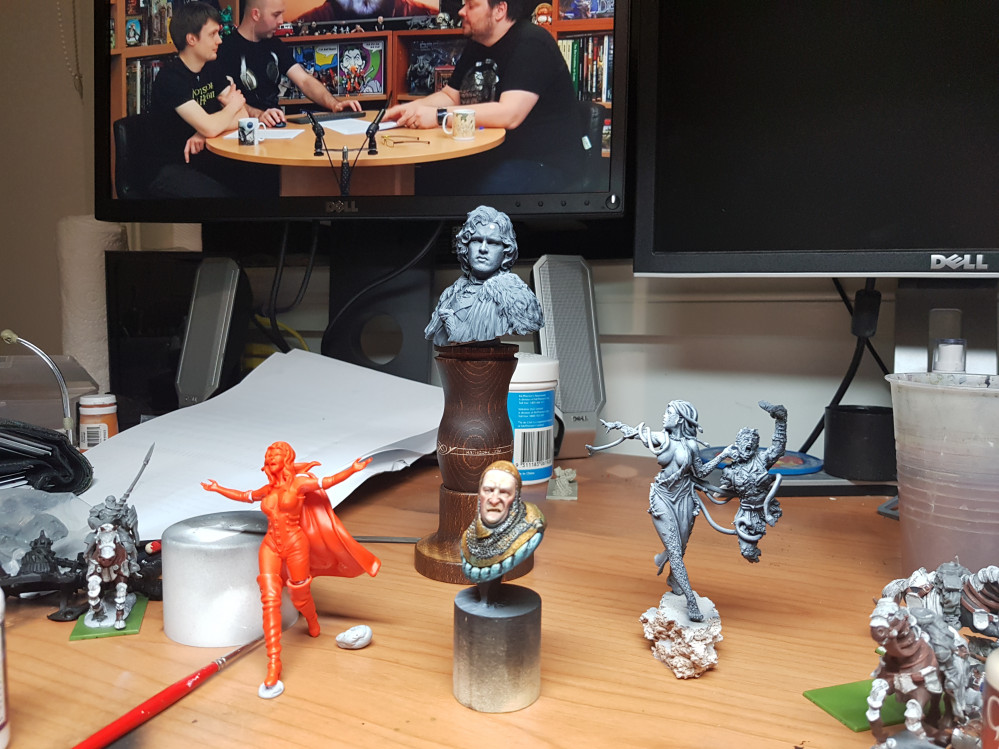
Yogie Paints Large Minis and Busts
Completing the piece
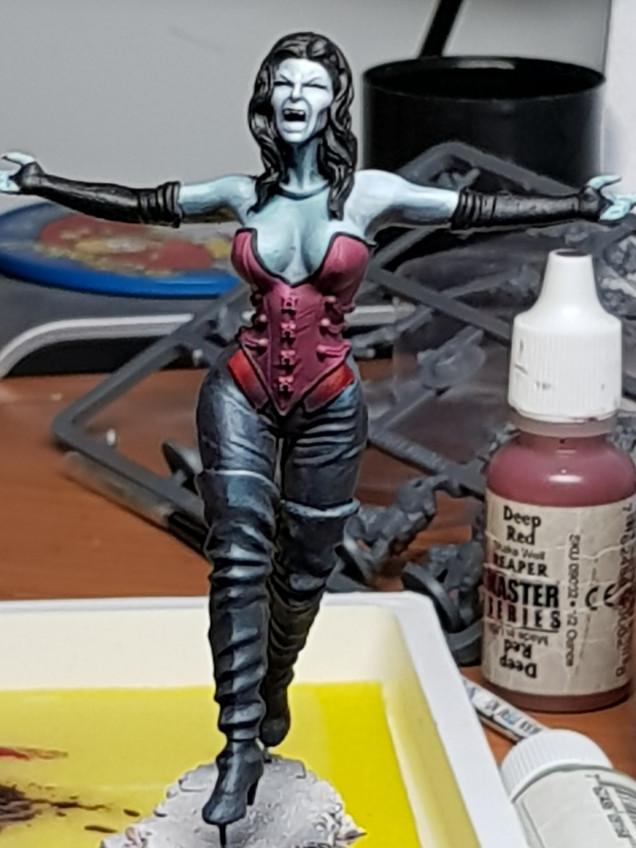
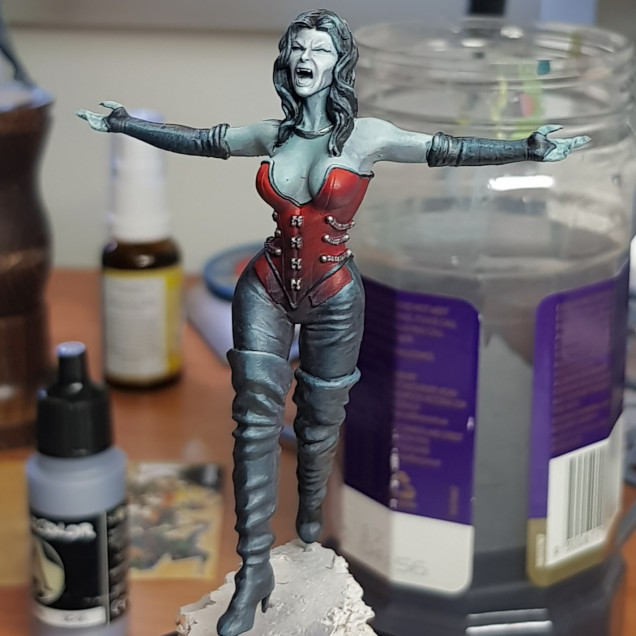
Followin on from my previous entry, it was fair to say that the grey didn’t work and the blue was the way to go so I redid the pants again, and completed the globe thingys.
I also did the hair the same way, continuing to add bits of coal black to highlight where I believe the light would fall.
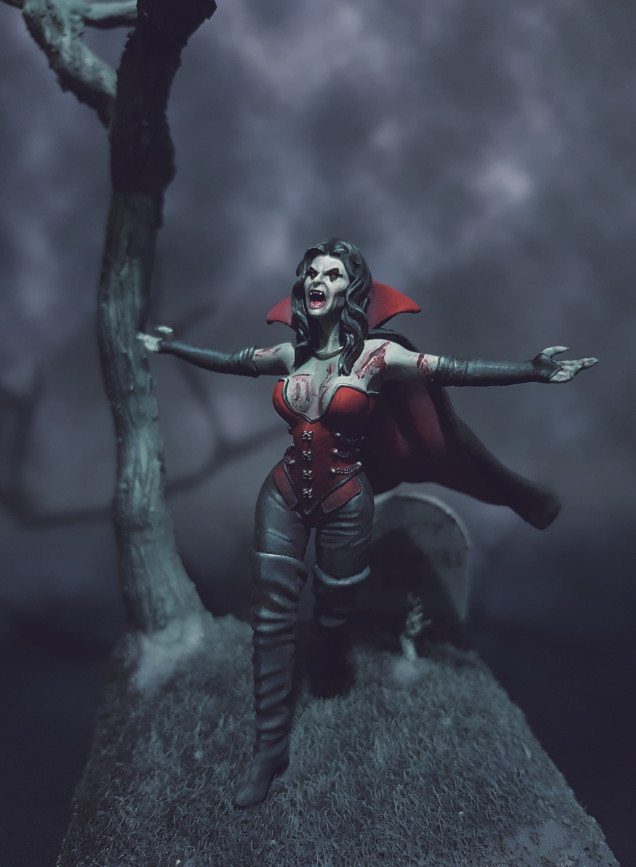
Time to scary her up now. Really enhance the eyes and also add some blood. This was done using the blood triad from Reaper Master series. I wasn’t sure about highlighting and shading deep cuts so I just copied some pictures I found on the internet.
Base building time.
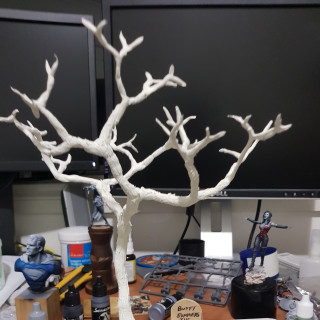
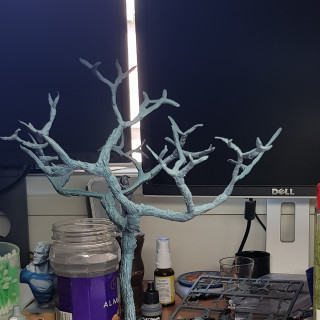
First of all I created the tree using the twisted wire technique using around 15 or so wires around 30cm in length. Once I had built the tree I glued it to the wooden base (not a plinth Lloyd) and started to build up the milliput.
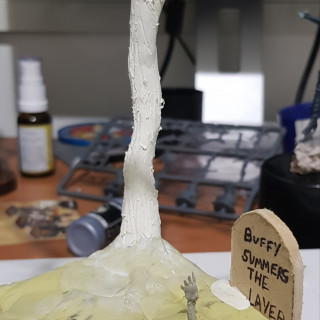
I tried to get the milliput as thin as possible but it wasn’t sticking greatly and this was actually quite hard. I tried to have the branches decrease in thickness as they went up but I don’t think I did that very well.
For texture, I simply dragged my sculpting tool continuously through the putty.
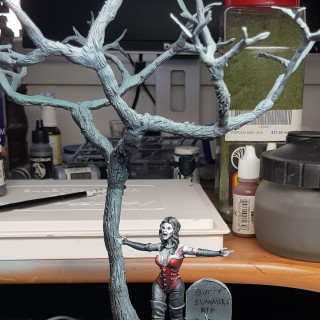
I used some MDF for the headstone and also a spare hand I had from another figure to create that coming out of the ground look like she was raising the dead. Then I continued to build up the milliput to get an uneven yet flat ground (if that makes sense) while incorporating roots etc. And it was time to prime.
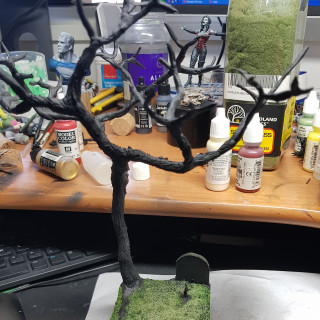
After priming it was static grass time applying it from a height to hopefully get it to stand up. I also used an airbrush to try and blow it up as well. This gave it the effect of being uneven and not all standing up which is more natural and what I was after.
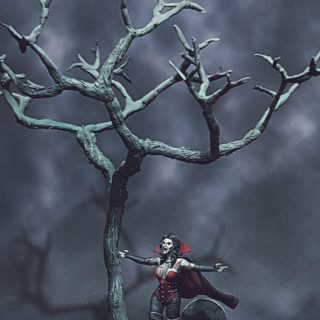
After that had set, it was time to start painting, Again using my same coal black, I built up the colours and highlights spraying purely from one direction where the moonlight would be coming from (which also matched my model) I then added selected highlights to interesting bits by adding an ice yellow to the mix in spots to draw the eye away from other sections. Once this was done it was time to add the model.
The final step was to paint the cape. I again used the bright red on the underside concentrating on where the light would fall while leaving the shadows on the underside and even on the side closest to tree in a more purple/black kind of colour. I did this by simply adding more purple and black to the mix.
The back of the cape was again using the coal black method but I tried to mute it as much as I could because it would be fabric and not shiney like the boots and hair and pants. I also tried to leave some brushstrokes to create that texture but I don’t think I achieved the desired effect.
And we are done. Looking back on it, I think I can make the tree a lot better and more realistic. I wasn’t 100% about the cuts on the body, and maybe I didn’t quite get that atmosphere I was looking for with the night lighting.
Oh well, there is always next time.


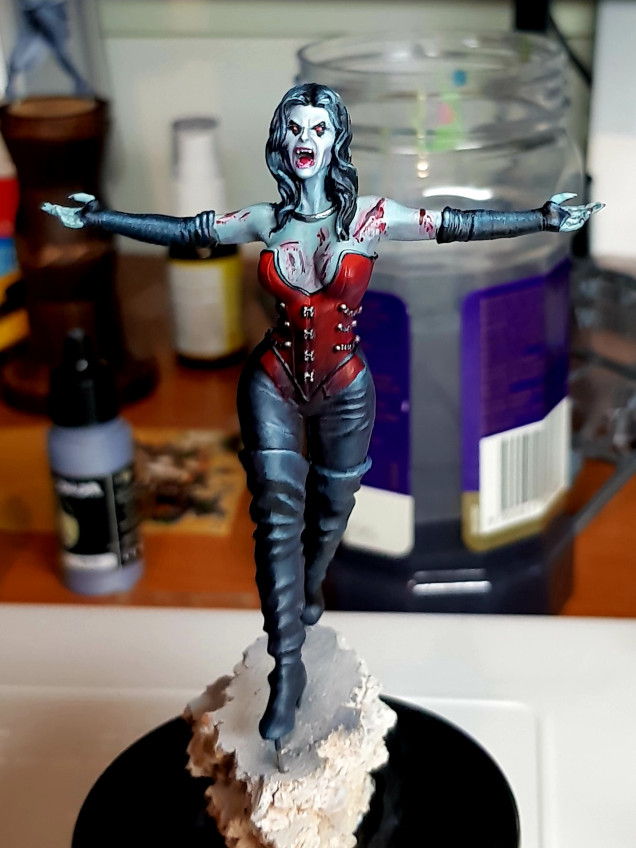
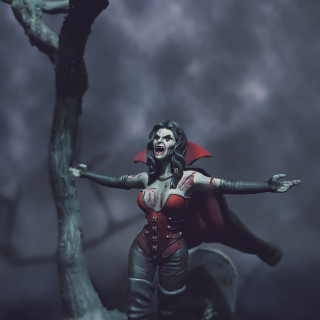
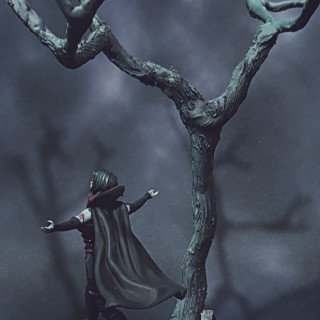


A very well done piece. The hand coming up really harkens back to the end of Carrie. As far as your detail damage about the globelike protruberances and such, it came out very nice with the extra pop of red. As far as the face of the figure I’m reminded of the artwork from Spawn back in the early to mid ’90s and the makeup for Alice Cooper. Your photography does justice to the work you’ve done and makes me think I need to find somebody who knows what they’re doing to photo mine. Keep up the good work.
Thank you very much. The eyes were very small on the miniature so I needed a way to make them larger and stand out.
I wasn’t going for an alice cooper look but hey you get what you get.
For the photo, it was done with my Android S8 with no editing. Just adjustment of the light etc and the background. I finally realised that if the background is a foot away, you get all the detail of the model withiut getting the individual weaves in the background material spoiling the effect.