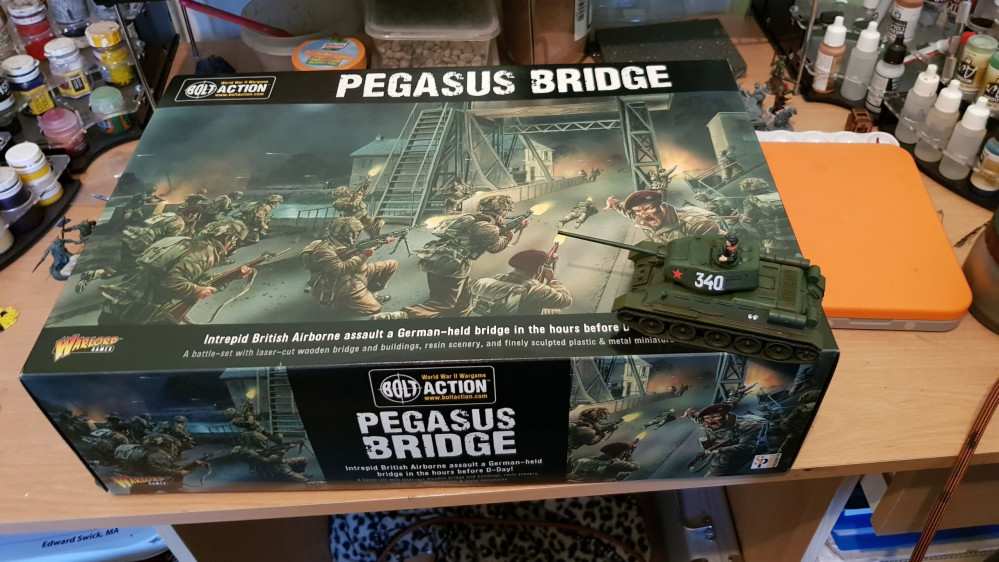
Hold Until Relieved. Hold Until Relieved.
Un café Monsieur?
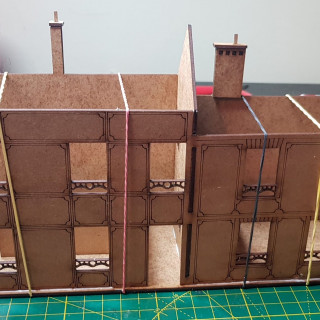
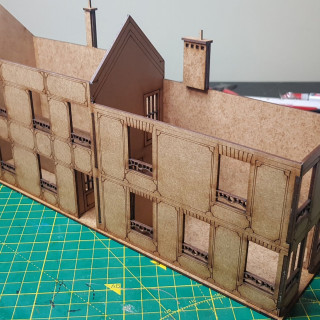
So I was a bit fed up with building little tiny men so for the next step I decided to get cracking with Café Gondrée. This piece came in 4 A4 sheets of MDF. First step was to get the ground floor interior walls glued down and the chimney sides added.
Next up the outside walls and the mid section.
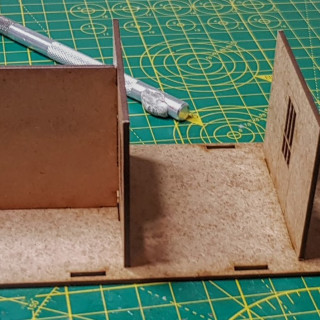
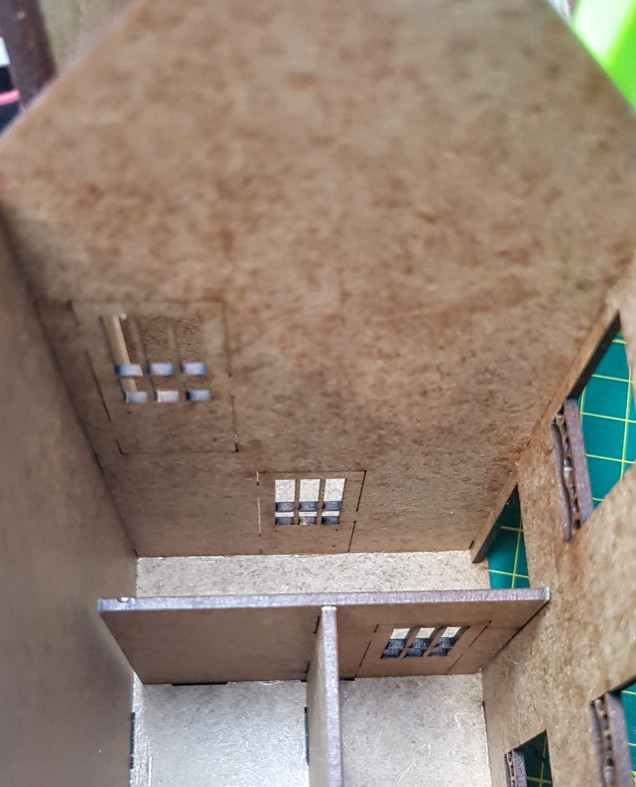
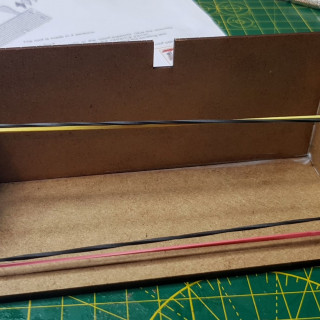
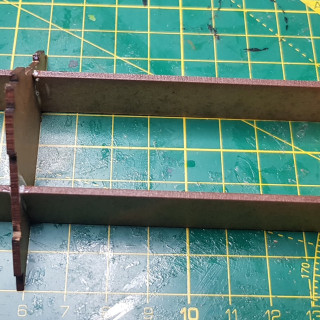
Mistake: So here’s where I made my first mistake. So – it goes without saying you should read all the instructions before tackling a build like this (which I did!) but you should also actually understand what those instructions mean for different parts of the build! So the next step of the build is to insert the card details for the windows on the inside of the walls. In order to do that you actually have to have a gap for the card to go into! As you can see from the photo below I put the inside wall a bit too close to the window side and further away from the enclosed side. To be honest – when I was building it, I was tempted to try and glue the inside walls to the outside cause I thought it would make the structure a bit more stable – but the gap was too big and I was a little confused!
As it was I ended up having to get out the craft knife and a small file to slice down the side close to the windows just so I could slide down the card insert. In fact I had to put a fresh blade on my knife just to get it smoothed down!
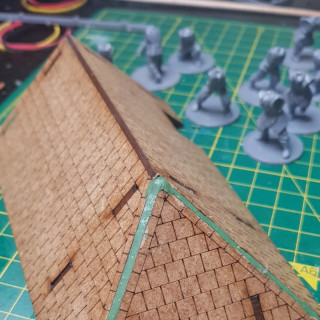
On with the roof! Fairly straightforward.
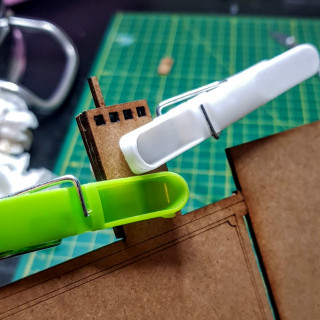
Tip: So I’ve found with building sloped roofs, one side is slightly wider than the other. I’ve found that it’s always better to put the wider side on first, then the narrower side can slip in easily and glue to the leading edge of the wide side.
There was a small gap either side of the gable end roof so I took some green stuff, rolled it into a sausage – pressed it into the gaps, took the excess off with a craft knife and smoothed it down with a wet finger.
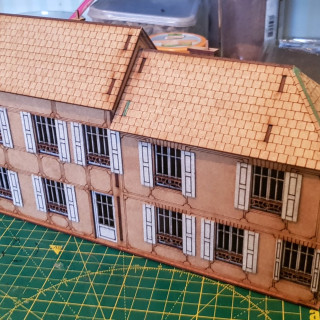
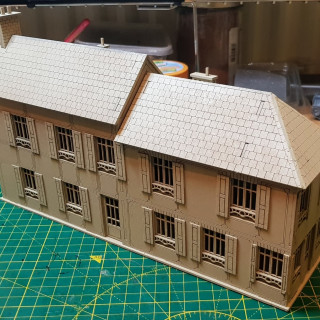
Final step on this build was to glue on the outside shutters and give the whole thing a prime in AP Skeleton Bone.
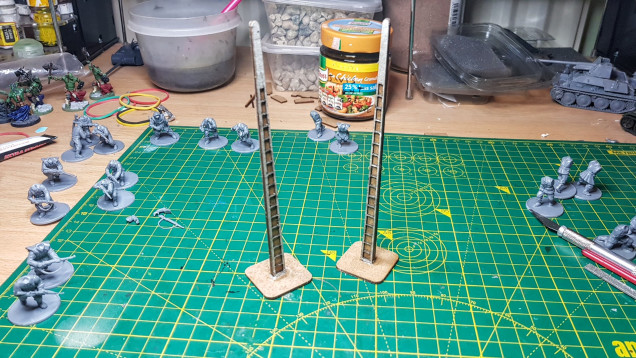
There was one final piece on the sprue that confused me a little bit! There is absolutely nothing in the instructions about and initially I though it might be some sort of outside drainpipe or guttering. Did a bit of googling and image searches and eventually worked out it was the 2 telegraph poles that come with the kit!
Even then I was a bit confused. There were 2 bases and 2 straight pieces. It looked to me like the 2 straight pieces should be glued together to fit into the base – but I couldn’t find 2 more straight pieces! I went back through all the empty sprues to make sue I didn’t miss anything. Eventually after looking at more images from the Warlord site it looked like the poles were just 1 straight MDF piece with the 2 cardboard detail sides added. So I glued the details on and added them to the base. It worked on but it was still a little bit loose – and with only one contact point for a tall piece – after gluing with the usual PVA, I also drizzled some superglue around the base – and once it was pretty dry I turned it upside down and put more superglue on the underside. I think hot glue probably would have worked best for this but I couldn’t find my glue gun for love nor money!






![TerrainFest 2024! Build Terrain With OnTableTop & Win A £300 Prize [Extended!]](https://images.beastsofwar.com/2024/10/TerrainFEST-2024-Social-Media-Post-Square-225-127.jpg)




Leave a Reply