Motorised Painting Handle
But I know it's growing strong...
Ok, song lyrics as titles aren’t going to get me through the rest of this project, so I’ll leave that alone right now.
Now we’ve got our motors spinning, it’s time to get super-nerdy. (Skip this post if you’re not much bothered about how it’s made, and I promise, on the next one, I’ll do a bit more on the what/why).
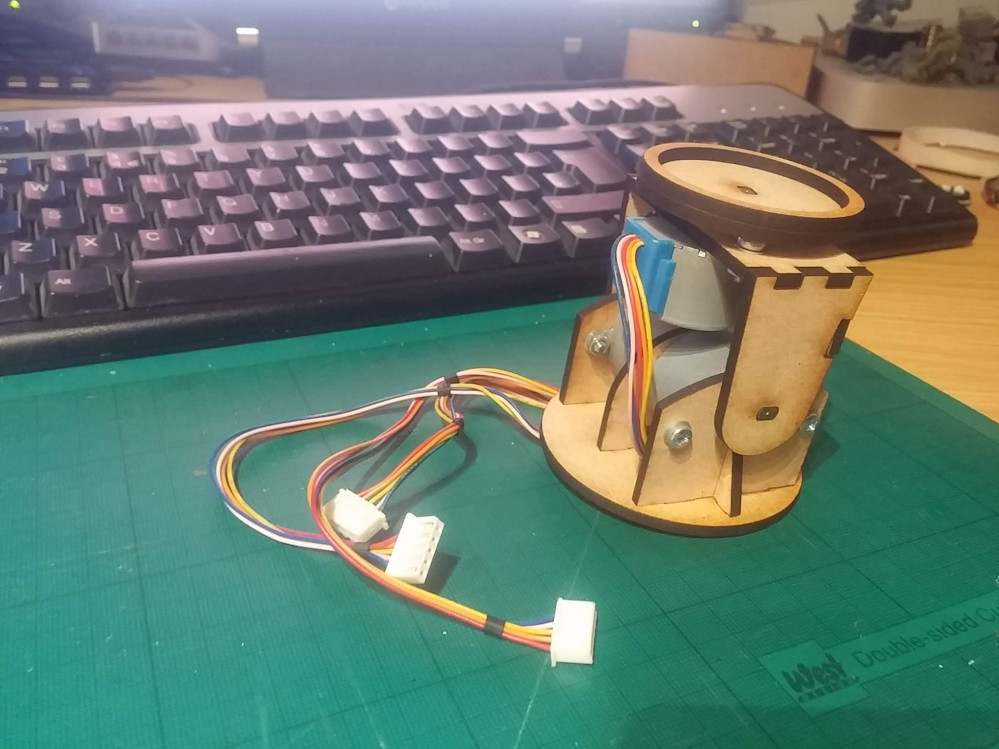
I decided to use two back-to-back motors for the up/down movement, and a single motor on the top, to create the left/right rotation. As we’ve seen, driving stepper motors requires a bit more work than simply switching power to them, so I thought I’d shove an Arduino on to control them (normally I’d use PICs but Arduino seems to be really popular and, if this is going to go open-source so anyone can create their own, it makes sense to use what most people are comfortable with).
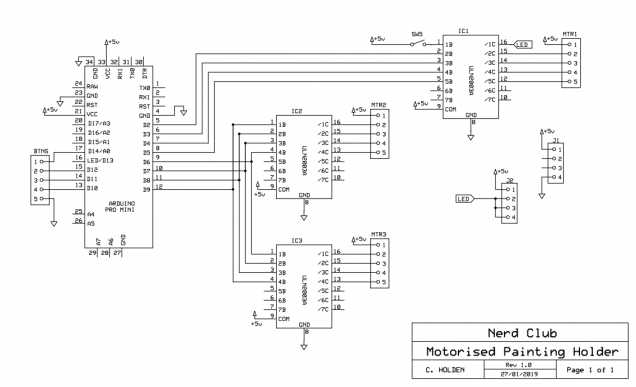
Here we’re using one set of signal wires to control two ULN2003 transistor arrays but if you look closely, you’ll see that one set are numbered 1,2,3,4 and the other 4,3,2,1 – this acheives the same result as driving one stepper motor in the opposite direction to the other.
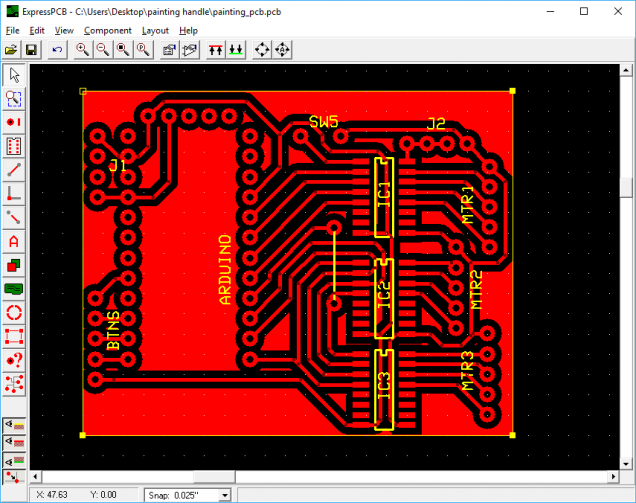
The schematic helps with the placement of wires and traces when making a custom PCB.


Leave a Reply