Painting the KD:M Pinup Architect
Re-attaching the Arm and Adding Blood
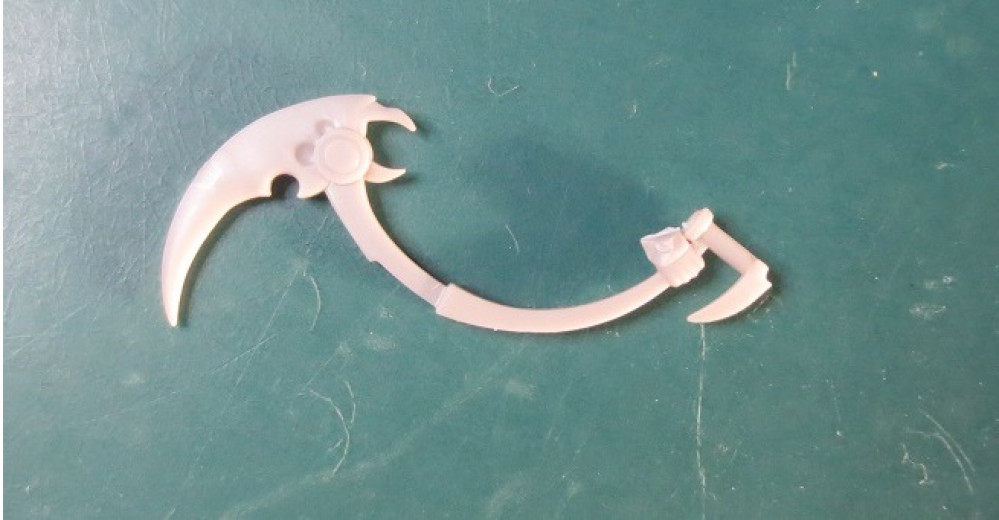
I don’t have many photos of the re-attaching process, but it was probably the most arduous portion. I made the mistake of pushing the arm before the plastic cement had fully cured, which led to the arm falling off. In turn, I then needed to scrape off the old cement and try again… during which time the wrist came detached.
After 3 separate attempts re-attaching the arm, 2 attempts re-attaching the wrist, I got it to stick (it also needed a somewhat liberal coat of super glue over the joins). I haven’t done much sub-assembly before, but it seems to require more forward planning than with a fully assembled miniature. Woe to those who want to add extras mid-project.
Speaking of which…
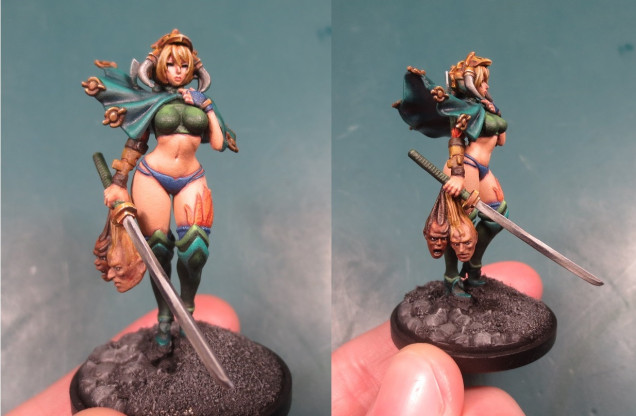
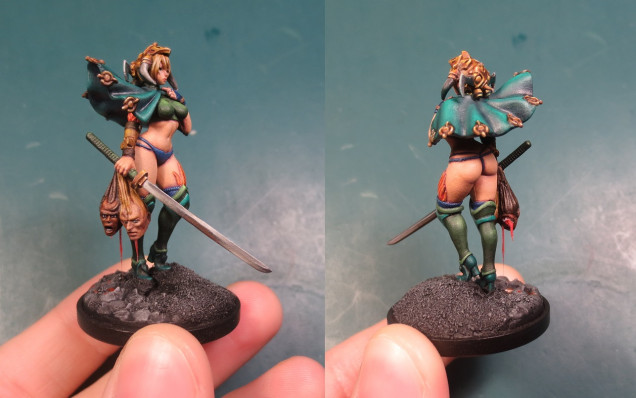
It looked too clean!
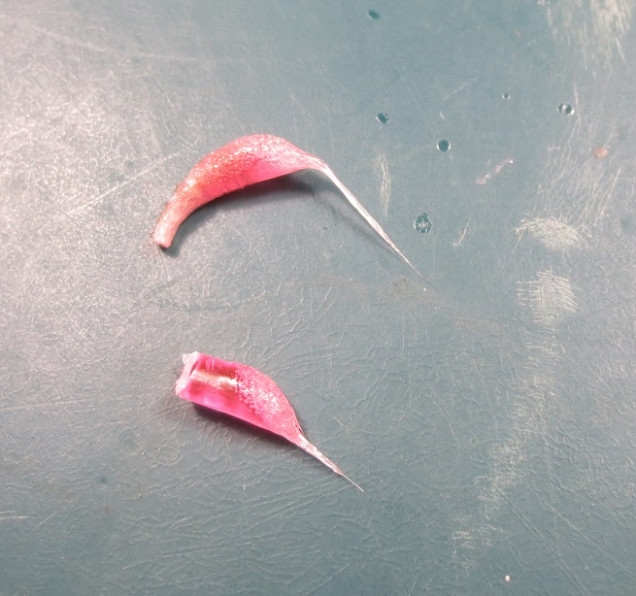
I’d seen someone add saliva to their Screaming Antelope using pieces of melted, clear plastic sprue (I can’t for the life of me find the source – I’m sorry!) so I decided to give it a go.
I lit a small tealight then, using two pairs of pliers, stretched bits of clear plastic sprue over it, until small strands formed and the sprue split.
I then clipped the strands and used super glue to attach them to the neck stumps. A little of Scalecolour’s red ink from the Inktensity line was used to tint the plastic red, as well as form pools on the base. It’s not the most realistic-looking blood, but it spices up the base a little.


![TerrainFest 2024 Begins! Build Terrain With OnTableTop & Win A £300 Prize! [Extended!]](https://images.beastsofwar.com/2024/10/TerrainFEST-2024-Social-Media-Post-Square-225-127.jpg)


Leave a Reply