Rangers of Shadow Deep - Ninjilly's DayKnight 30 Day Project
Week 2 - Papercraft Buildings, The Finale
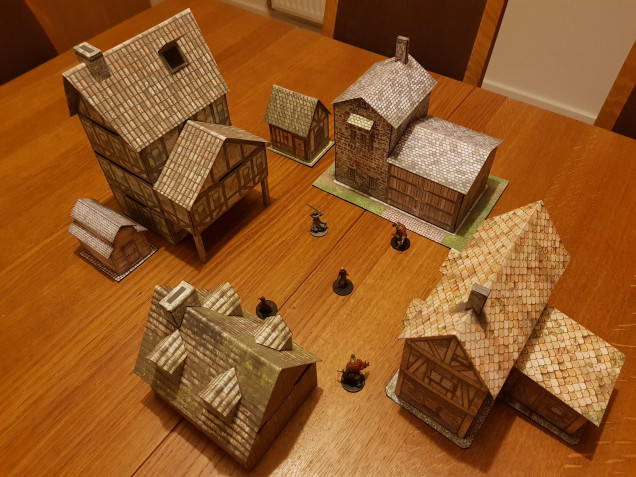
For the final two buildings of the week, I jumped to a new maker. Fat Dragon Games have an excellent line called Ravenfell, which creates an entire town. I bought the 2nd expansion for this project mainly because it was only $3.99 vs $11.99 for the Core Set but having built these, I’ll be going back for more if I need them in the future. As with the better of the Graffam kits, these have lots of layers you can switch on and off to get varying effects across the range. Even with just this one expansion, changing the building materials and general condition would give you enough variations to fill a small village. And their moss layer doesn’t look like dragon piss.
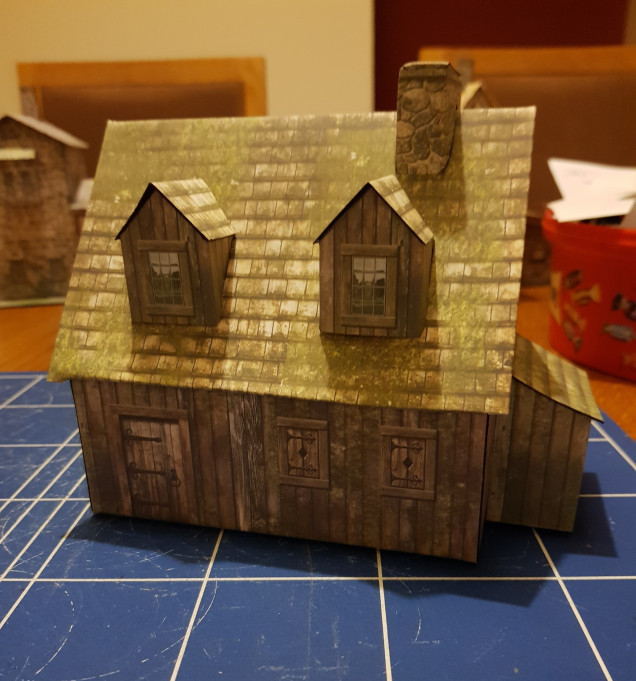 Farmhouse, the little bit at the side is a wood store. This is probably my favourite model this week.
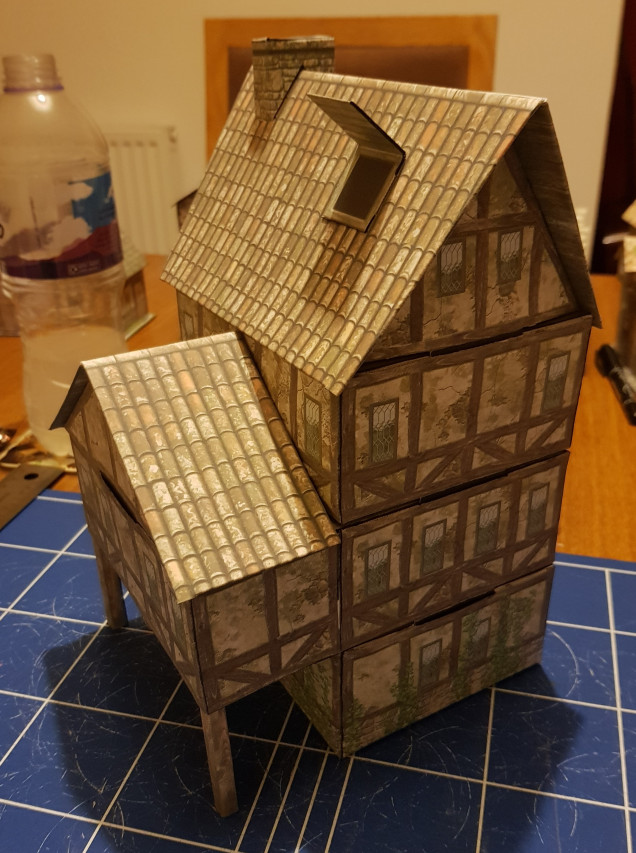
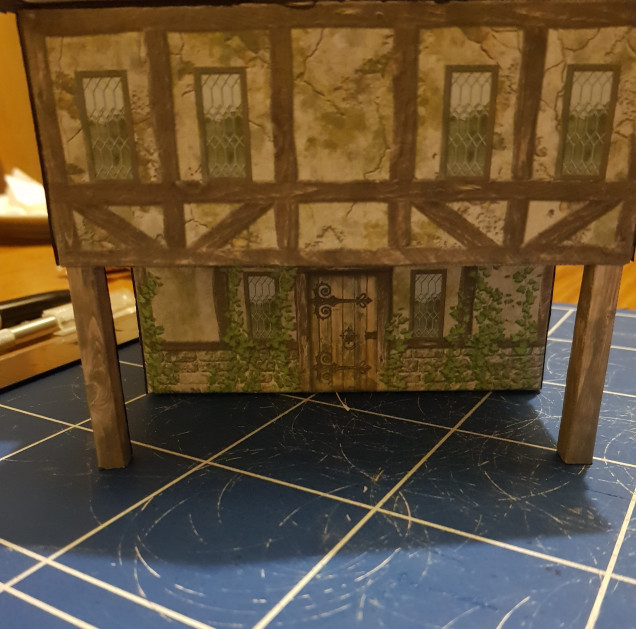
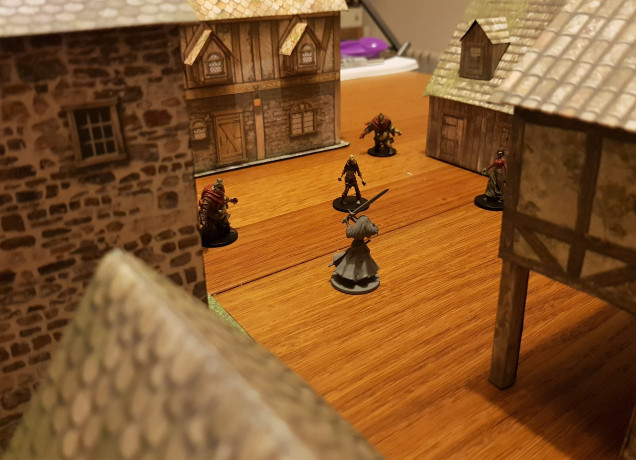
The models were definitely more complex and time consuming but they are designed for RPGs and the detailing is great. Each level can be removed, and although there isn’t any detailing on the inner walls, there are floorboards so you could easily use them for multilevel gaming. There are even options for having the windows open.
Each one feels very sturdy and once this project is over I can see me going back to make more. I kept them off the bases that come in the kit and having seen them like that, I might cut down the other ones and just have them freestanding.
My only gripe with the FDG models is that the instructions assume you have the Core Set. You only get instructions for little sections of the buildings in this expansion and there are parts included that there isn’t an explanation of. I understand why they have done it but I feel that if you can buy a product as a standalone, it should come with all the instructions necessary to make everything in it. Thankfully after this week, they weren’t much of a challenge but it is something to note for anyone starting out.
So week 2 has ended and I’m halfway through the project. So far, I’m very happy with the amount that I’ve managed. The buildings have been VERY time consuming but they look good (I do solemnly promise to take daylight photos that don’t suck at the end of the project) and they feel robust enough that they will last a good long time. All told this week, I have spent probably 12-15 hours putting them together. You can have things cheap or quick, rarely the two at the same time.
I was worried about this section coming into the project because I was sure they’d look dumb and cheap but there are some great companies providing affordable solutions to terrain and I’m happy to have tried them out. Once I’m out of the challenge, I could see me making more just to have them on hand. My RPG group were admiring them this weekend too so they may get more use than I was expecting.
Costs outwith the budget:
In terms of incidental expenses, obviously ink and pritt stick have been pretty liberally used this week. I bought a load of off-brand printer ink in November so I didn’t need to worry about running out. All the buildings pictured have gone through less than half a cartridge of each colour, printing on highest quality. Pritt stick is another one I had bought several of back when Amazon had a deal on the multipack of the smaller sticks. I used two this week and started on a third for the final level of the last building. If your printer can print on card better than mine can then this would be a moot point but it is something I’ll need to think about in the future. Perhaps using a spray adhesive would be cheaper but as effective and I suspect much faster.
I used superglue for the proper joins mainly because I had plenty and it made fast work where PVA would have held me up more. Such a small amount was needed on each model that I’m nowhere near finishing the bottle.
Conclusion of Week 2
The papercraft buildings came in much higher than my expectations. Going into this project I was sure that I would chuck these out as soon as I was able to replace them but at this point I’m considering buying more and even starting a whole snow covered table for Frostgrave with them. I preferred the Fat Dragon Games buildings and with even this one expansion, could easily build a good sized table of terrain without everything looking samey. For anyone struggling to get decent terrain at home, have a look into papercraft buildings, they might not be perfect but they are blood good for the cost.
Things I’d do better next time
- get a brown pen for edging instead of the black, this would make the models look better though it isn’t a major thing on most of them
- spray adhesive to mount the paper on the card or try to find a printer that can cope with 180gsm card without throwing a tantrum
- skip the card bases and either leave them plain or base them properly on some mdf biscuits.
- add in some flock, tufts etc to make them look even better (I might still manage this before the project ends but I’m putting it here anyway)




Nice buildings. I have a load of Dave Graffams buildings I got years ago and still haven’t done anything with them
Somehow I missed this comment @torros They are really nice models to work with, especially the ones you can play around with the layers on. I’m very keen to get more done for future projects. As a relatively quick way to get a table of terrain done, I’m a convert