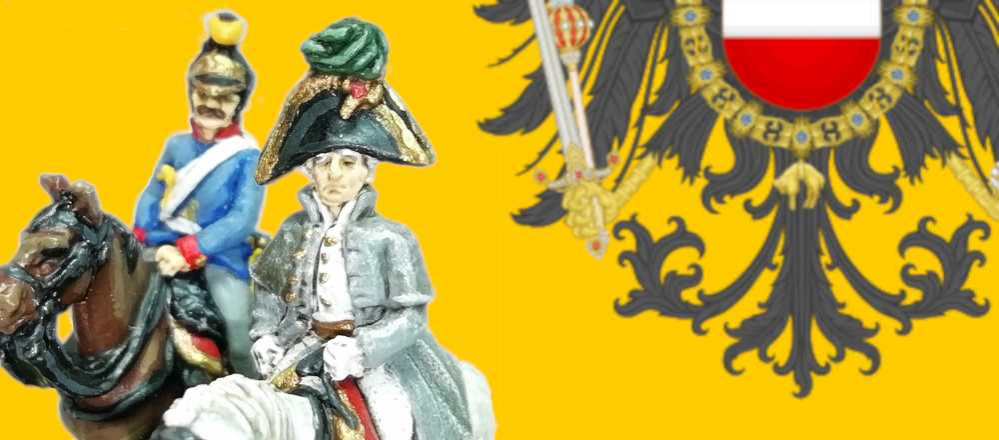
The Battle of Austerlitz - 15mm Austrian army from 1805 by Bothi
BatRep: Battle of Dresden
As I am still not finished with painting the entirety of this army, we still haven’t played the Battle of Austerlitz.
But as we are all getting along with our armies real nicely, we decided to have a game. So. This is the Battle of Dresden of 1813.
The game happened a few weeks back. So I just go quickly over what happened.
Historically the French had just completed their retreat from Russia and Austria had joined the Russion/Prussion Coalition to kick the French out of central Europe. At Dresden Napoleon found himsel surrounded by three allied armies. So he had to give the Allies a bloody nose. With nearly twice as many troops as Napoleon, the Allies we’re quite confident to win that day and fell right into Napoleons trap.
Napoleons plan to defeat his enemys one by one – as he did again and again during the decade before – was failing. So he faked his withdrawal from the city and on the next morning the battle took place. Napoleon won a brilliant tactical victory, but couldn’t really profit from it, as – after the losses of the Russian campaign – he just didn’t had the cavalry to pursue his enemys. In the end he lost this “War of the Sixth Coalition” and was exiled to Elba in 1814.
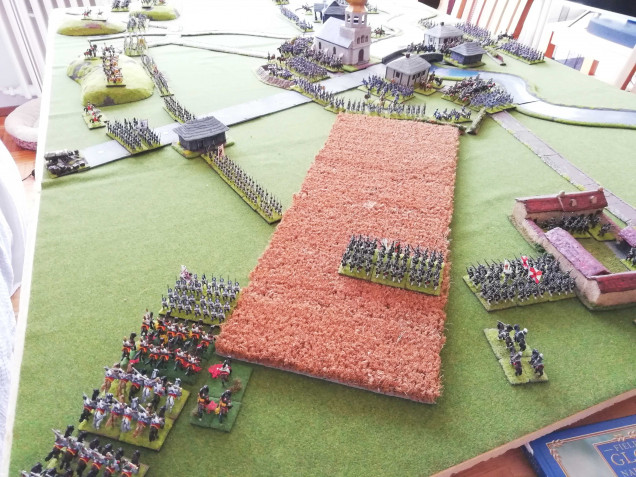
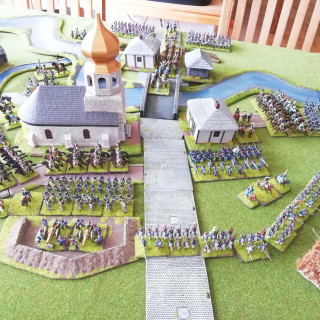
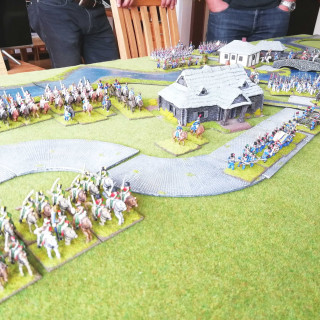
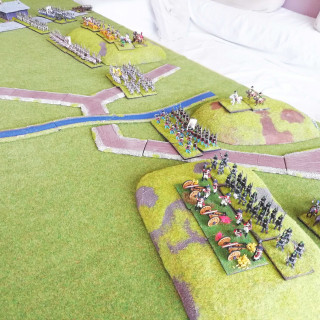
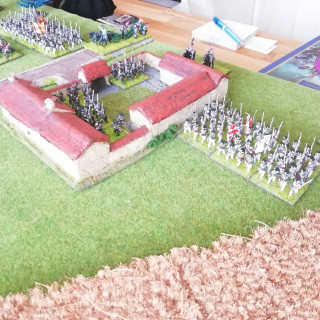
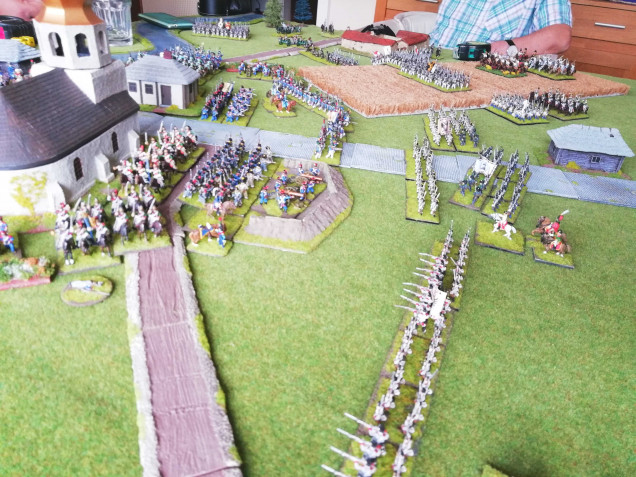
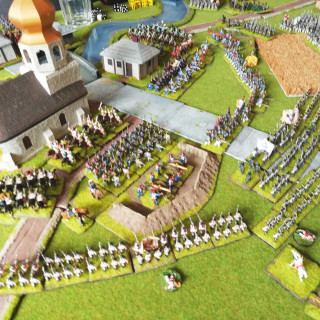
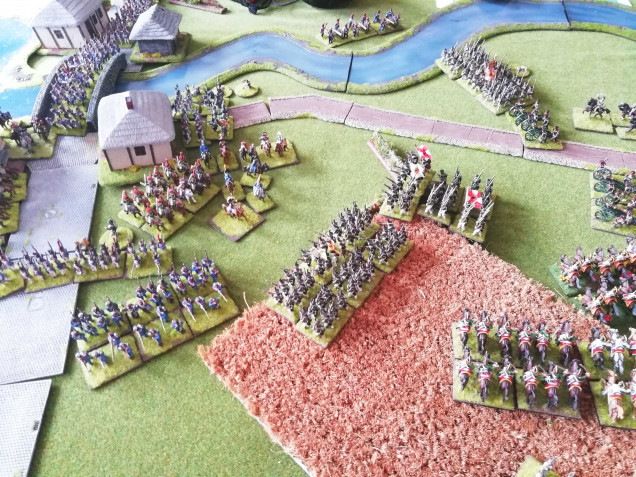
Our game went pretty much along the lines of history. The Austrians advanced with two Corps (controlled by me) on the left flank and the centre. Another corps of russians and a corps of allied cavalry advanced over the right. Dresden was defended by a French Corps and another was fortified to the left. Two more French Corps arrived as reservers over the Elbe.
The Battle started very well for the Allies. They managed to advance in formation (this can be quite a challenge in Field of Glory: Napoleonics) and brought their guns to bear on the city. But a few firing phases went cleary in favor of superior french firing drills.
The French then started pushing out of the city and the Austrian centre started to rout nearly immediately. Only a single Demi-Brigade stood it’s ground. The Russians fared a bit better and tried one last push into the city. But then the sun went down and the general retreat was sounded.
As to our very asymmetric winning conditions the game ended in a clear victory on the field for the Frend but “only” 4 vs 3 victory points in their favor.
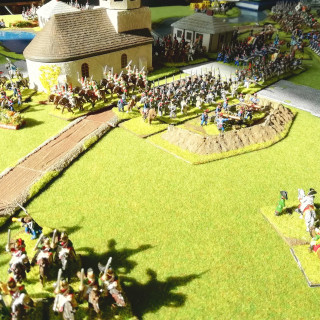
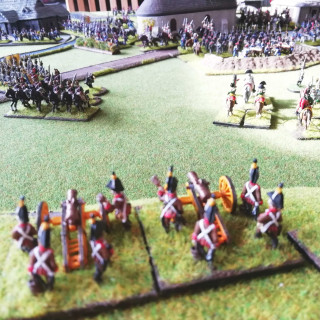
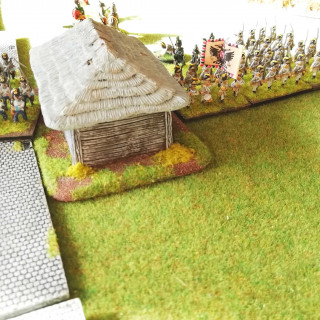
Here are some pics:





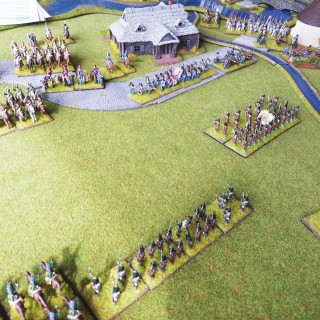
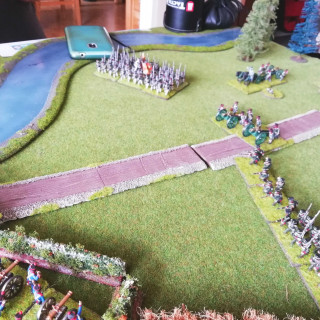
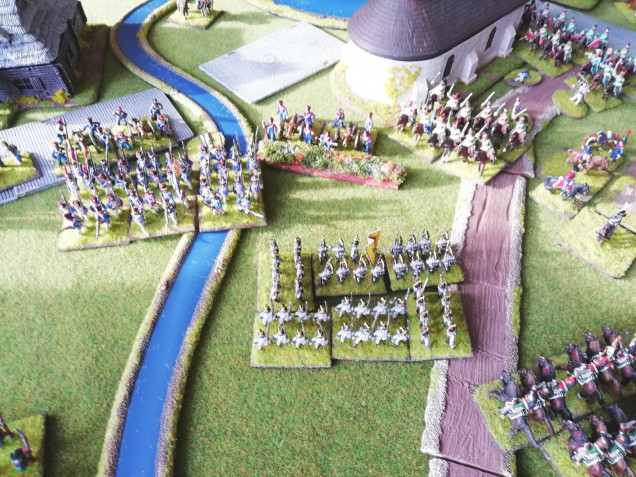
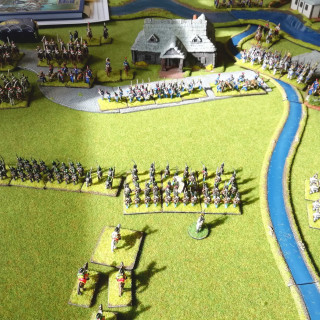
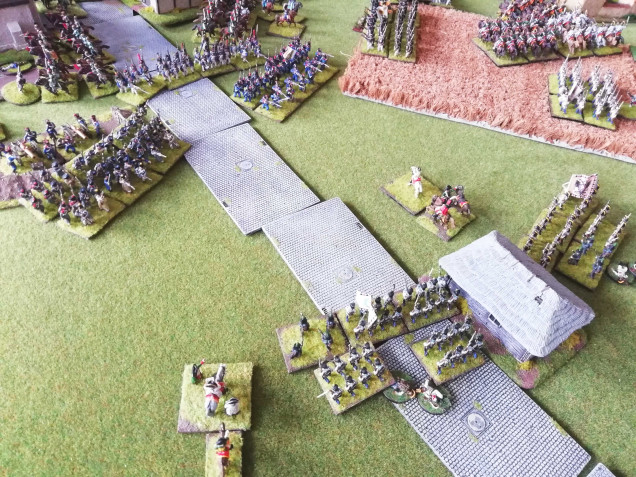
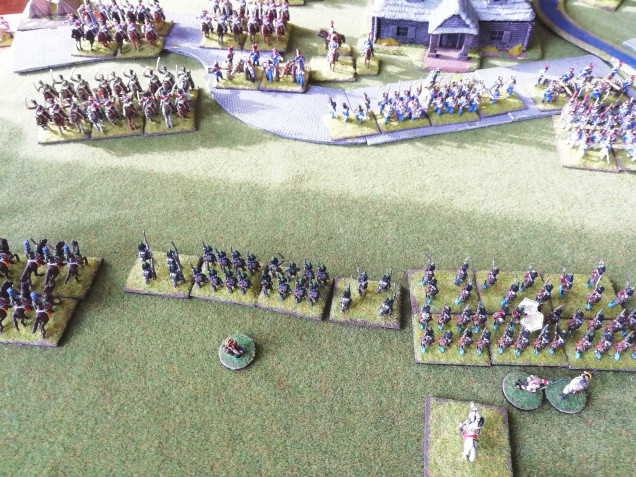








Awesome table and battle report, @bothi . So many people say they’re going to do Napoleonics, paint Napoleonics, then play some kind of “skirmish” Sharpe’s Rifle’s type game )(because you don’t need a large table and large number of miniatures.)
But you actually do the real thing! With the larger, set-piece engagements like Dresden.
Looking forward to a full recreation of Austerlitz, although I don’t envy the amount of work such a project entails!