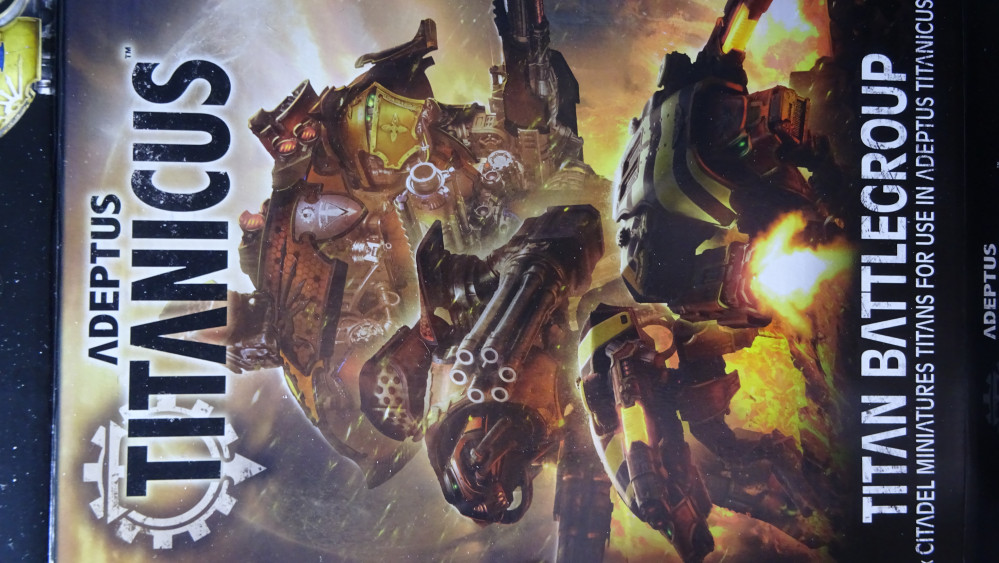
Speed Build of Adeptus Titanicus Titan Battlegroup Box
Haynes Vehicle Guide: Warlord Titan
Greetings,
This is going to be the start of a blizzard of posts. Hopefully they will be beneficial for people embarking upon throwing one of these minis together.
There was a change in venue as I do try to attempt to be social on the weekends….
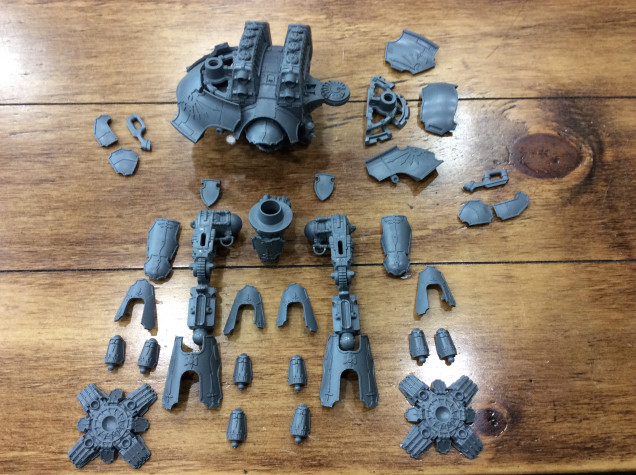
So the Warlord torso was powered through. I added the right pauldron with to the Titan (I forgot to take the photos of the how to make this and the torso flank armour, but they are pretty easy to do).
On the left of the photo is the torso flank armour. It adds a lot of negative space to the Warlord which is rather emaciated without the armour plates added. The three pieces are a bit of a pain to put together at first glance. Dry fit to make sure you have the correct placement of these plates.
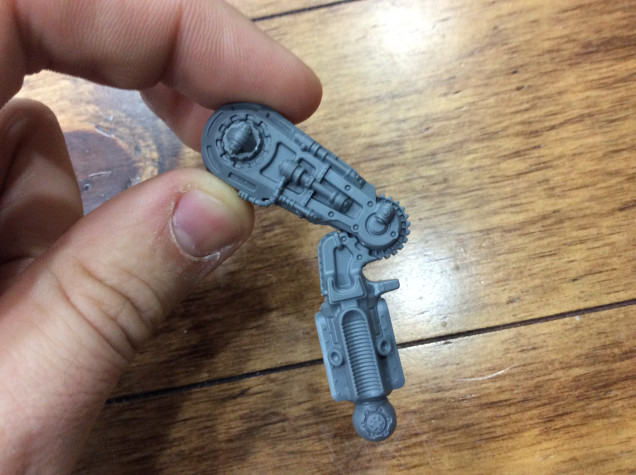
The waist and legs are some of the more awkward pieces to get right. I will try and break it down into easy bits.
Right, so I didn’t take all of the photos I should have done for these next steps…
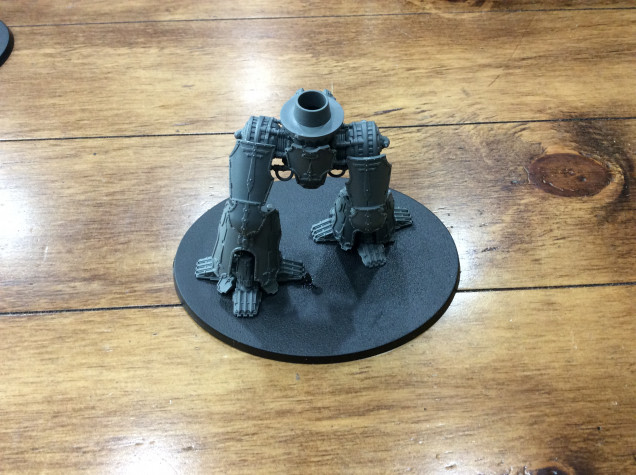
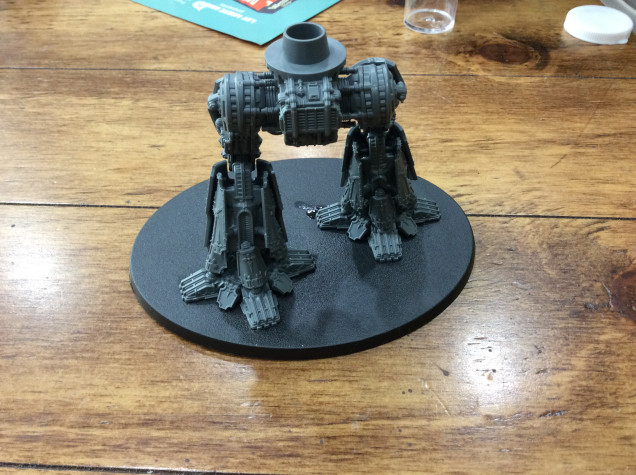
To pose the legs, what you need to do first is try and figure out what pose you want your Warlord to be in. I wanted a right leg forward, striding into combat pose. So I posed the feet in that way. The feet were glued then the rest was precariously perched using as few hands, feet, tentacles and prehensile tails as possible.
A drop of glue in each of the ankle points to fix the lower legs into position.
Once the glue has dried, glue the hips.
Once the glue is dry glue the knees.
Now I am a heretic, according to some of the other hobbyists here, by using superglue not poly-cement.
The ankle pistons go on first then the thigh, ankle and shin armour. It is relatively simple to be honest. You have to be careful with the angle of the shin as some angles are too severe for the armour plates.
Regards,
Khibyusa


![TerrainFest 2024 Begins! Build Terrain With OnTableTop & Win A £300 Prize! [Extended!]](https://images.beastsofwar.com/2024/10/TerrainFEST-2024-Social-Media-Post-Square-225-127.jpg)




Leave a Reply