Let Slip A Dog Of War
Coming Together.......Wear a damn mask!!!
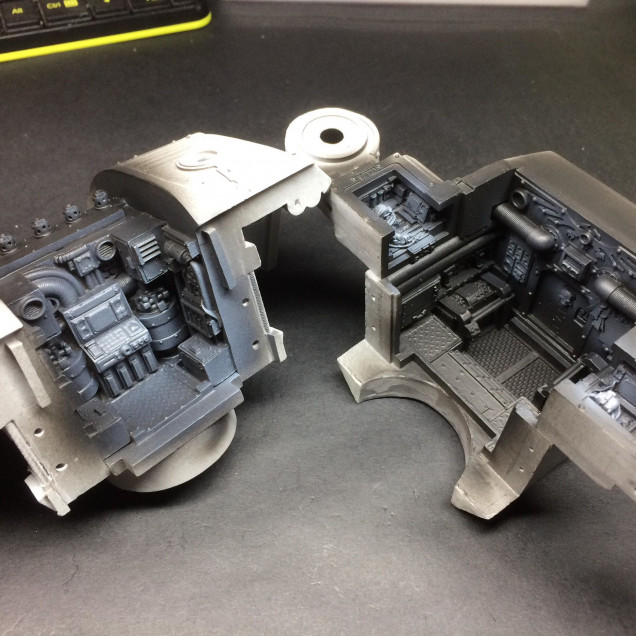
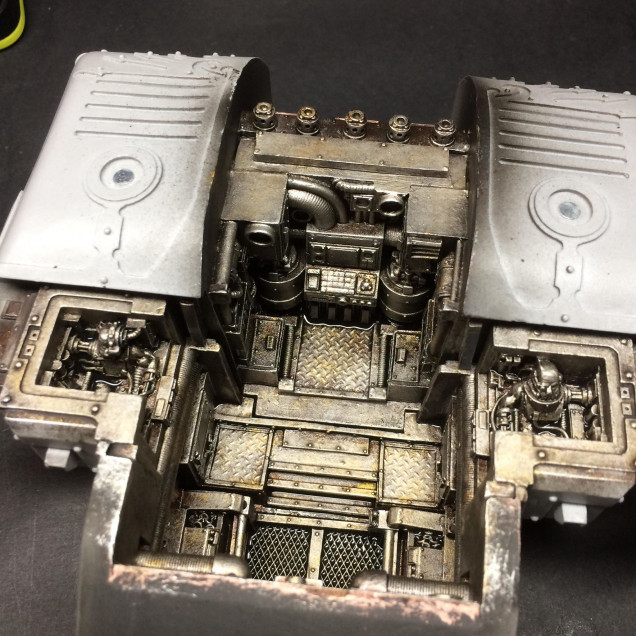
So the upper body is finally coming together….. literally. After a lot of sanding, drilling, pins, more stinky epoxy and some colourful language…… the upper body sub-assemblies are now built and the base metals done. So let’s have a wee look.
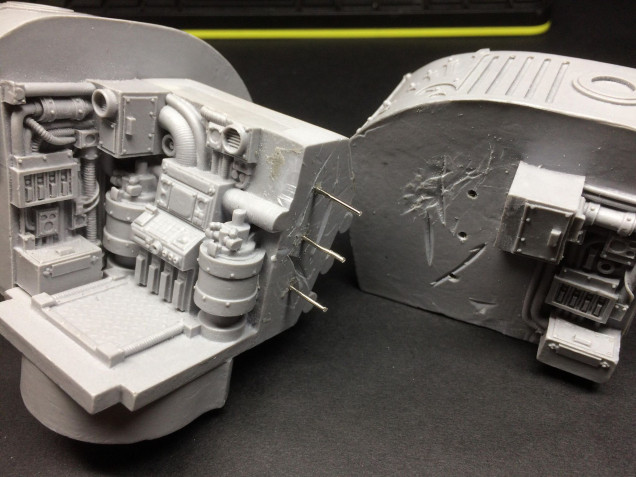 Attaching the left and right carapace parts to the rear body piece. These are heavy pieces so little bit of pinning overkill is called for. 3 pins per side and then I use a dremel to score into the resin surfaces so the epoxy has more to grip to. With both left and right carapaces in place, pinned and a nice layer of El Stinko epoxy mixed the rear body sub-assembly went back into the trigger clamps for 20 hours
With the two main body sub-assemblies pinned, built and epoxied twas time to think about a few wee other details and also think about the eventual joining of the two upper body components
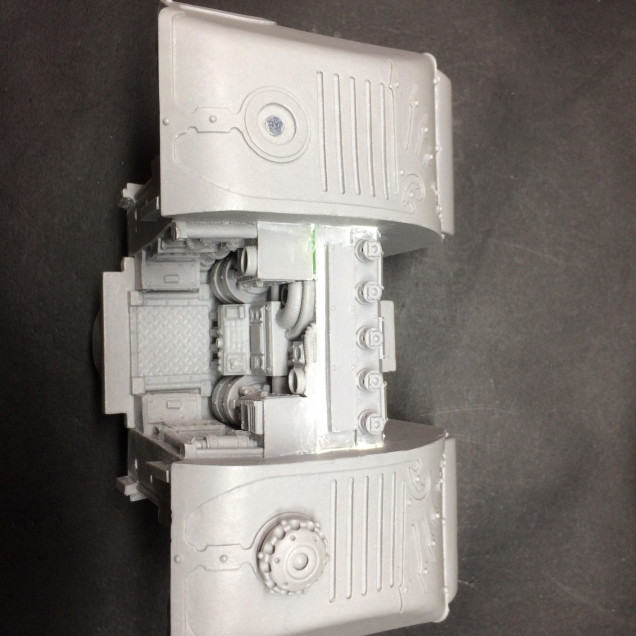 First up - magnetising of the two void shield emitters and attaching the reactor exhausts and main vents.
 The two upper body sub-assemblies are going to be left apart for the interior painting for obvious reasons of getting brushes into little teeny tiny areas and crevices. However, need to make preparations for when the interior is fully painted and the two upper body pieces need to be assembled… Pinning time!!!
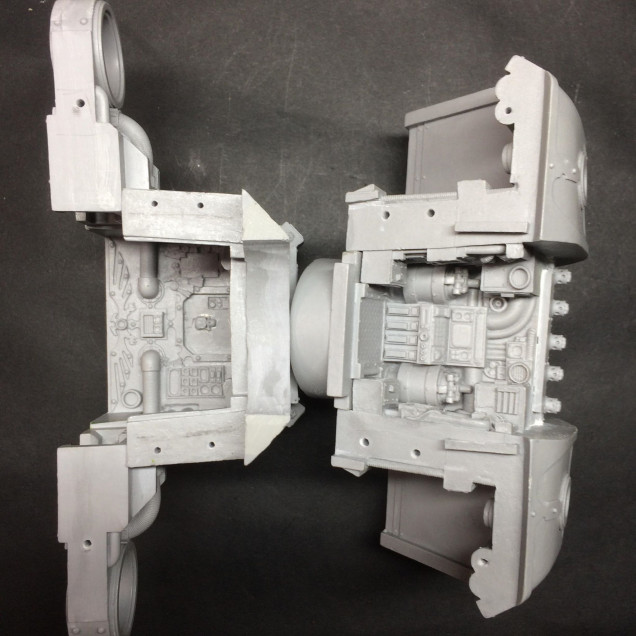 Pin holes drilled into both sides. 6 in total. To make sure the pin holes line up we use a pilot pin. I drilled all the holes on one side and then one by one put in a pilot pin ( a pin that drops down into the hole and peeps out only about a mil or two) push the two halves together and then drill the corresponding hole where the pilot pin leaves a mark. The cut 6 pins, dry fit them and make sure the two halves go together keenly and in line
With all the building done for the minute -It’s time to move onto the painty painty for the interior. Plan is to do a foundation metal work on the entire interior and then work on details and the like.
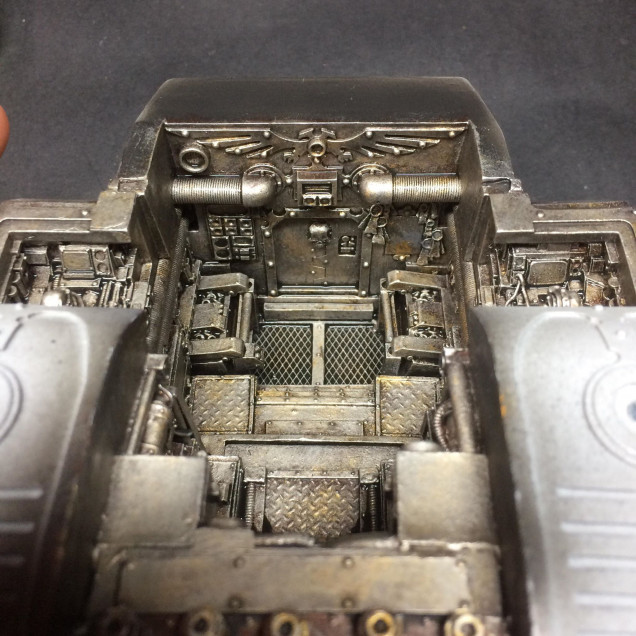 Basic metal workup down and then washed with some mag-mix. The basic metals workup I do give an old, weathered and well used metal foundation and uses three different metallics - a bronze, a rich gold and then a medium silver/steel. There are two video tutorials of this workup up on my YouTube channel if folk are interested - https://youtu.be/BMQeFxBrrrc In the video I used Darkstar Metals but Warplock Bronze, Retributor Armour & Iron Breaker from GW are what I used on the interior of the Titan here. Work continues on the Titan every Wednesday on my Twitch stream www.twitch.tv/januinevision






![TerrainFest 2024! Build Terrain With OnTableTop & Win A £300 Prize [Extended!]](https://images.beastsofwar.com/2024/10/TerrainFEST-2024-Social-Media-Post-Square-225-127.jpg)




Good going so far.
I got a cold sweat remembering how annoying putting these together was, built two several years ago for someone else, never again!