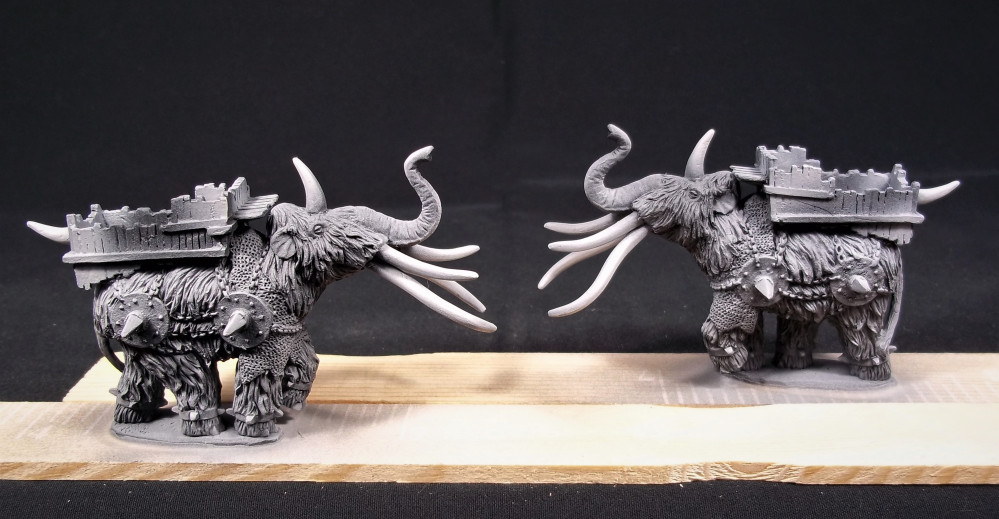
Warmaster Revolution (10mm Fantasy) - Ogres & Lizardmen
Details - Savage Kin & Yetis
In this post, I’ll share how I painted the details on the savage kin and yetis. On the savage kin, I painted the pus bubbles and added a bit of gore.
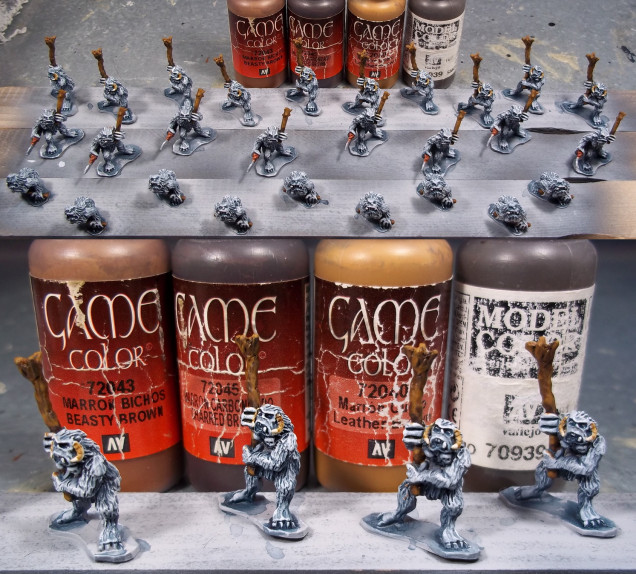
The yetis were used as test models for leather, wood, and bone. Now that I’m happy with how they came out, I’m in the process of painting these details on the remaining units. It’s incredibly time consuming, so it’ll be a bit until the next update. The army is now starting to come together, so the motivation to get to basing remains strong.
Details in the captions.
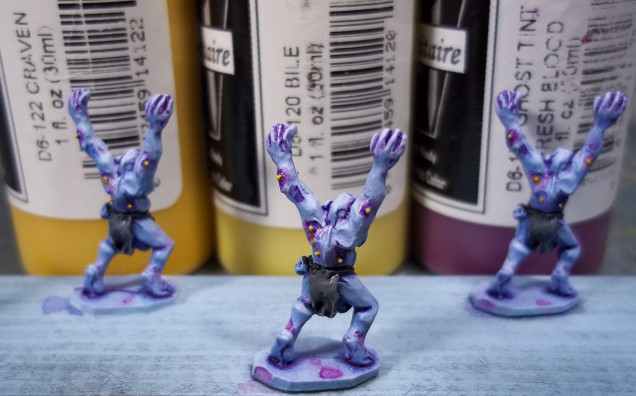 Pus bubbles on savage kin were based with Minitaire Craven and then highlighted with Minitaire Bile. I then used a fine detail brush to apply Ghost Tint Fresh Blood around the yellow areas.
 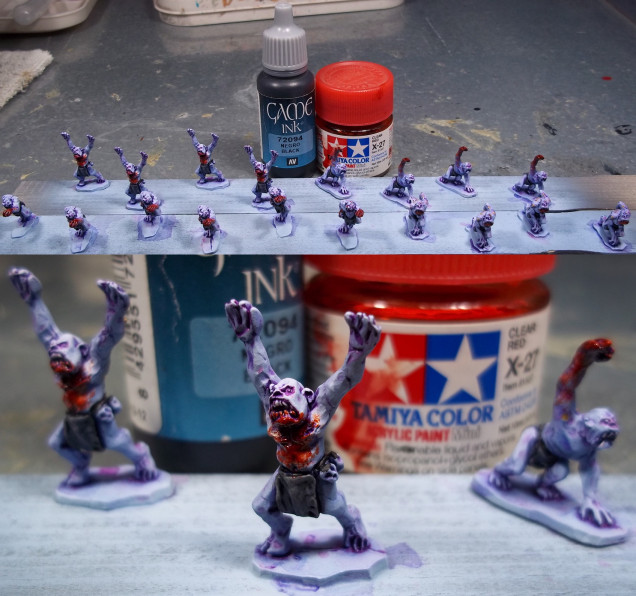 To make the savage kin appear more savage, I decided to add some gore effects. I started by stippling on some Tamiya Clear Red, working in a dry palette until it became sticky and had some texture. Once dry, I mixed a tiny amount of Vallejo Black Ink into the Clear Red to make a darker blood. It was also stippled on, leaving some of the underlying red visible.
 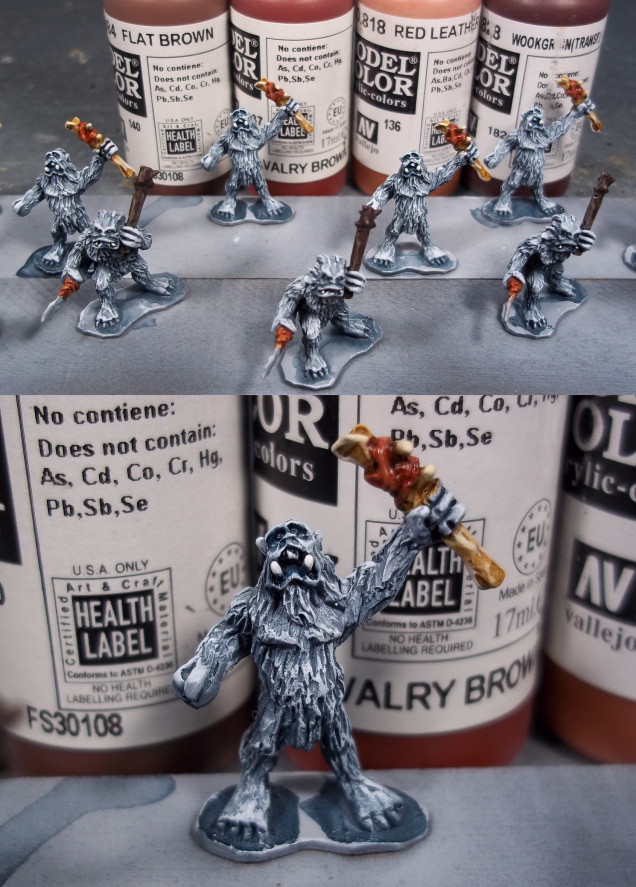 Bone was based with Game Color Bone White, highlighted with Model Color Ivory, and then washed with Vallejo Sepia Ink diluted with Flo-Aid and airbrush thinner. I wanted leather that was a bit in the reddish side, so I based with Vallejo Model Color Flat Brown. The first highlight was done with Vallejo Model Color Cavalry Brown, the edge highlight with Vallejo Model Color Red Leather, and finally I made a thin wash with Vallejo Transparent Woodgrain mixed with Flo-Aid and airbrush thinner. Yeti teeth were painted with Vallejo Model Color Dead White.




Leave a Reply