Painting technique experimentation
Trying to remember
So I actually started this project several months back and now I’m stuck peering at phone quality photos trying to reconstruct some of my steps. My first stab at doing something to increase the speed at which I paint has been to tackle what is known as the shaded base coat; I chose this ultimately because I had a dvd from an old reaper KS kicking around (see what I did there ;)). I was hoping that this would ultimately let me spend a bit more time on the polish while cutting out a lot of the messing about, I also figured improving techniques would probably be helped if I painted more than a few models a century. Ultimately the amount of time taken I would estimate, even though I never timed these, is about half or even a bit less than I normally take. I’m not quite sold yet that I can keep the quality the same but I think it’s close and hopefully with practice will be better. Cutting down the time also helps keep me from getting thoroughly fed up with a model. I’m also eyeing airbrushing as another tool depending on the model, but I haven’t gotten on with that yet so on to the first figure I did with shaded base coat.
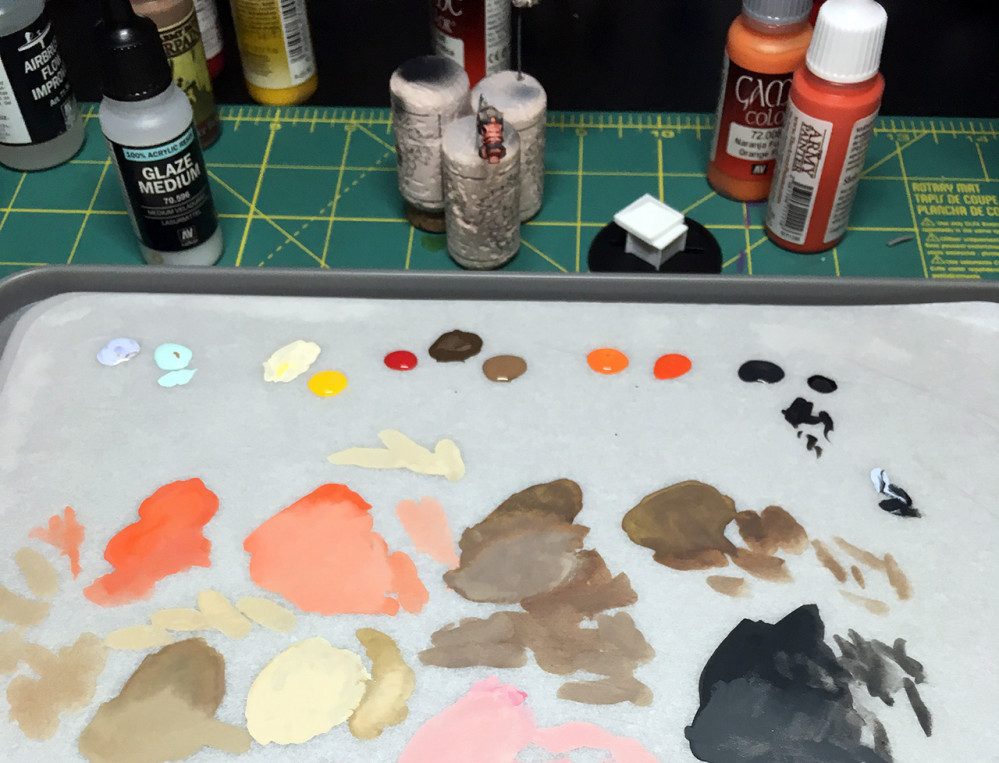
I started with a zenith highlighted model, but the actual video did not. But it does involve fairly thin paints and makes use of one of my favourite bits of kit which is the glaze medium (I use vallejo because I can get it in the city).
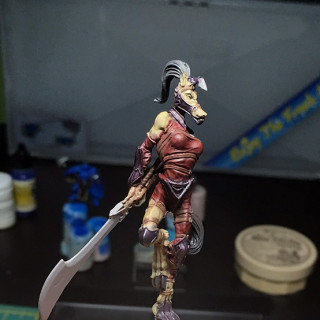
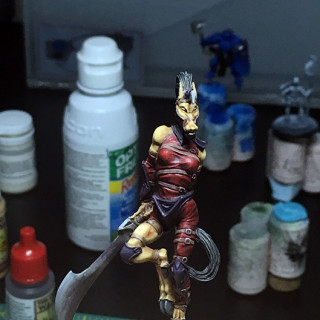
So the first step of this technique involves using a honking big craft brush and not spending too much time keeping things tidy. Size 6 nylon brush in hand and brain already in full revolt at the prospect of not trying to be neat and tidy I got to it. You lay down the mid tones as well as you can and let the colours mix together, now in the video I watched there’s much less contrast between colours and it’s quite grey. I couldn’t quite get my brain to agree to that but I did manage to not fuss too much on overlapping colours with the theory being that they’ll largely be covered up but will barely show through and help with the visual interest. We’re at maybe an hour here, first image in the gallery.
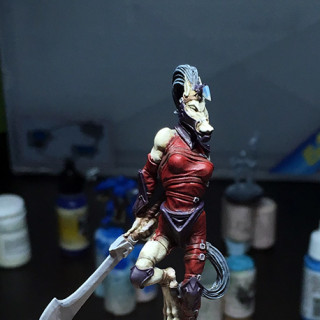
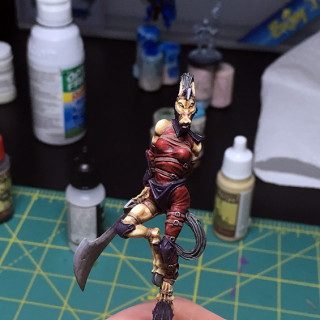
Next step is the next image or two (it was a while back) and is using still decently large brushes including flats to lay out the highlights but not to absolute highest. You build them up in general, honestly watching the videos it looks an awful lot like establishing a sketch. After that you do a similar thing with the shadows except focusing more on an ink like consistency for the paint.
That’s about it for the main strokes of the video, he does go through finishing the model up and there are additional videos in the series that focus on non-metallic metal and such but I only had the first video. I actually tried NMM here but quickly threw my hands up and went to metallics since it was clear I was going to derail the actual point of this experiment.
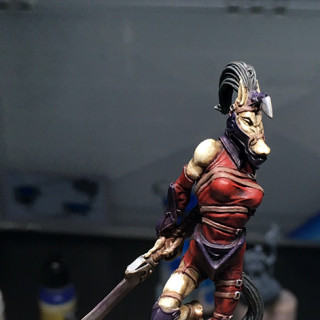
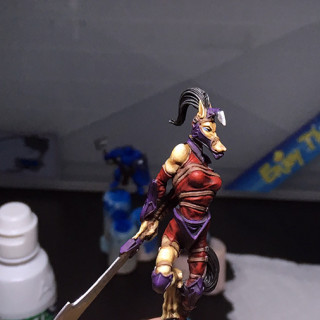
Next up I used glazing to start to clean up the transitions which were very rough; this is something I’ve found with the technique even on the next few models I’ll hopefully get up soon but I do imagine that working to improve the highlight step will be the biggest win to reduce this. Finally I put in a few details and she was ready for varnish and base.




Leave a Reply