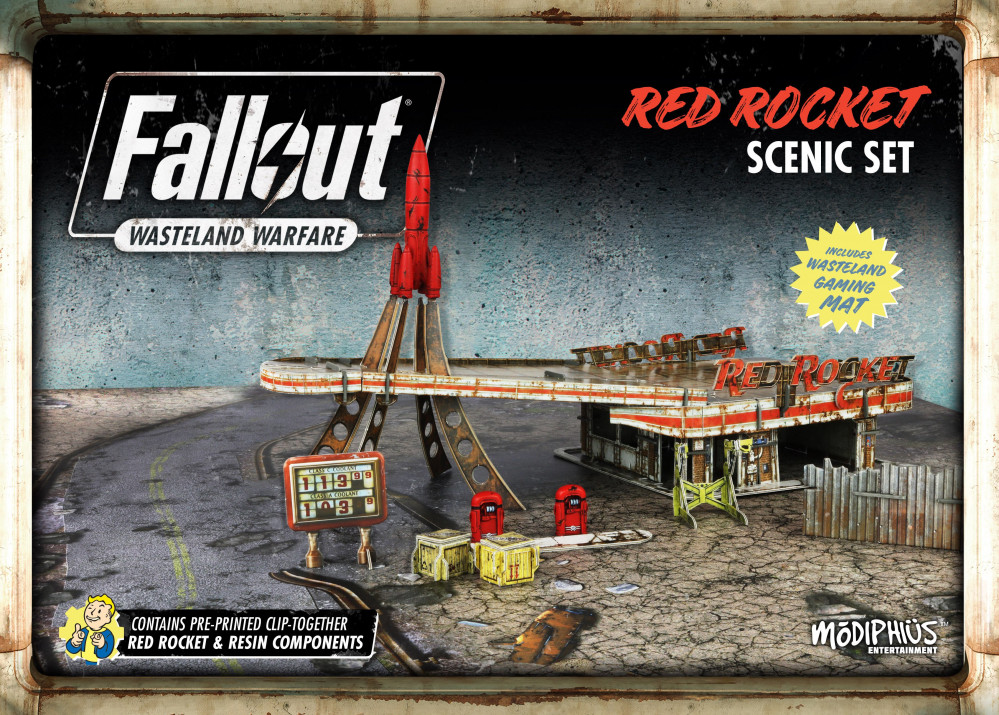
Fallout Wasteland Warfare Red Rocket Scenic Set
Part 3: Customization/Final touches!
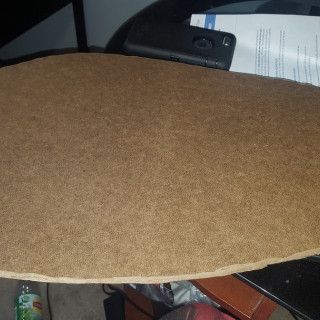
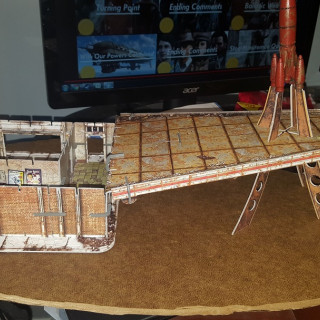
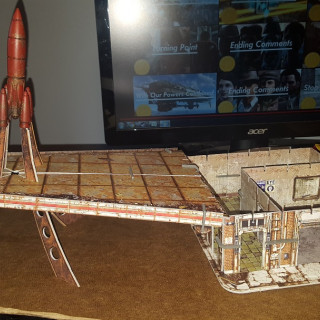
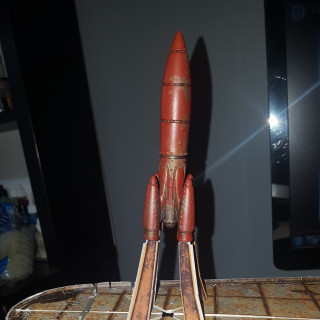
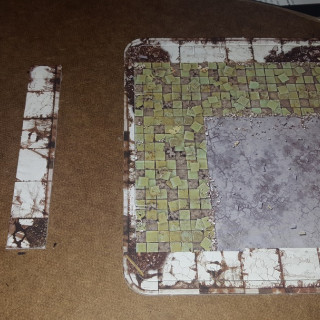
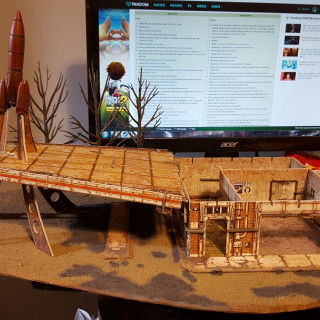
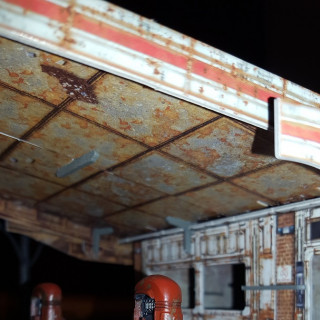
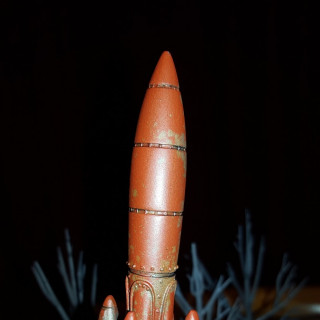
With the station built I immediately started to think of ways to improve on it, mostly to firm up some of the wobble it has and add more details. To this end I decided to mount the building frame directly to its base and the entire thing to a larger scenic base. I took some basic measurements and cut out a roughly tear drop board from some MDF. Once this was cut I took my dremel and angled the edges a bit for cosmetic looks. I then used hot glue to mount the Rockets base and the part of the frame I cut out to use as the island for the pumps.
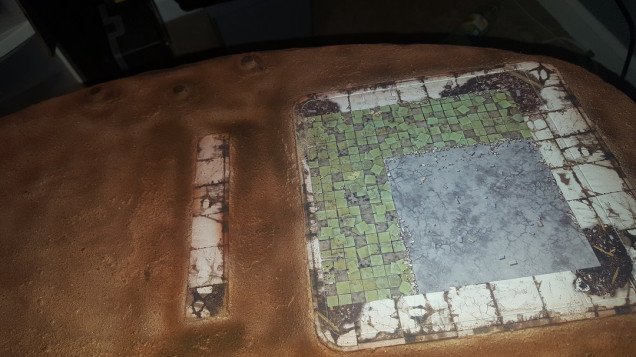
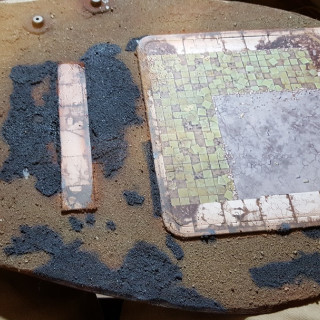
Once these were secured I used PVA glue to attach some sand to the base for texture. For this I took some regular PVA and watered it down (about a 2 to 1 glue to water ratio) this allows good coverage and adhesion. Be sure when applying it to get right up to and under the base of the station/island. For the sand I have a large bag of sand from my local hardware store that I have removed any moisture from. To do so just take an old baking tray and put them in the oven for an hour or so to remove any residual moisture, this gives better hold with the glue. I liberally poured sand over the entire base and set it out to dry.
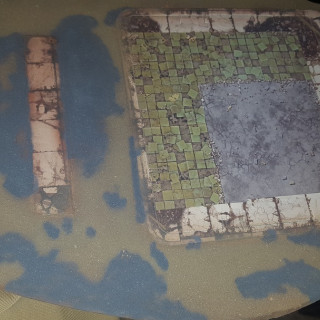
Once the glue dried I shook off all the excess sand, I then sprayed some sealant onto it removing any extra sand at the same time. This leaves some clumping but that is easily worked into the build later. I then used my airbrush to start coloring the base to blend it in with the mat colors, starting with a dark brown and then a lighter coating of sand over it. Note that while airbrushing not to get the color onto the card parts, rotating the piece to get color at all angles. Don’t worry if you get some overpray onto the card, this is the wasteland after all so it should not be perfect
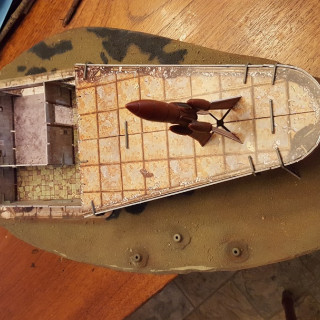
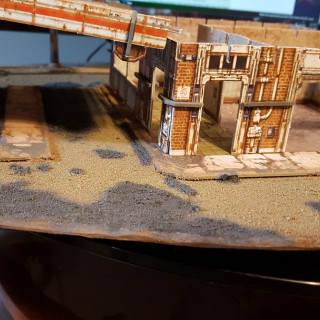
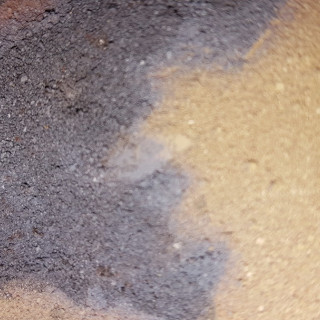
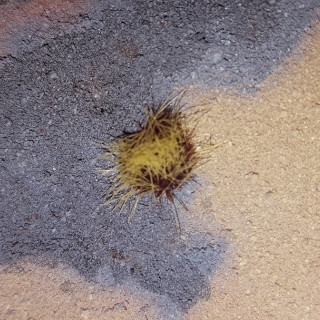
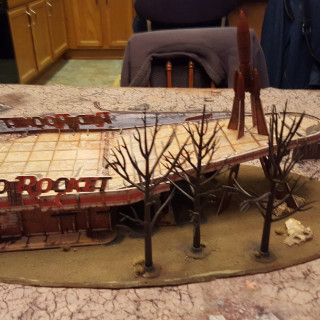
Now I used some additional scenic parts to cover up some of the mistakes I made. When mounting the card to the board I got the angle wrong so it was off center, to compensate for this I added some trees and rocks on one side to balance it out. When the sand was applied some of it is more raised, almost like a 2nd level, and some patches of the board are visible after the airbrush work. To fix I airbrushed the raised parts gray as if residual concrete/tarmac and I placed rocks/scrub grass to cover any bare patches. In this way it is important to note that mistakes are not to be worried about, they can easily be corrected with additional details.
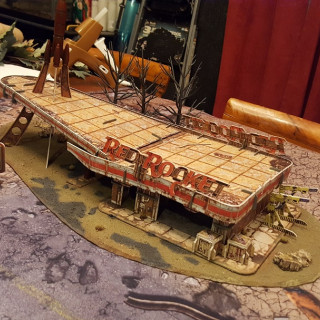
With everything mounted I did a final coat of sealant and it’s now ready to host my settlement!




Leave a Reply