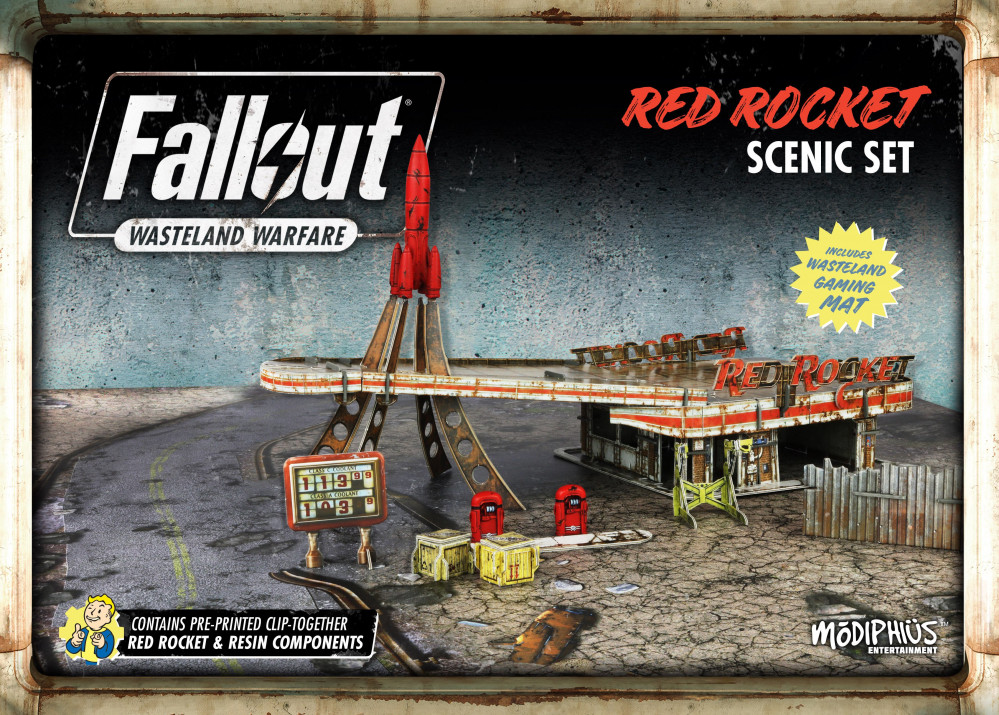
Fallout Wasteland Warfare Red Rocket Scenic Set
Part 2: Painting!
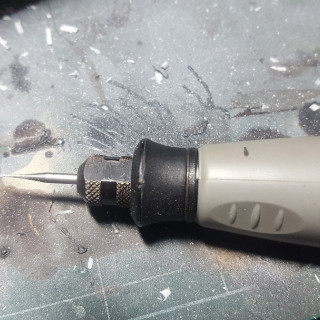
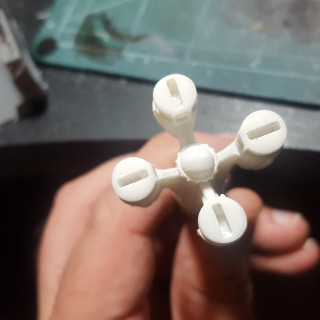
While the card for the Station is colored the resin is not so I decided as my first official Fallout painting job I wanted to try some new weathering techniques. In the past I’ve used the hairspray technique but not been 100% happy with the results, so this time I decided to try the salt method. Note that this is really only doable with an airbrush. First I test fitted the pylons the rocket sits on, I found they were a bit tight and not deep enough so I used my Dremel with an engravers bit to deepen them, I didn’t widen them any as I did not want to have to glue it in. Note that you should use proper safety equipment when sanding/grinding Resin a breath mask to prevent inhaling the fine particles and eye protection.
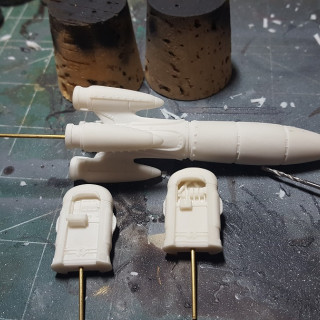
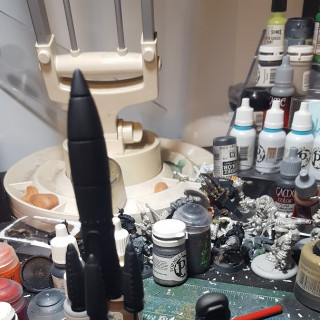
With the fit correct I cleaned the Resin with some soap and water and left them overnight to dry, this can be necessary to remove any residual release agents left by the molding process. With the parts ready I primed them black and then applied initial rust coloration with a rust wash over.
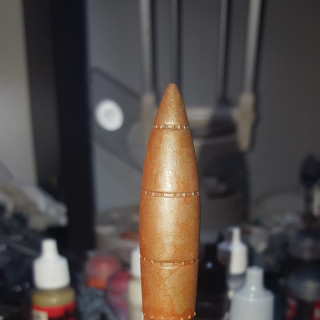
Next I took a couple shades of rust wash and a toothbrush and flicked the wash onto the pieces, this creates a mottled effect that should provide alternating shades once revealed thru the top coat of paint.
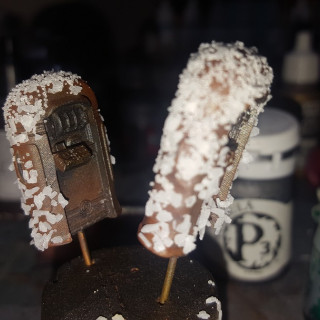
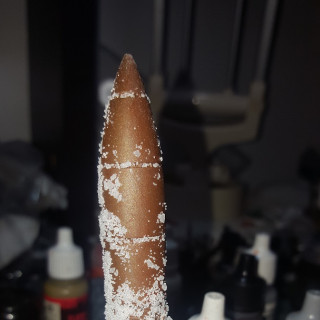
After all the paint has dried I prepared a zip lock bag with 2 types of salt, regular fine grain as well as a coarser blend to have varying sizes. Then I brushed water onto specific spots I wanted rust to show, put the part in the bag, and rolled it around in the salt to adhere it. Once all parts had salt where I wanted it I set them aside to dry again. With the salt dried in patches I then reviewed the patches to be sure there are the size and shape I want, and flaked away any excess I didn’t with a brush.
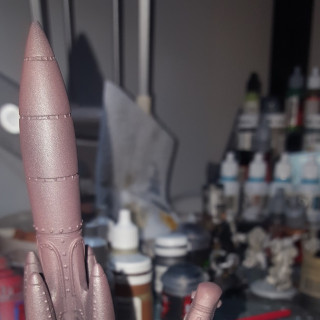
I then started to airbrush on my red basecoat, starting with a darker color then I wanted to end with. Don’t worry if any salt comes off now due to the airbrush this can happen and is not an issue.
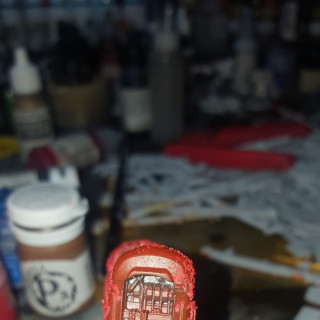
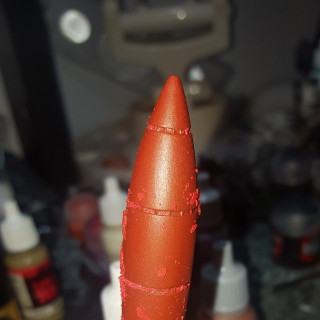
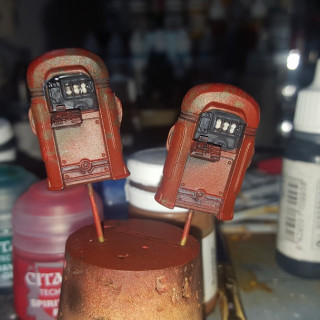
With the initial coat of red on I then started bringing up the shade and highlights as I wanted until I had the final shading I wanted.
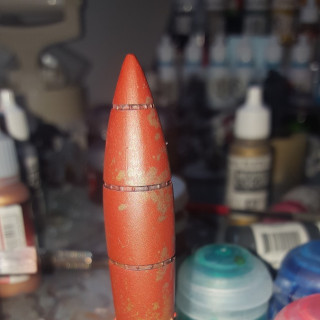
After letting the paint dry you then just take a brush and flake off all the sand, this produces a very nice weathered appearance.
I will note that I was not 100% happy with how dark the rust underneath came out but for my first attempt I am very happy with the results. I then proceeded to apply some black wash into the seams and called it done.
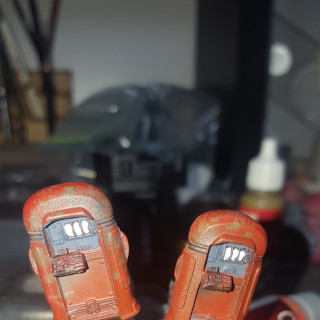
For the pumps I detailed in the inner segments and Next I applied white to the number wheels, then applied some black wash to them and the details on the bottom of the pumps.
I then sealed all the parts using gloss coat for strength, followed by dull coat to take away the shine once it dried.




Leave a Reply