Spring Cleaning in the burrows
Detailing the village 3
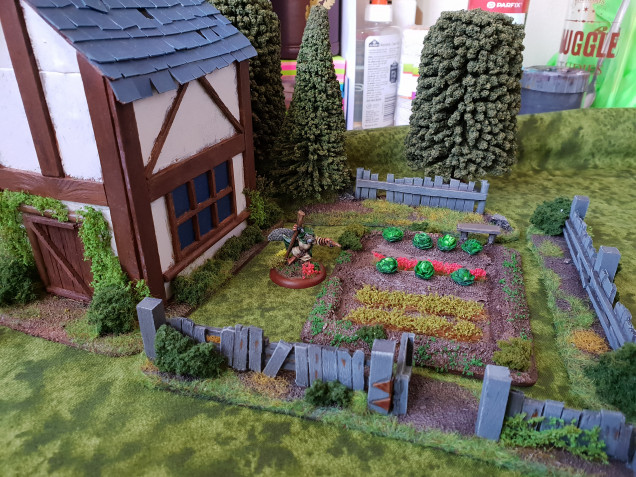
So I took a day to work on a LOT of different things but focused on finishing one small project for the blog. The veggie patch!
This is a pretty easy build but does use a lot of different resources. YOu could swap them out for fewer or cheaper alternatives.
Here’s how:
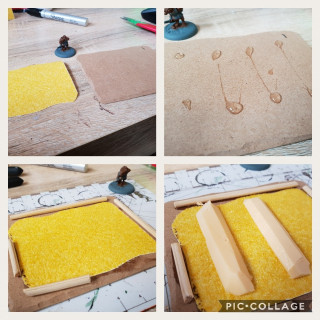
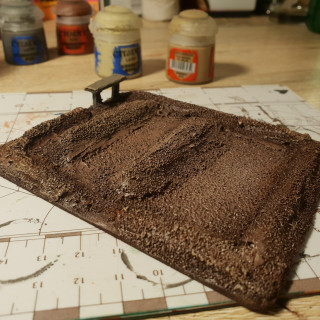
-I grabbed a stack of cheap MDF coasters from a craft shop. I cut a rough square of very cheap sandpaper to fit the centre.
-I used dots of Elmer’s glue to avoid a whole layer warping (This is a test for a larger field) I also applied a border of super glue too.
-Then I glued some BBQ sticks where I wanted borders and some XPS foam strips where I wanted veggies (the foam is so I could push in the pins on the cabbages.
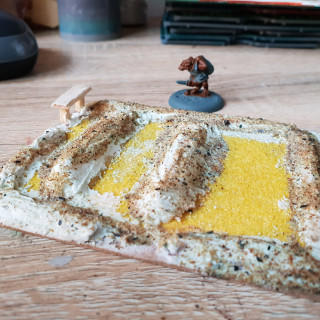
-I filled gaps with hot glue, smeared on some filler and used PVA glue to texture the rest with sand and grit.
-I sprayed it dark brown and dry brushed it up using a rich brown for the garden and a sandy brown for the edges…it made no difference because I rushed it.
Next up the veggies and other greenery.
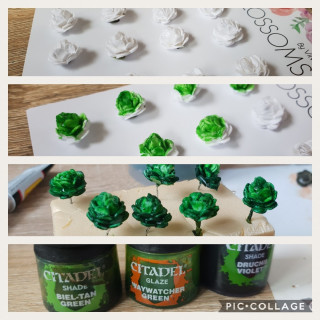
-I bought some cheap cardboard blossoms from a craft store and loaded them up with a range of green washes, lighter in the centre and darker on the outer leaves.
This takes a while as the wash soaks in and reveals more white as it dries.
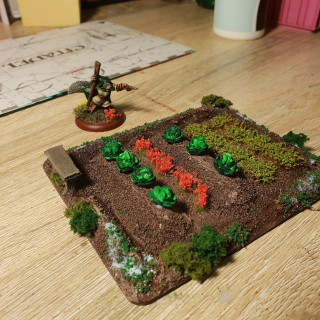
-I sprinkled some scatter onto the edges, added some small clump growths and a few rows of flowers and generic vegetation to the garden.
It will need a final spray of watered PVA to lock down the delicate parts before a matt varnish.
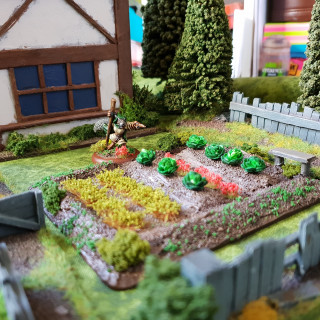
I think it looks perfect beside some of the town houses and I could easily make a few more to scatter about the place.
Hope you enjoyed this one, I sure did,
Cheers, T.




Leave a Reply