NEMESIS: Board Project - The Tabletop Hub
The Design Work Begins
Hey everyone,
So last night I launched this project and today I’m getting stuck in to the planning, after all there’s no time like the present! That, and I know there’s going to be a lot of design work needed on this one before I can actually get to the point where I’m able to physically build or paint anything.
If anything I’m anticipating that that section of this project will be the easiest!
So the main thing we knew from the Nemesis Kickstarter was that the game board had dimensions of 84x56cm. There are a lot of parts to the game from inserts which indicate which room is which to the models themselves so I knew there was no way we could, or would, be using the original game board dimensions.
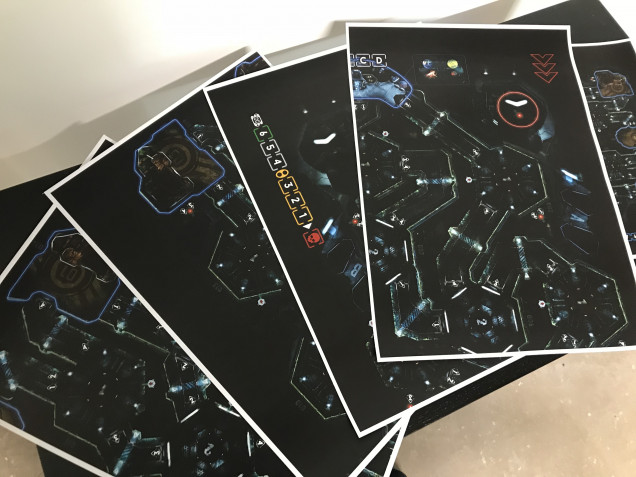
My first step was to print out the board at a size roughly the same as it will be, hence the 4 A3 pages above but that system didn’t prove very effective.
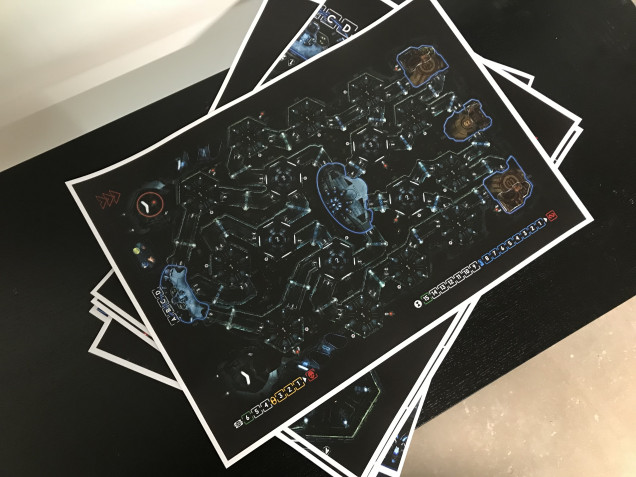
So, I’m not onto stage 2:
This is the entire board printed out onto A3, this will enable me to make rough sketches to begin with, there are a lot of angular curves and bends in the board that I most likely wont be able to replicate very well with laser cut MDF.
So I’m going to try and smooth out the curves and make everything more angular. Once I have the rough layout of the board, I can work out how big it needs to be from there.
Already though in my head I think having it be about 4ft x 6ft could be a really good size. I realise that it would be a mammoth board piece but I’d consider splitting it up into two 4x3ft boards for easier storage and movement.
So, back to the drawing board literally! I’ll keep you all updated.
Also massive thankyou to the team at Awaken Realms who are very kindly answering all of my pestering questions 🙂
S.


![TerrainFest 2024 Begins! Build Terrain With OnTableTop & Win A £300 Prize! [Extended!]](https://images.beastsofwar.com/2024/10/TerrainFEST-2024-Social-Media-Post-Square-225-127.jpg)


Leave a Reply