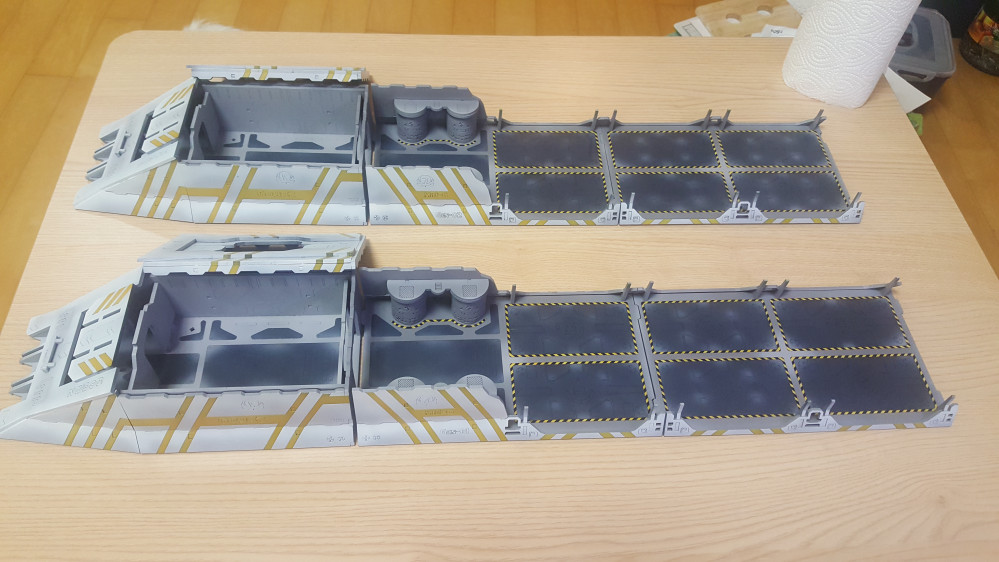
Bandua Infinity Train - Large terrain piece
Painting and Hazard Stripes!
Been awhile since an update, but I am still making progress!
Got through a ton of painstaking work today as you will see.
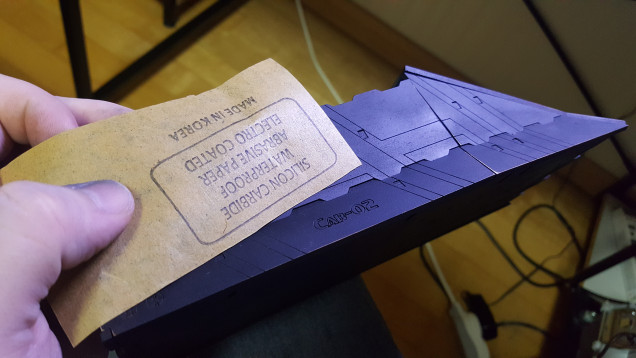 So, after priming the train I realized that the texture of the MDF really bothered me. For a building, it's easy to just say "Oh it's concrete" but trains are smooth! I went back with 1000 grit sand paper and sanded the entire train. This gave me a much smoother surface, but required touchups on the priming.
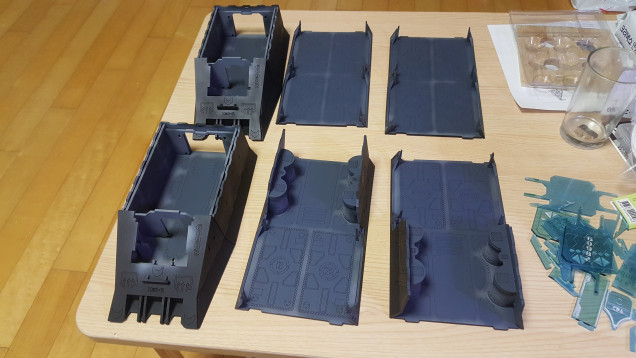 For the cargo platforms I painted them a mix of dark grey and dark blue. I also used a bit of airbrushing white to add a quick highlight. I am not entirely happy with the colour, but I can go back later and fix it up.
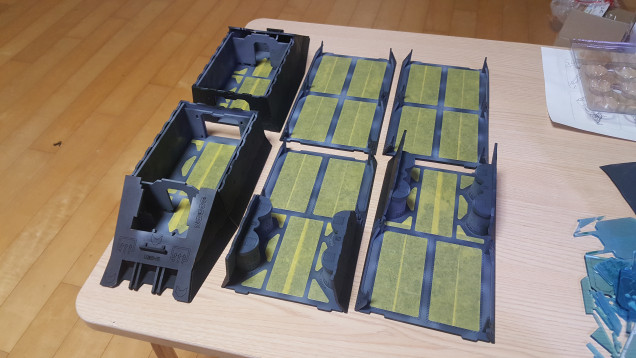 I then masked the painted areas to help make further painting easier, and reduce the amount of repainting I have to do. I basically planed to work out from the details, then later to the main hull colours.
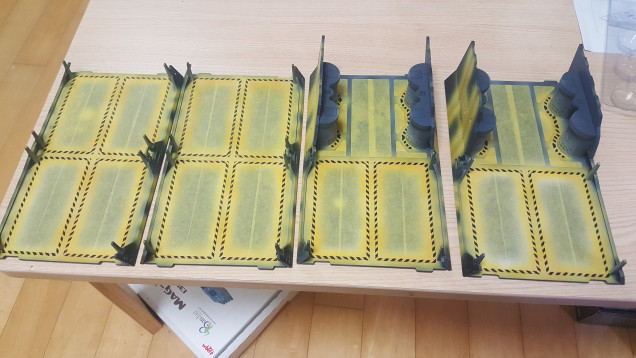 Finally, I painted all of the hazard stripes in the cargo area. This took me quite awhile. I chose to airbrush the yellow, because there was NO WAY I was going to hand paint that much yellow. I then went back and hand painted the black in the hazard stripes, as black will easily go over yellow. I had to be fairly careful with this. It may look messy but further masking and painting will clean up the look.
Final thoughts:
I am very happy with how well adding a 50/50 mix of PVA and water to the model helped with the issue of MDF soaking up paint. This is far easier to paint because of that, and is just like painting on other materials now.
That being said, in the future I would do this order:
- Cover all the pieces in 50/50 Water and PVA mix.
- After drying, sand all the pieces nice and smooth!
- Assemble the MDF model.
- Apply another Water and PVA layer.
- Prime the model.
Doing things in this order would likely result in a much better surface finish, and ease of painting. Any future MDF projects will be done like that.








Are you not going to fill the gaps on the cab?