Dropzone Terrain Project
In the beginning...
My goal is to build a collection of scenery to use with Dropzone Commander so that I can play a few games outside of the usual urban city setting. I love dropzone, but always playing in a city, even one made up entirely of 4Ground’s amazing terrain, can get a little dull.
The idea I decided to try to tackle is to create an environment where the colonists of this particular world built into the mountains and rock faces of valleys. I plan to have buildings and walkways between some rock faces but mostly I want to create the look and feel that the structures have been dug into these mountains. I’m going to be using the now infamous foam rock terrain technique.
The second objective is to make the foam rocks relatively scale independent so they can also be used in 28mm games if so desired.
Those two objectives are pretty incompatible, so my plan (if it works out) will be to make it so that the various building elements are removable from most, if not all of the foam terrain.
So first up are materials:
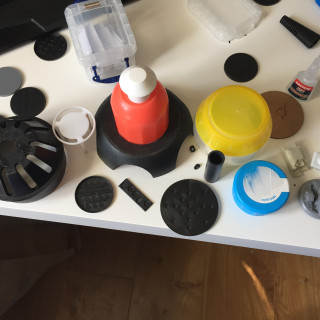
I raided my box of random crap which I have been hoarding for years and found many things which will be useful in making this project come to life.
I also dipped into my bitzbox and pulled out a load of useful items which have been moved to a project box.
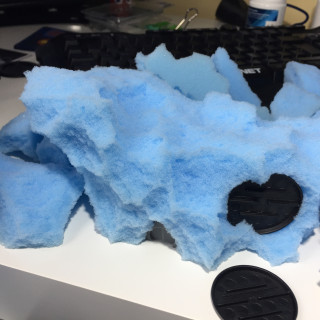
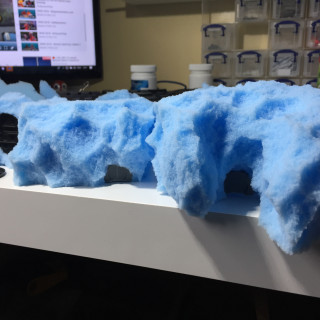
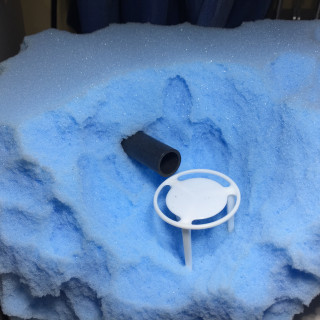
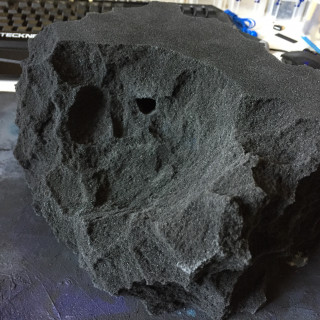
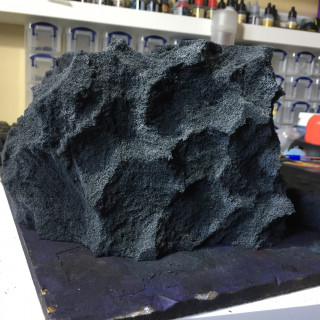
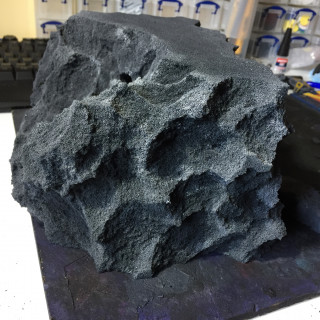
I have plucked the foam in such a way that there are several spots where pieces can be wedged into the crevices and other nooks and crannies so that the foam just holds the structures. It’s flexible and durable enough that removing the pieces won’t damage the paint, which is great!
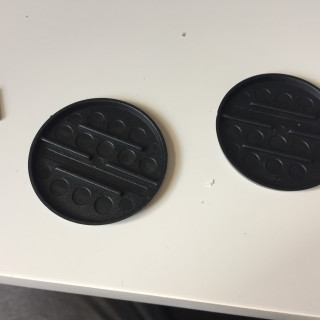
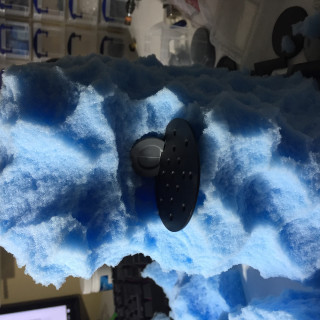
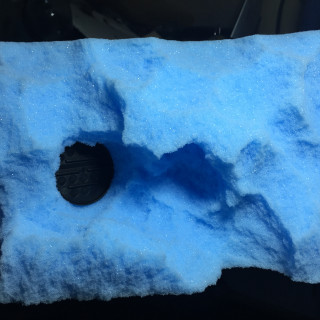
Heres a few unpainted pieces with the building elements. Some things I’m using are the underside of injection moulded miniature bases (specifically from Mantic) which have a series of circular shapes which at 10mm, are perfect for representing windows, once painted up properly. I’m also using a lot of Mantics Battlezone terrain pieces for support structures, conduites or walkways.
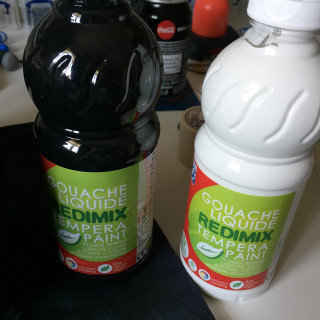
The painting process uses a lot of paint, so I opted to go with poster paints available from your local arts & crafts store or pound/euro/dollar store. This stuff is watered down and the foam just soaks it up.
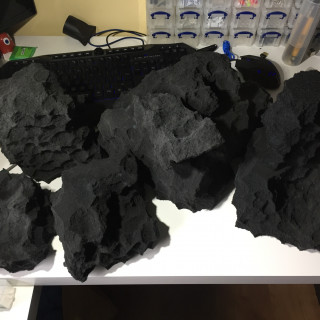
The drying time is horrendous (2 days for the bigger pieces), but the coverage is amazing, and goes right into the foam, so cutting away at it afterwards wont require a cover up.
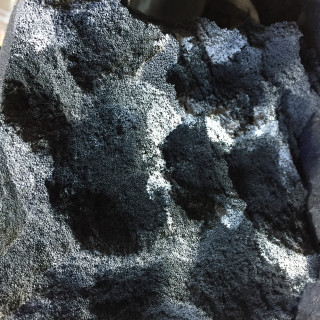
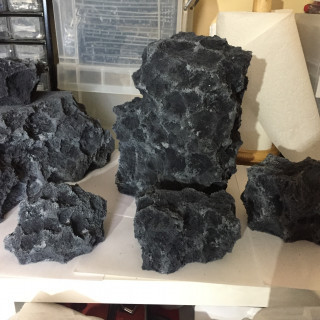
I am highlighting these by mixing progressively more white into the mix and using spare bits of foam as a makeshift drybrush.
Next step is the super detailing.
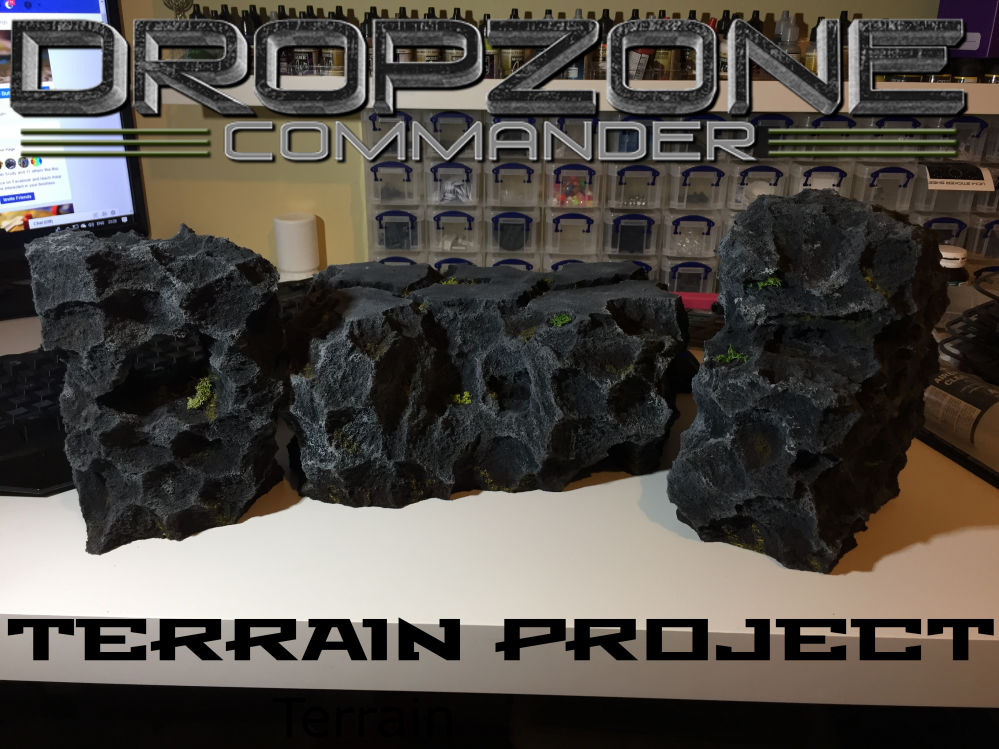
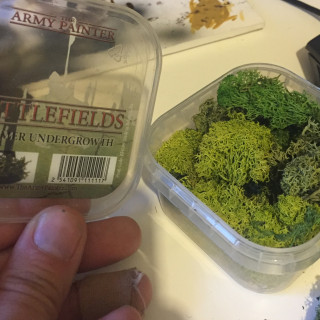
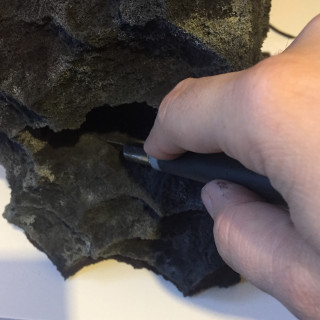
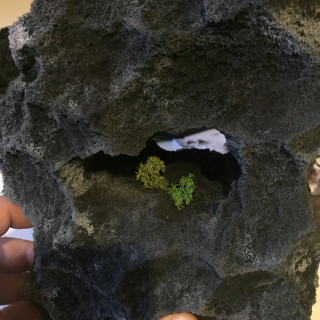
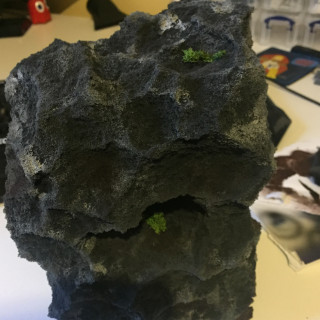
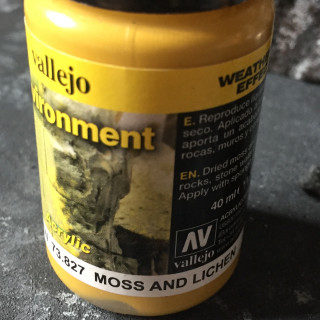
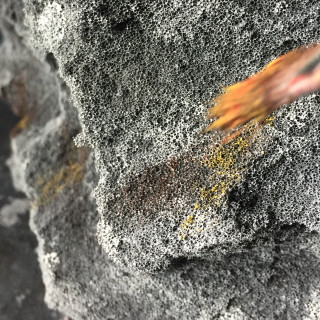
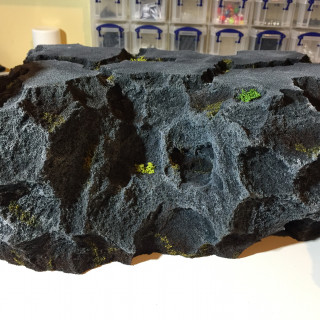
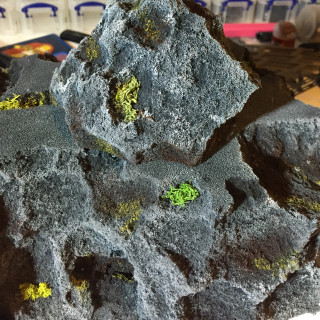
To make the mountains look a bit more lifelike, I grabbed some lichen and sliced some crevices into the foam and stuffed them in. I also used the Vallejo Environmental Weather Effect paint Moss & Lichen to apply some yellow/green to the foam rocks wherever looked right.
This really helps make the foam look more rocky. Before this step I really wasn’t too happy with the overall effect, and now I am very pleased with them.
I’m doing all of the rock work first, and will come back to the building elements at a later point




Leave a Reply