Sam's Shire Hobbits
Painting Lobelia Step By Step
It’s a little later than I intended, but here, at last, is my guide for painting the most disliked Hobbit in the Shire.
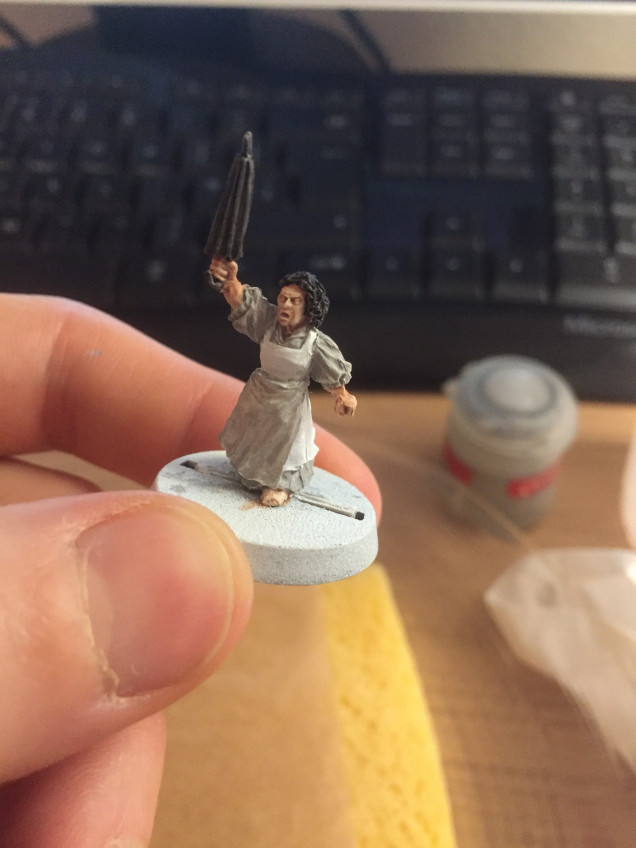
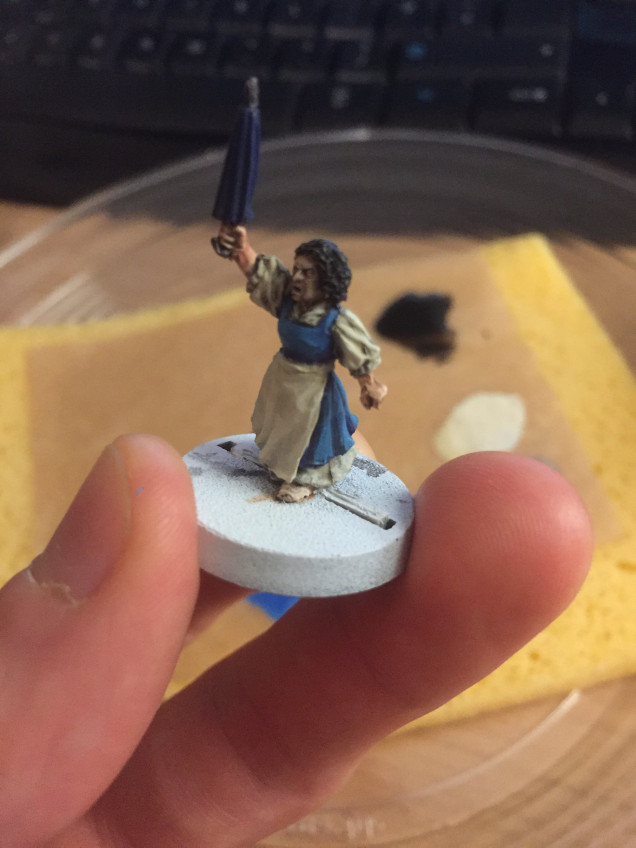
Starting off, I painted her skin, before painting her umbrella and hair in a base black.
For any white sections of clothing, I painted them in a thin coat of grey, which gave me a good degree of shadow to work on later.
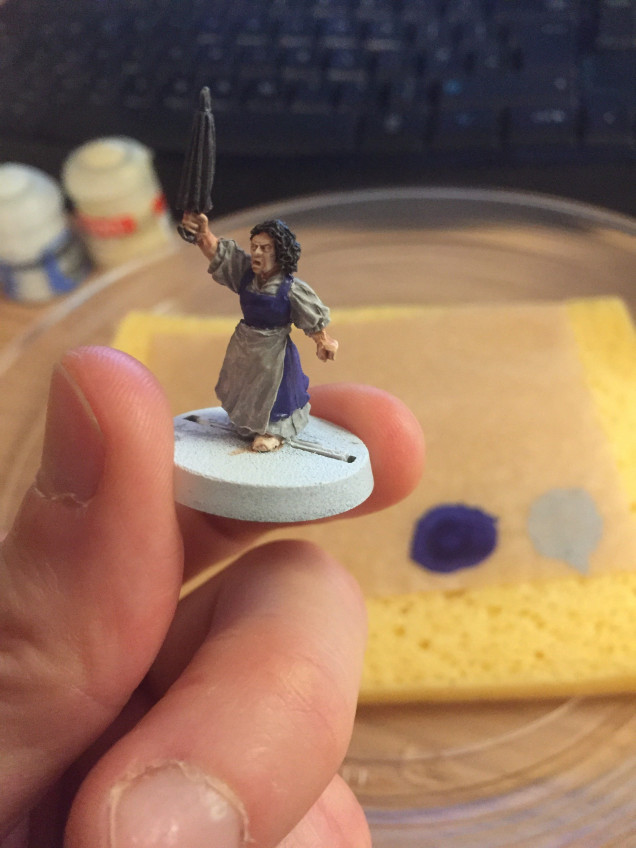
I selected the rest of her base colours, painting her dress a dark blue. While her “official” colour scheme has her in earthy browns, I enjoyed painting Lobelia as she gave me a chance to step away from the more down to earth colours of the rest of the army. After all, Lobelia is definitely not some common labouring Hobbit.
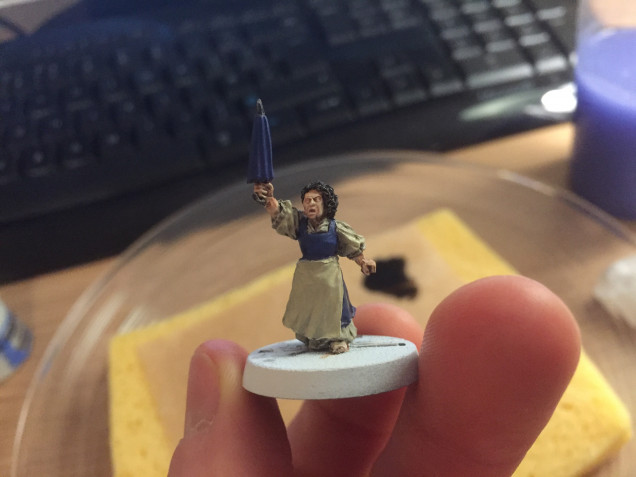
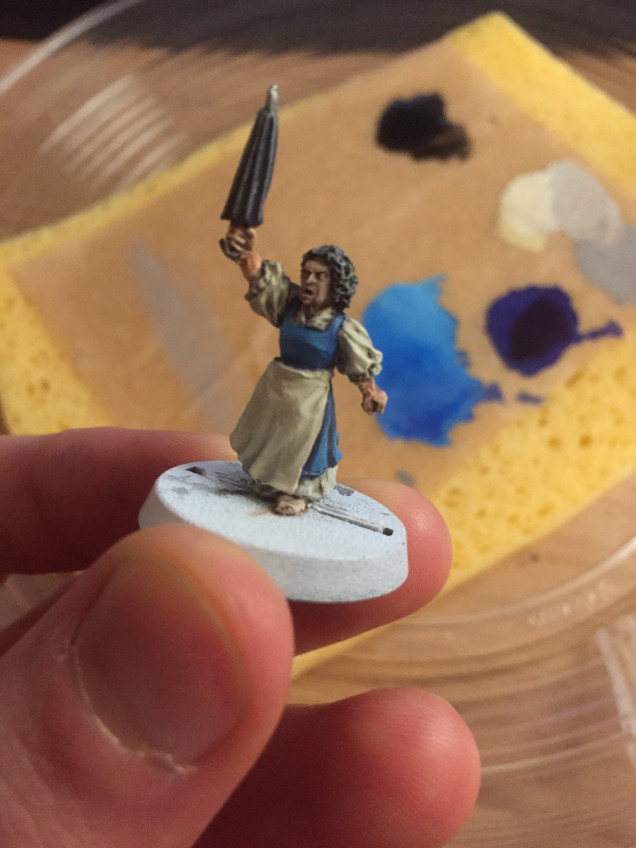
I next added a thin cream layer over the greys. This gave me the colour I wanted to work with, while the grey provided nice, deep shadows to the folds in the fabric.
I gave it all a very light wash with some Dark Tone, but I didn’t like how muddy this made it and tried to keep that as thin as possible.
I also added a dark blue layer to her umbrella.
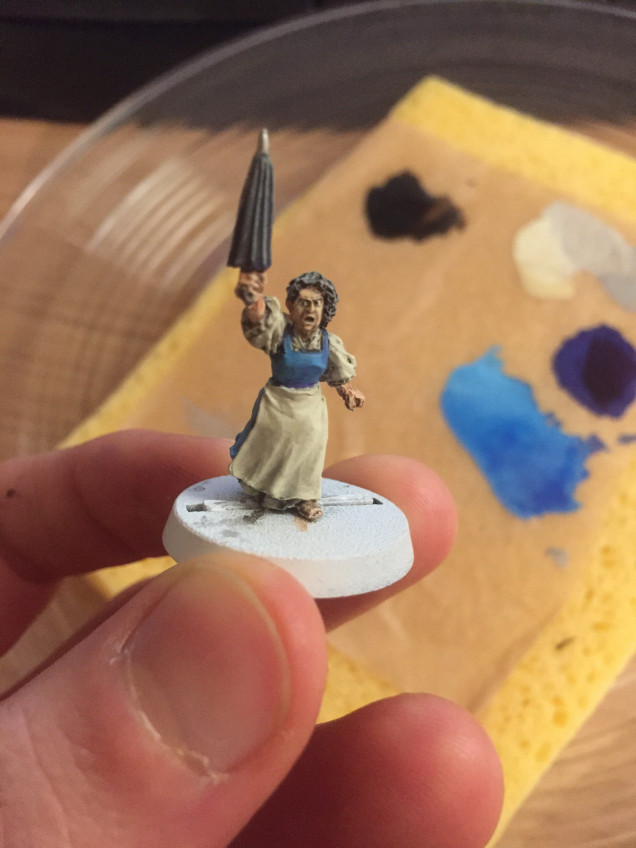
After this, it was all down to shading. I added strong, bright highlights to counteract the muddy effect of the wash and make the colours pop out more. her hair was then dry-brushed with a base of grey. I later went back and touched it up again with a brighter layer to give her that appearance of the grey-haired harrigan everyone knows and hates from the books.
Nearing the final stage, I dry brushed her umbrella with a grey to make it look dusty and then highlighted the edges, before giving it a silver tip.
I was very happy with the end result. So happy, I decided to try something I don’t normally attempt and give her eyes.
In the end, I am extremely proud of my job on this one. It was a nice change to take my time on a model, rather than just slap on a simple base coat and cover it with a wash.




Leave a Reply