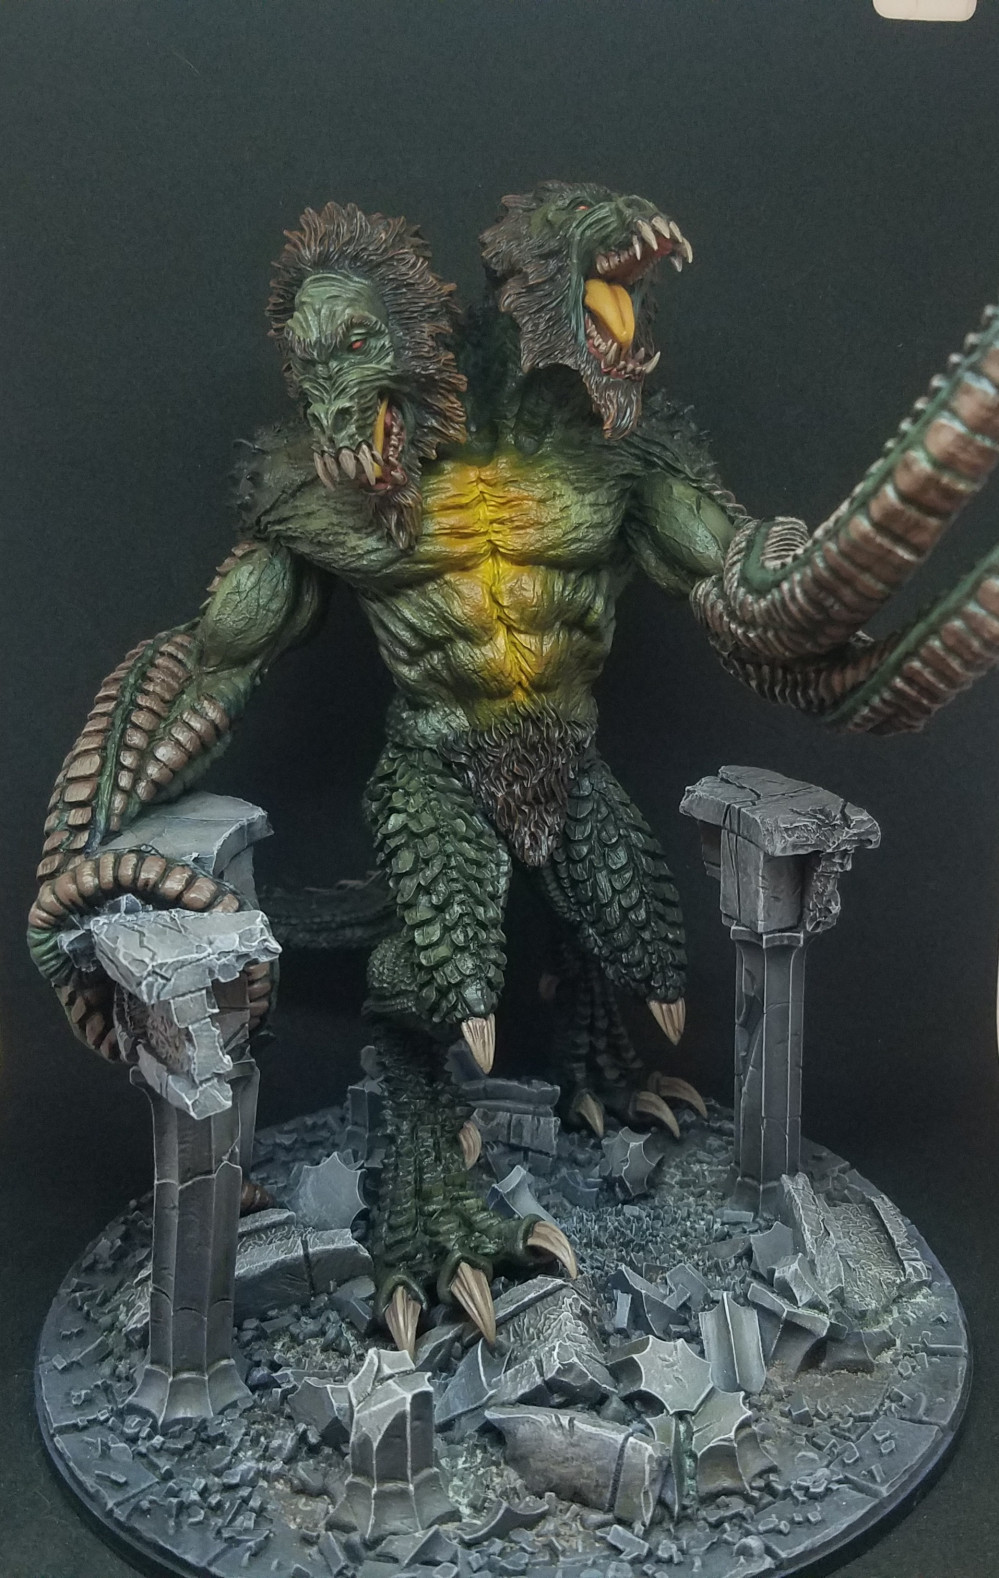
Demogorgon by Gorka
The build
In this update I will go over the build of this giant. The first thing i did was put a dot of paint on the torso and seated the pelvis piece to it.
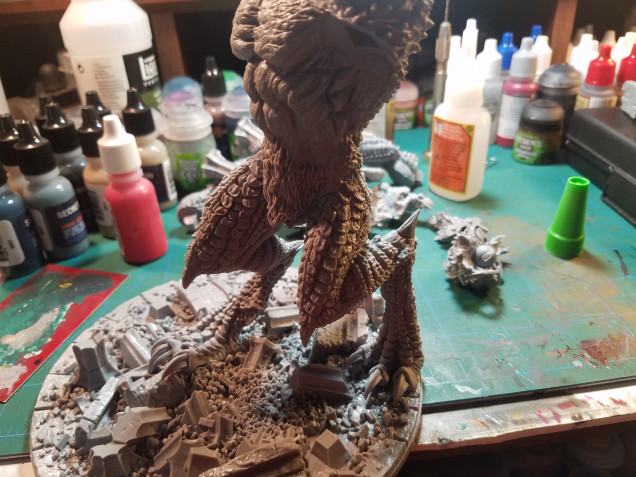
By doing this now i know where to drill my holes for the pins. I make these holes using a pin vice drill. After that i cut some “pins” using a thicker gauge paper clip and glue one end into one of the holes. Once the glue has had a minute to cure i reseated the pieces to make sure the length of the pin wasn’t to long. Then I added some glue to both the face and pin.
Follow this process for each piece that needs to be connected. Also allow plenty of dry time in between each piece.
Now when it came to the legs I had to do both at the same time this way they would seat up to the pegs that they connect to on the base.
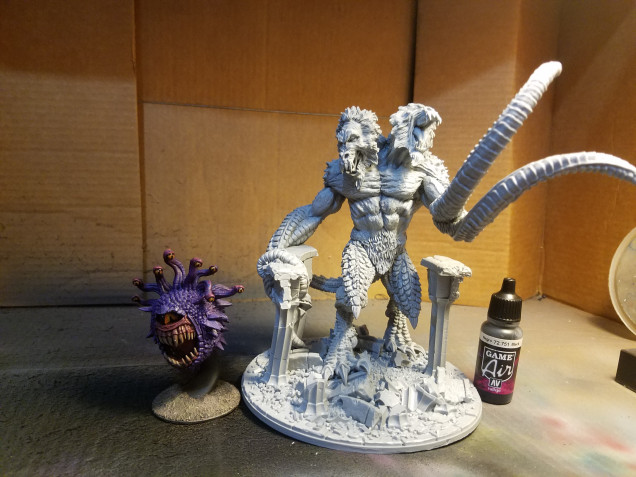
After the legs then I glues each of the arms and heads individual as described above. Once every this is glued the model will look like the picture below. The beholder is for scale purposes. In my next update i will go over how i will be filling the gaps on the model.


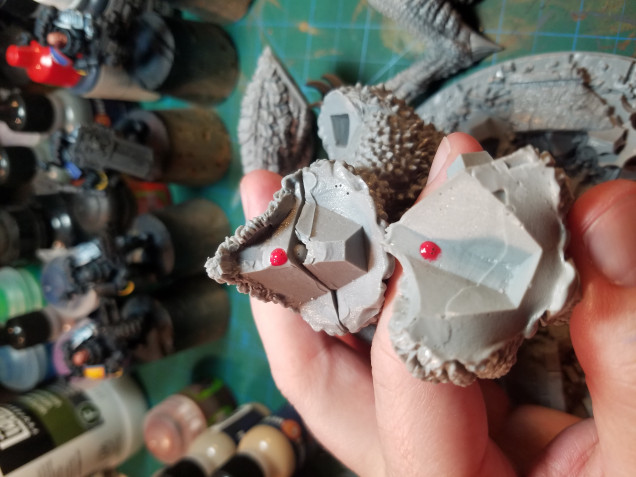
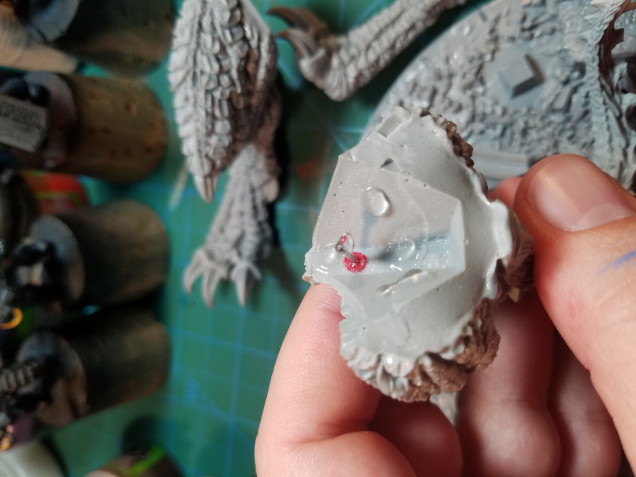
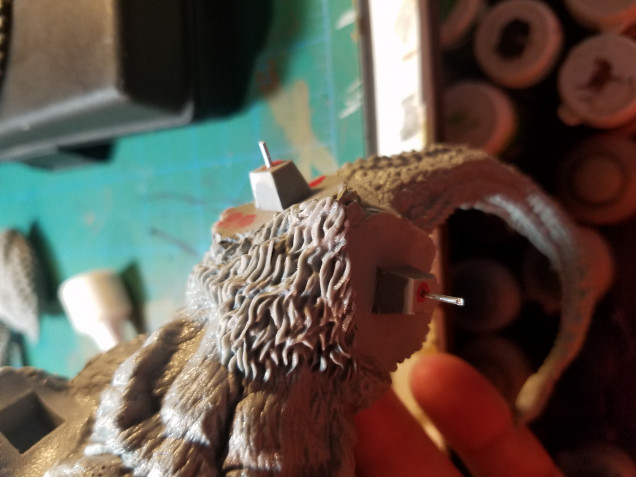


Good job setting up the piece to stand more solid. It looks like you went with a thicker rod than something like the .032″ you can get from K&S Metals judging by the way that the end is sheared in the hip joint photo. I’d guess you’re using something around the 1mm mark like you might find in Army’s Painter’s Drill Bits and Pins pack.
I’ll recommend K&S if you can get the longer lengths as it lasts much longer than you think you’ll have figures for.
Thanks man. Yea i have these nice big paper clips. They are a larger gauge and larger in size also. But I will definitely check out k&s metals.