144Artist Explores Lyonesse or My Journeys into Wolsung
Ooops or What Not to Do.
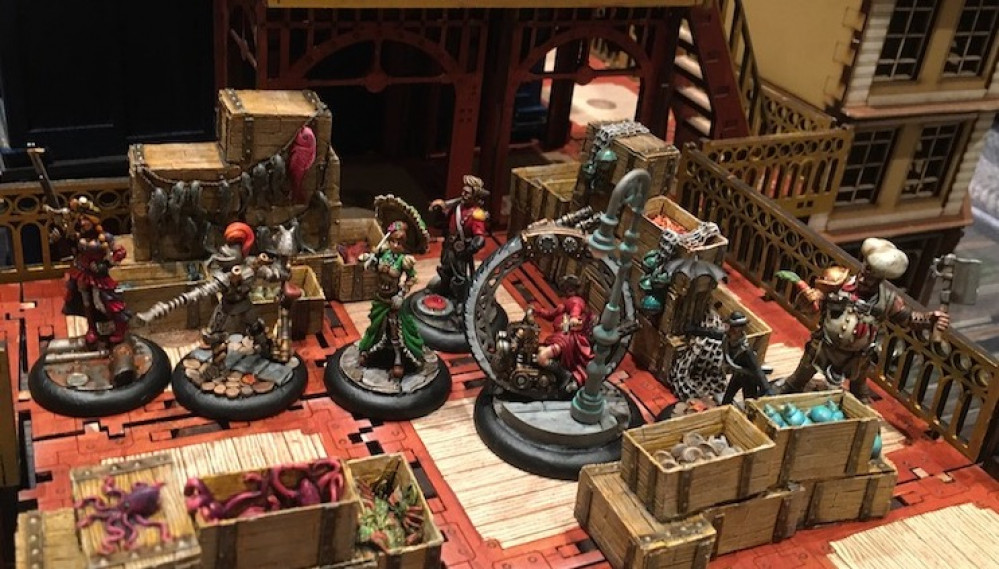
I love the entire aesthetic of Wolsung from the miniatures to the terrain. Parts of my current collection will fit in but a lot of it, like the 19th Century Walkways, are quite specific. So I turned to MicroArts and their lasercut MDF pieces. Now I love a good laser cut model which can be as satisfying to assemble as many plastic kits. Even the little bit of extra weight feels more “building” like to me.
MicroArts makes some very nice pieces that fit together well with my only complaint being the minimal instructions included with each kit. The instructions included are very helpful in getting one started and detail some of the trickier fits but I am one of those people who could use some warnings here and there. At the risk of stating the obvious or what is common sense, I thought I would share some of my errors in order to help others avoid them.
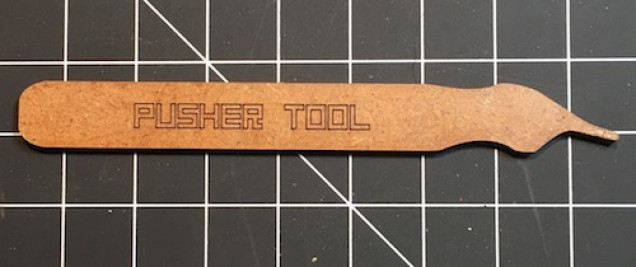
First thing is always safety. I didn’t injure myself (this time) I just broke delicate pieces and confused others. Always use a sharp blade and cutting mat when cutting pieces from their frame. Do so gently though as thin MDF pieces can be fragile. MicroArts knows this and include a couple extras of the smaller pieces. Next advice is to locate the Pusher Tool and remove it right away. It is super helpful.
I prefer to use Aleene’s Tacky Glue as it is thicker than most PVAs, sets a little quicker, but stays sticky as it does so allowing me to move things I mess up. It has been invaluable in repairing my errors.
 When assembling parts be very careful where pressure is applied. Pieces not only break off but into smaller bits as well. I glued this piec back together and let it dry before trying to re-attach it.
 The entire top half of the bannister collapsed and shattered as I tried to attach the top step. I wasn't paying attention to where I put the pressure. Some of the bits that broke off were so small they got lost.
 The railing was a much more complex issue as the damage involved multiple pieces going in different directions.
 It didn't help that some of the smallest pieces got lost. I think I'll use wood filler or glue a strip of cardstock over it before painting.
 As my friends say,"Paint obscures most sins" so I will hope this mess is less noticable once covered in paint. Of course it could just be damage from some previous altercation...
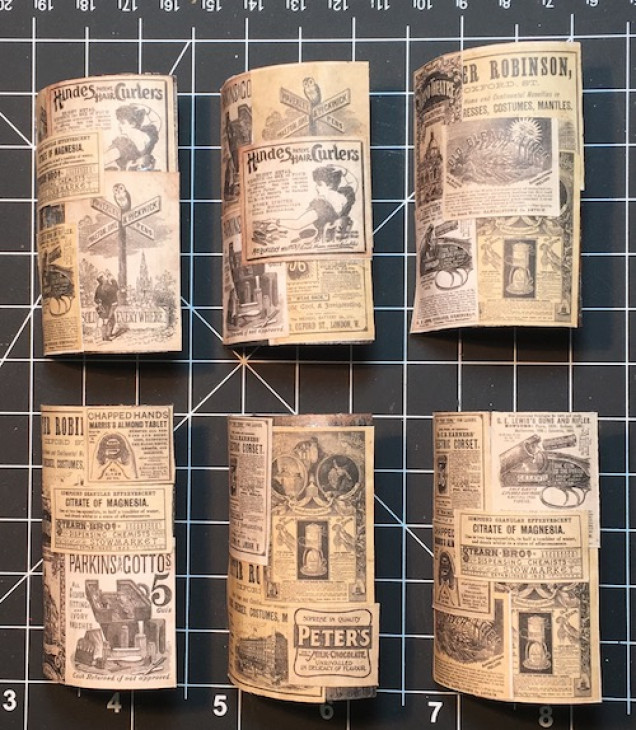
 The Advertising Columns are resin cast so best assembled using Super Glue (Cyanoacrylate) but the posters are paper. Paper and superglue don't really interact well so once again I turned to Aleene's Tacky Glue.
 I learned a lot working on some of these pieces so I am hopeful I will not repeat some of these mistakes, especially breaking the railing, as I have a few more MicroArts kits to work on. I can not emphasize strongly enough the importance of test fitting pieces as well as working patiently.
The 19th Century walls have pegs at their bases for fitting them together in various configurations. I think it best to only glue in about half of them to increase the versatility of them.
I decided the railings on the 19th Century Walkways are best left unattached for the same versatility. The pegs that hold them in place are a bit tight for repeated use so I am giving mine a VERY light sanding, focusing on the top and bottom. This leaves the sides just a little snug so they hold tight. We will have to see what effect painting them has on this. Seems like that might just make it into a future post.


![TerrainFest 2024 Begins! Build Terrain With OnTableTop & Win A £300 Prize! [Extended!]](https://images.beastsofwar.com/2024/10/TerrainFEST-2024-Social-Media-Post-Square-225-127.jpg)


Leave a Reply