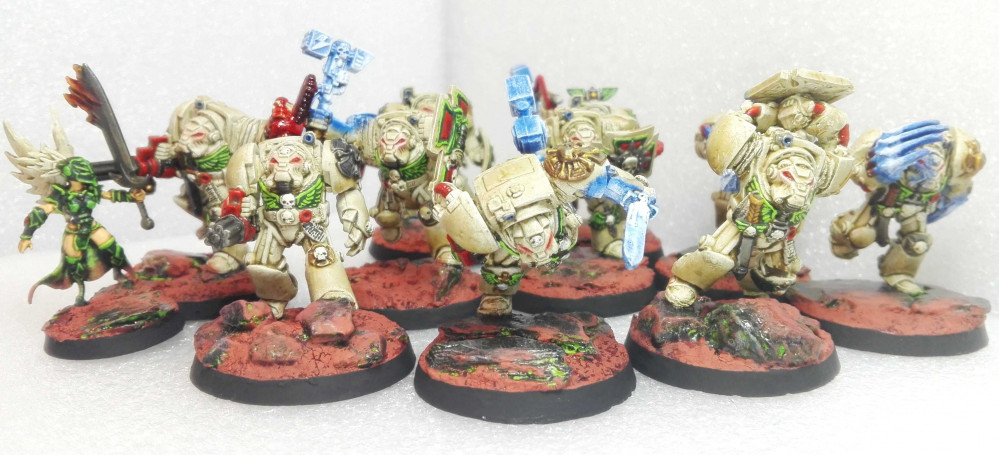
40k Deathwing Terminators by Bothi
Tutorial on Speed-OSL, step by step
As I was asked how I paint my OSL, I decided to make a step by step guide. To be clear upfront this method is designed to be fast and achieve a result that is ok for a tabletop standard. Nothing more.
I struggled with OSL for years. I tried lot’s of tutorials and most of them were about thinning down your paints really intensly and put up many many layers of colors in shrinking circles. I achieved mediocre results with this. Most of the time the color pooled in areas where the light should not be or didn’t cover other colors. Othertimes the color was too thick and I could not get it where I wanted it. I saw painters achieving incredible results with this method, but I was not able to replicate them. I only use this method today on space marines eyes as they only have a really small glow. On the Terminators in this project it’s a single layer of thinned down red.
As I started painting these Terminators I was still using the “thin-down-method” and was really unhappy with the result. So I watched more tutorials and found one which talked about not thinning your color but thickening it with a heavy white. I use Model Color Foundation White (70.919), which is actually more like a paste than a color. The guide said:
- Define your lightsource
- Start with the base color
- For every layer mix more white in until you get to pure white
- Drybrush / overbrush shrinking circles from your lightsource outwards
- Always move the brush directly away from the light source
So I started to experiment with this method and achieved much better results. I don’t think the method is superior to the thin-down-method, but I do think that it is faster and much easier to achieve.
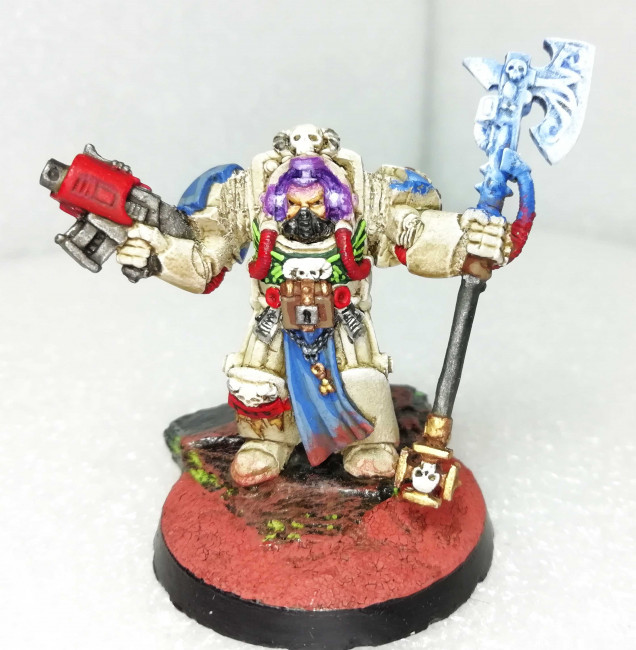
My step by step will be on the Scriptor for these Deathwing Terminators. It’s again a quite old full metal model. I think I have it since 2nd Edition of 40k. I retrofitted it with some mix out of a Force Stave/Axe and changed his pose to one inspired by the last scene from Platoon. Where Charlie Sheen is choppered away and his “buddy” is streching out his arms holding a stave and his M16.
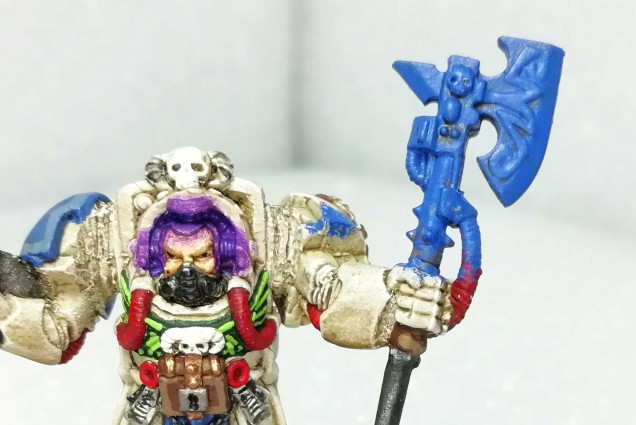
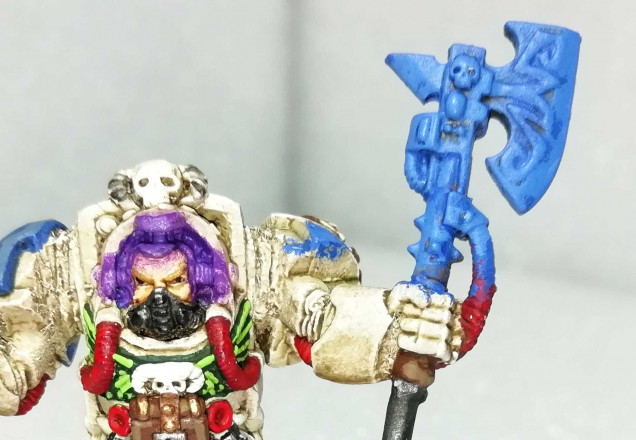
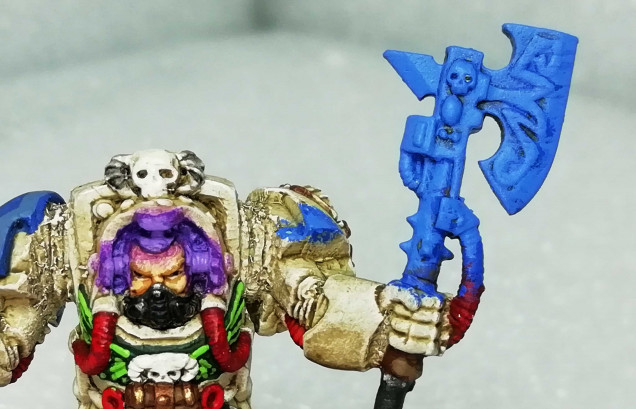
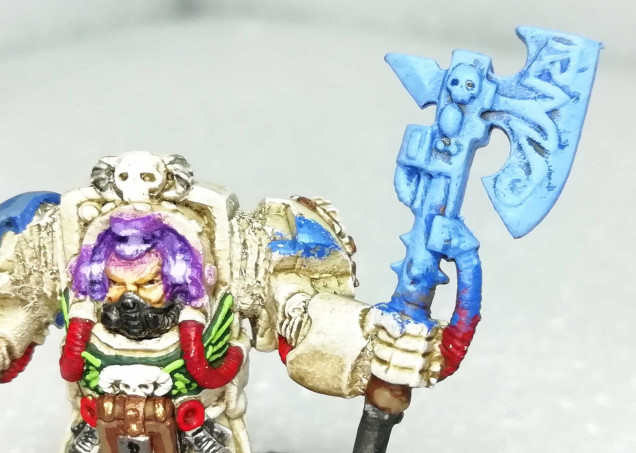
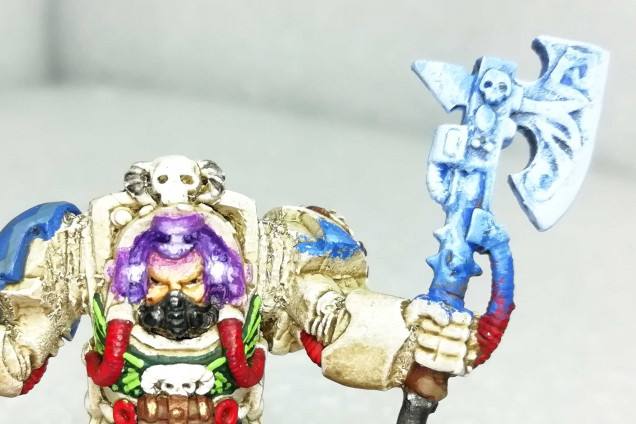
I used two colors of OSL here. Purple (Army Painter Alien Purple) on the Psi Matrix and Blue (GW Ultramarine Blue) on the Force Weapon, as I did on all the Terminators. I defined my lightsource to be the 3 holders of the Psi Matrix (on top of the forehead and to the sides of the ears), the generator on the Force Weapon and the blade of the Force Weapon.
The Purple is painted in 5 steps (first being pure purple, last being pure white) and the Blue is painted in 6 steps (again first being pure blue, last being pure white). Unfortunately I think I forgot to take a pic of the 4th step. But you’ll get the idea. I’ll mention brush sizes, the smaller one is on the purple
It took me a little over half an hour to create these two effects. But I had to take photos in between, so 30 mins should cut it.
I hope this helps someone who struggles with OSL as I have. I still am always nervous before painting this steps, but I manage to achieve quite consistent results with this method.
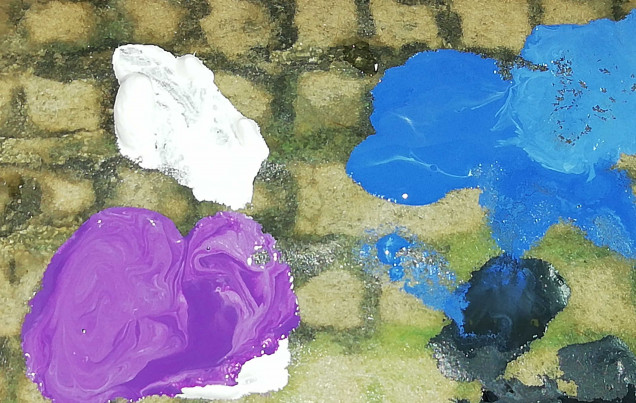
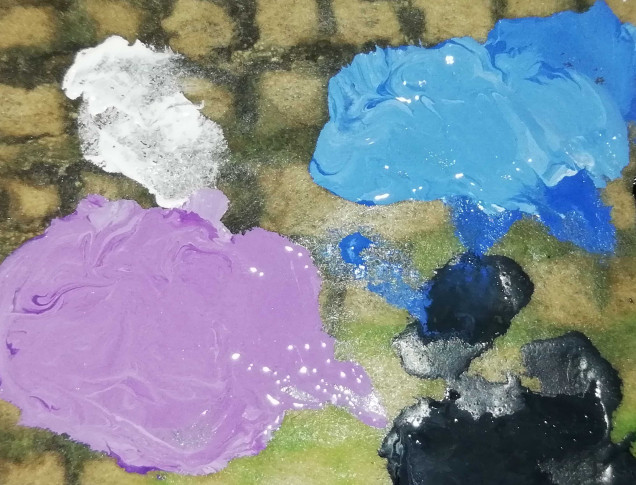
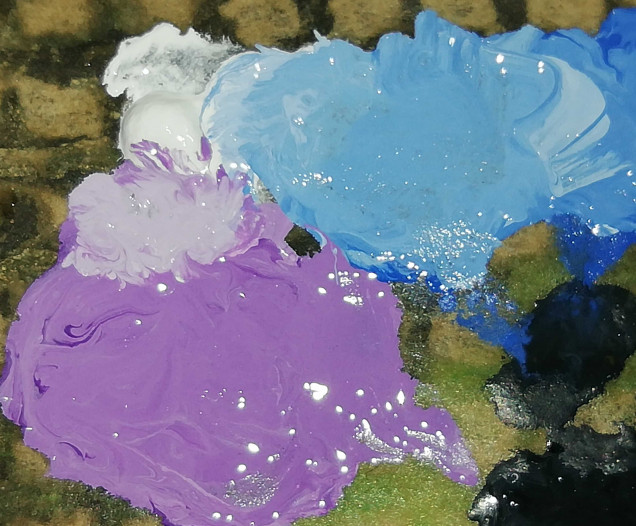
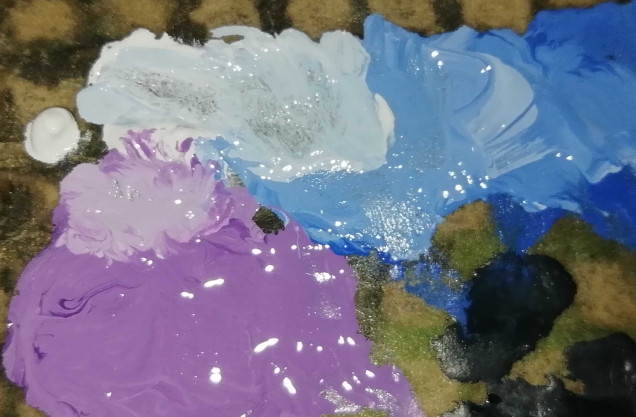
I mix the colors on a wet palette. I put both colors and white down and then mixed more and more white into the colors, step by step. Working them towards each other, in a way. I also took pics of the palette. Maybe someone will enjoy them 😀























Leave a Reply