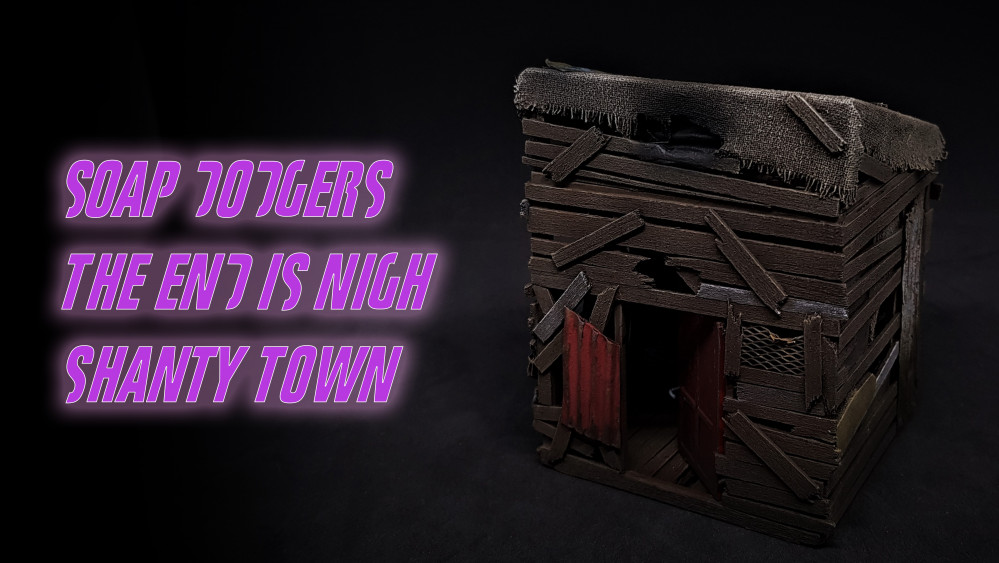
Terrain Challenge – Shanty Town
Progress update
So it’s been a while for this project. As I suspected, so little time. I used my time where I had it. Got obsessed with pressing refresh on a certain site for tickets to an event and got a promotion at work! It’s been eventful, but not for this project!
Started again today. Got side tracked as ever. I will not have time next week so I think I will finish the project with the large building.
This was todays side-track. I was remembering comments and what I should add. I tried to find a suitable 28mm kit car but it seems modelers do not like 28mm or scales close to it so I couldn’t find any car panels. I did find ones for 3D printing but alas time got away from me and I would have needed to get these printed somewhere.
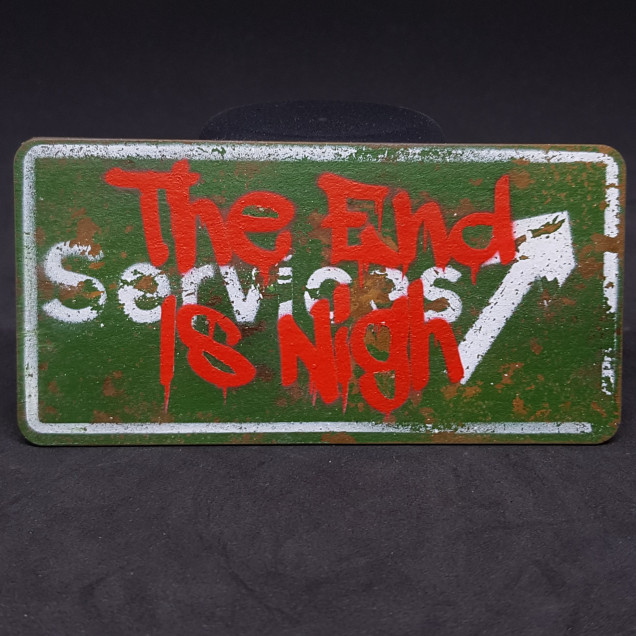
I loved the idea of signs but with time constraints and the size of road signs at 28mm I didn’t think this would be possible. Then I remembered motorway signs and they are big! I think these are aluminium these days but with some creative licence I made mine out of steel.
Steps using the techniques I have already shown used in layers.
- Cut out your sign. I used 1mm thick card. ( I used a laser cutter for speed)
- Prime this using a spray primer (the cheaper the better when it comes to terrain)
- I prayed the rust colours on using an air brush. Brown base followed by patches of orange and yellow then knocking it back with spraying brown and black wash.
- Hairspray everything I done two coats on the second I threw some salt over it. I done each side like this in turn.
- I airbrushed one side green and the other grey. and rubbed off the stuck down salt.
- I cut the first stencil out of 1mm card. I used masking tape over the parts that would fall out and removed only the letters. For the parts that would fall out I removed the masking tape so I could move them covered the bottom in PVA and stuck them down again, then lifted only the masking tape to hold them in position.
- I sprayed more hairspray then white.
- Removed the mask and the parts I stuck down with PVA I tore and then used some water to remove them without disturbing the paint to much. I then weathered further with a toothbrush.
- I then used a toothbrush and water after the above had dried to chip and scape away the paint in places.
- I applied the second stencil which was in a graffiti font it was applied as before. I sprayed red for the letters and removed the mask.
- Final touch ups were done with a tooth pick and a hard brush when dry to further weather this.
I will continue to work and get the large building done tomorrow (I hope) this will be better built in terms of materials used as this would have taken them longer to build and I think more care would have been taken.
I will then apply the sign when the main painting is done to remove the need to mask this.
More to come…. but the end is nigh!


1:48th to 1:56th scale can be used, while 1:56th is too small looking, even for i.e. Bolt Action. You can also find 1:50th scale models in shops for architecture supplies quite cheap. There are also cheap die cast toy cars in 1:50 to 1:54th scale. Hope that helps.