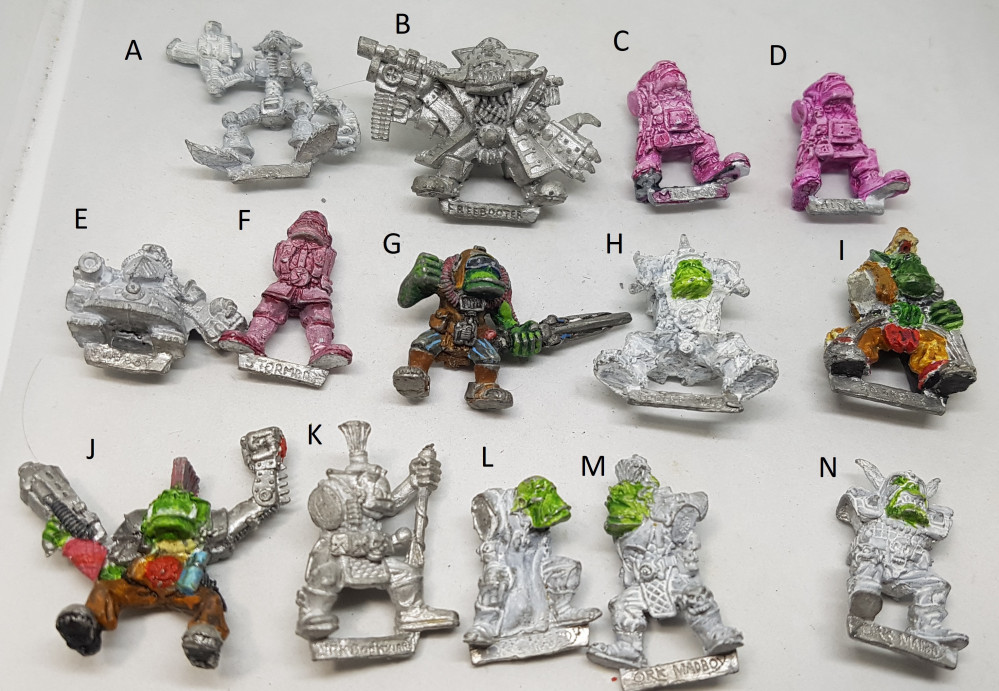
Identifying, Updating, and Painting a Bucket of 90's Era 40K Orks with Lawnor
Prep Work - Repairs, Upgrades, Building and Priming
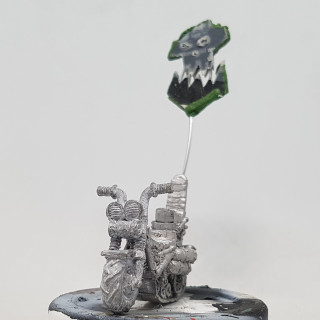
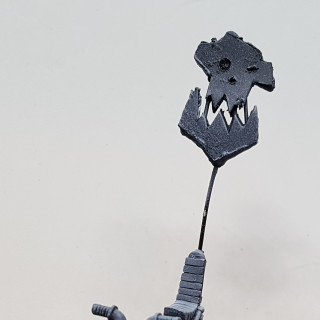
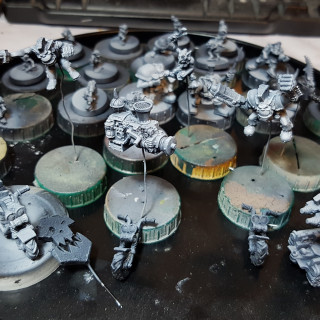
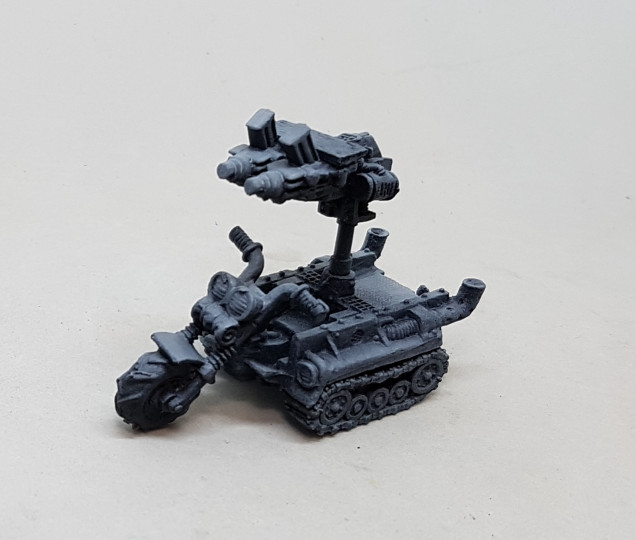
My solitary Warbike was never going to fit in to a unit so it is being upgraded to a Warboss on Warbike. The bike used to have an antenna on the back but that is long gone. I’ve decided to replace it with a home made Waaagh banner to make him stand out more on the table and look more leader-ish. I went online and googled for what these looked like and found a suitable image I wanted to use (here: https://greenblowfly.blogspot.com/2014/06/more-extensive-ork-rumors.html).
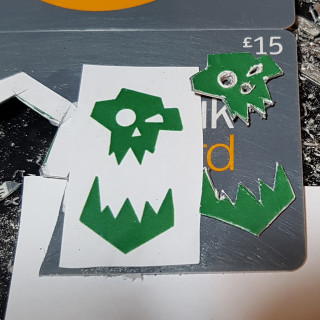
I edited the picture to put more working space between the two halves of the head and then printed it out on a sheet of paper in multiple sizes so I could find something suitable for the scale of the models. The desired size heads were then cut out and glued to an old Amazon gift voucher I had sanded down lightly to give the glue and paint something to stick to. Using a pair of scissors I cut out 2 identical copies of the head as carefully as I could. I drilled out the 3 face-holes and enlarged them with a hobby knife and files as best as I could.
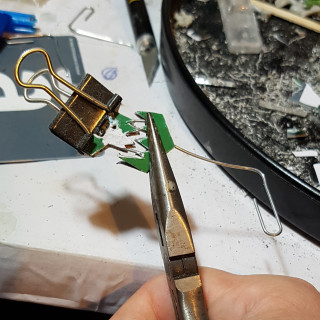
I straightened out 3 paperclips ready for the next stage, and used a file and my fingernails to remove the paper from one of the heads, ready to receive glue. I glued the 3 paperclips to the top section of one head, running parallel to each other and then put the matching head piece over the top. This was secured in place with a bulldog clip. If I were to do this again I would also consider putting a little green stuff around the paperclips inside the banner. The same wad done with the jaw sections. The 3 paperclips are used to ensure the face stays lined up. I clipped off the excess from the outside 2 paperclips, leaving the middle one for the shaft. looking back on it I could have left more behind to look like protruding rebar. This would suite Orks. I didn’t have a second bulldog clip to hand so I held this in place with some pliers for a while.
Once this had thoroughly dried I ran some green stuff around the edges and against the shaft to try and give it some stability. I don’t want it breaking of later. A hole was drilled in to the back of the bike seat where the antenna used to go. The banner has not been glued in to this hole as it will be easier to transport and store as a separate piece.
I may revisit this and clean up the eyes and nose a little more, but this is orks so I don’t need to.
————————————————————————
————————————————————————
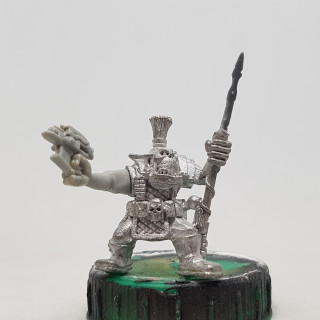
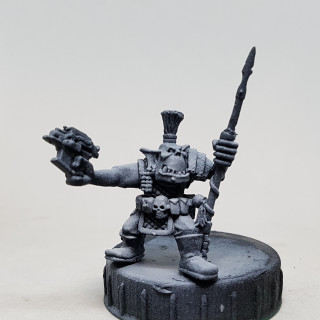
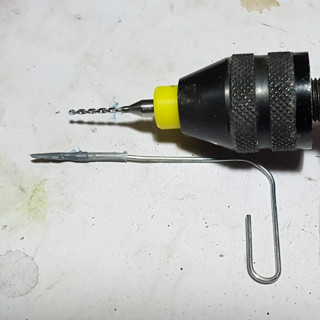
My Runtherd came with a broken staff that needed repairing. I found an old KoW Undead spear, but not much better that I could use. This is where I let you know how much I love my drill. There is no way I could have pinned this on with a pin vice. I’ve said before I could drill a paperclip sized hole in the end of something paperclip sized using it, and I’ve actually done it here first try. I’ve never hurt myself with this either, and had many accidents with the pin vice.
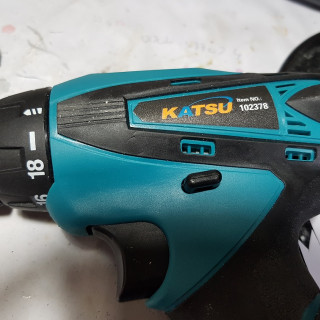
For anyone interested, here is my set up
Drill:
https://www.amazon.co.uk/dp/B01MRJF1KX/ref=pe_3187911_185740111_TE_item
Chuck:
https://www.amazon.co.uk/dp/B06XKF3NZH/ref=pe_3187911_185740111_TE_item
Bits:
https://www.amazon.co.uk/gp/product/B01G6PD1A8/ref=oh_aui_detailpage_o01_s00?ie=UTF8&psc=1
————————————————————————
————————————————————————
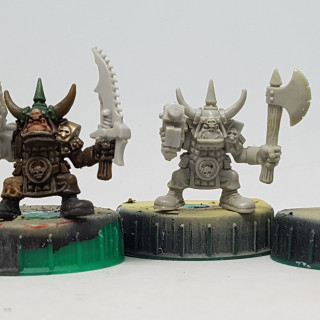
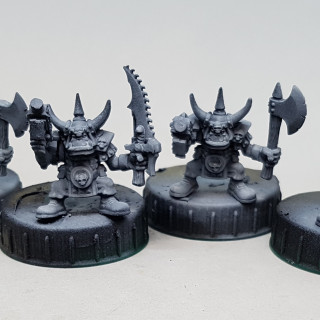
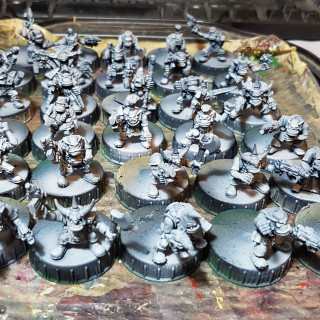
I assembled and primed the rest of my minis ready for painting too. I’m very glad I wasn’t heavy in to GW back in 1990. It’s like the arms were designed without looking at the bodies. There’s a pair that are supposed to reach around and hold the same weapon, but they can never do this because they would have to pass through where the Orks head is as its always in front of the shoulders, instead of on them. Wherever there was similar sculpts I have tried to add variation.




![TerrainFest 2024! Build Terrain With OnTableTop & Win A £300 Prize [Extended!]](https://images.beastsofwar.com/2024/10/TerrainFEST-2024-Social-Media-Post-Square-225-127.jpg)




Wonderful work on the banner, thanks for sharing the detail on how this was achieved!